A Vermilion Hall Between the Lower Shrine and the Summit
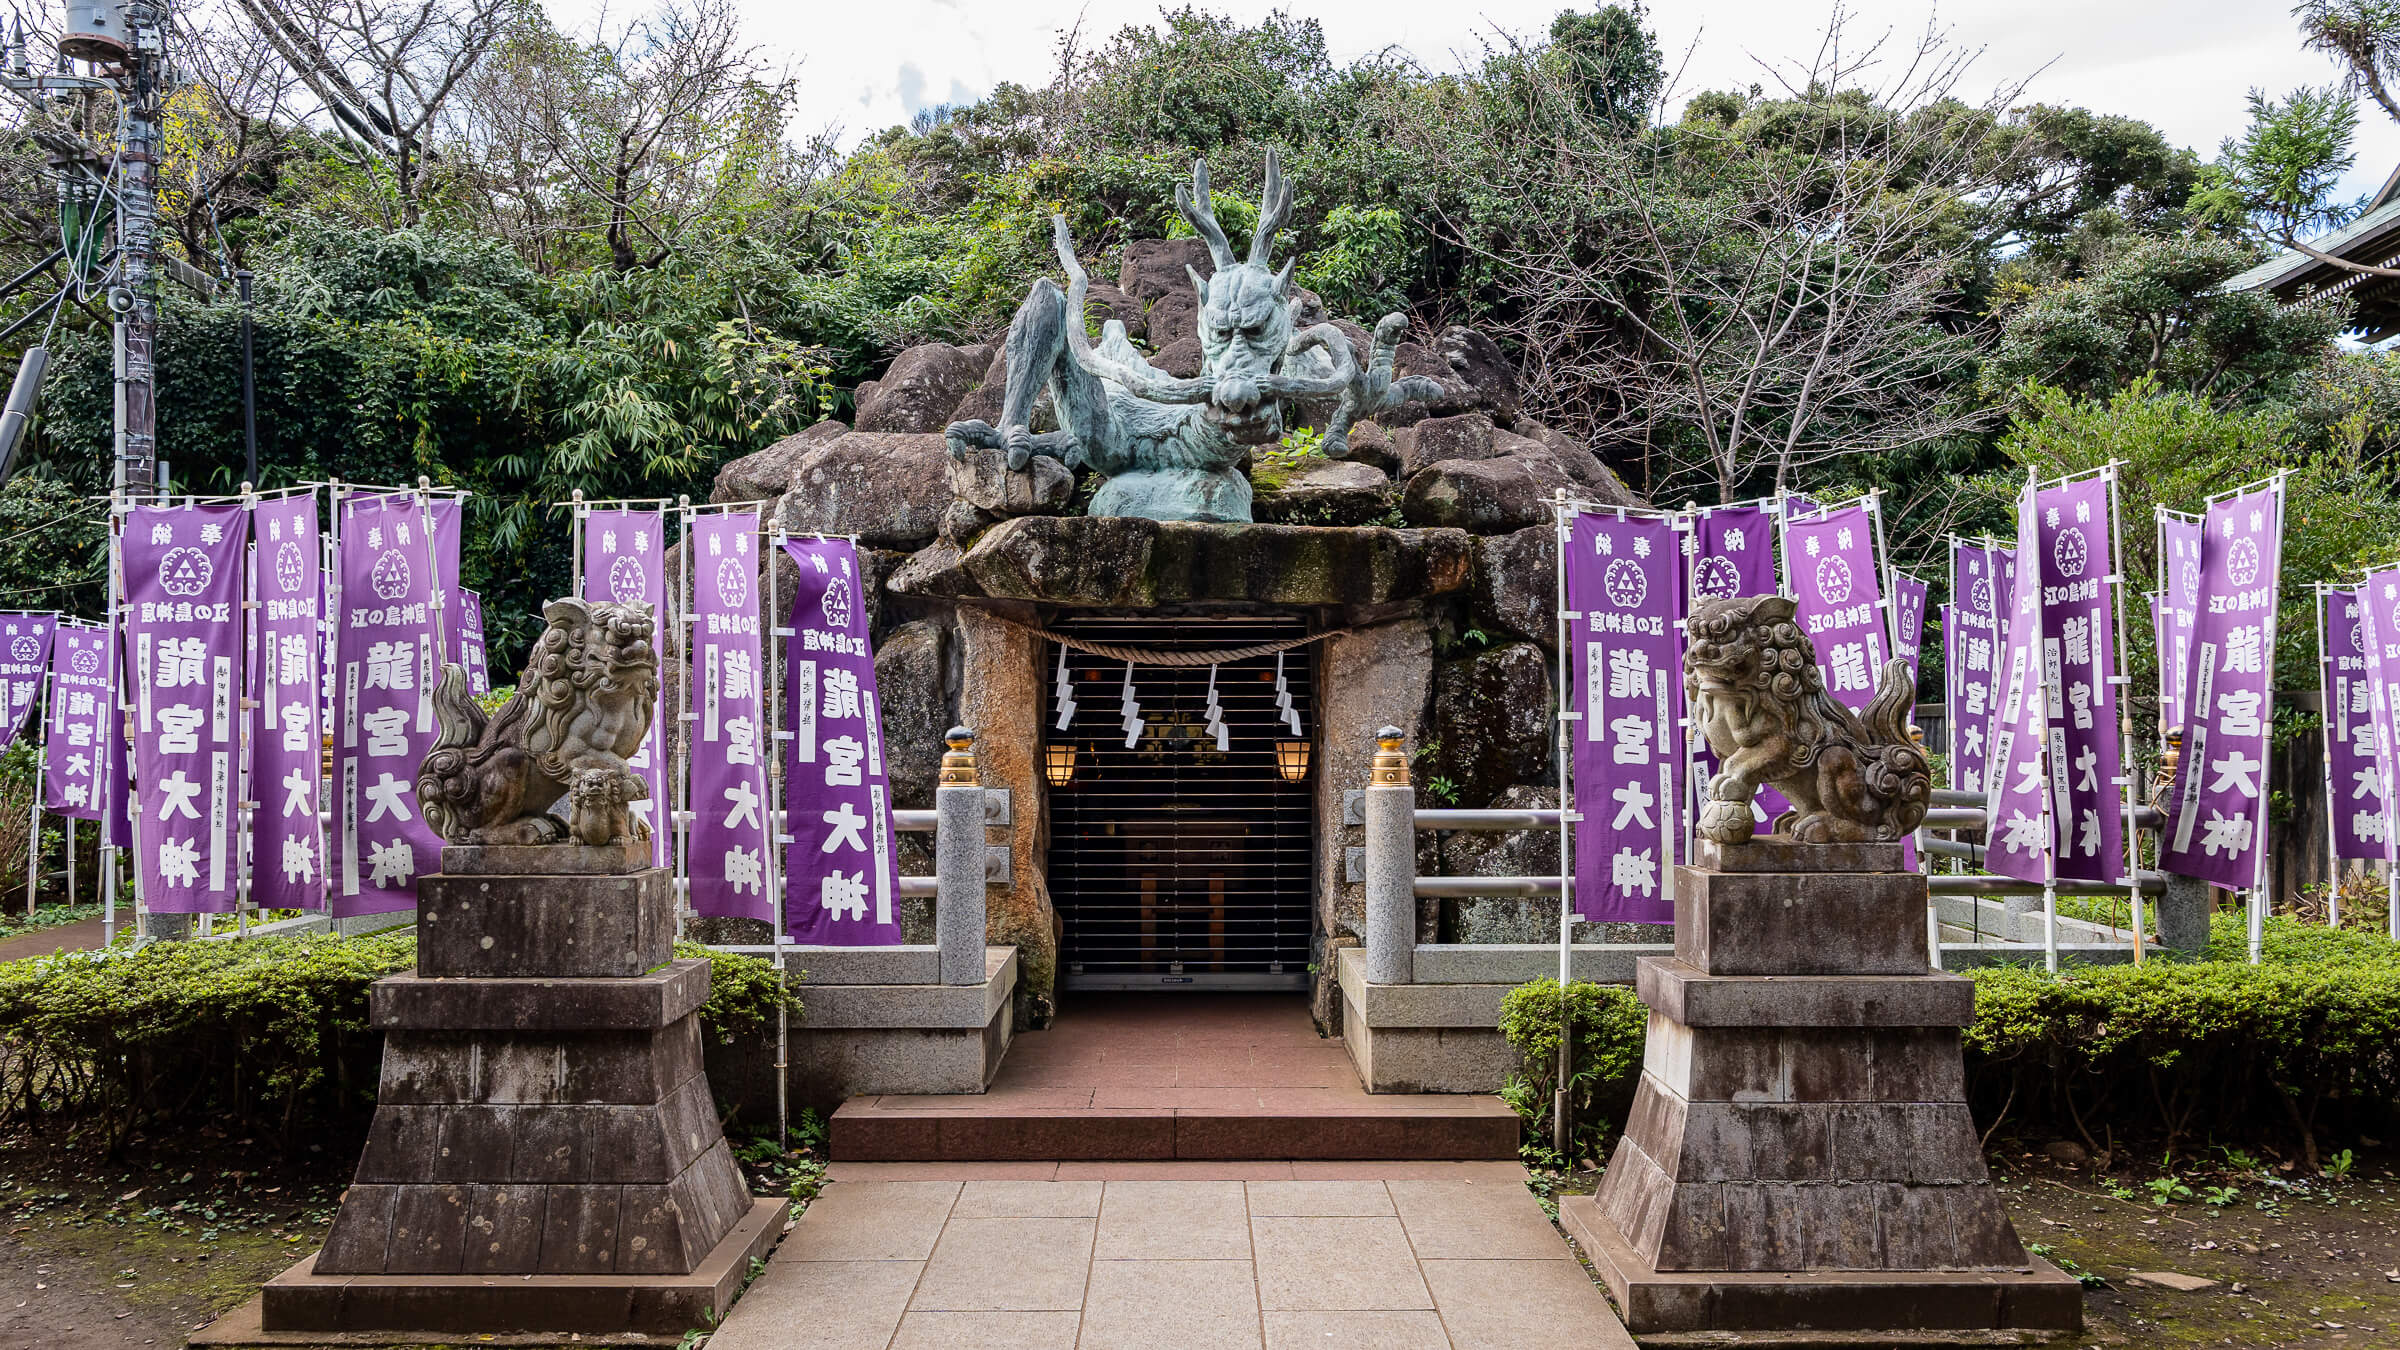
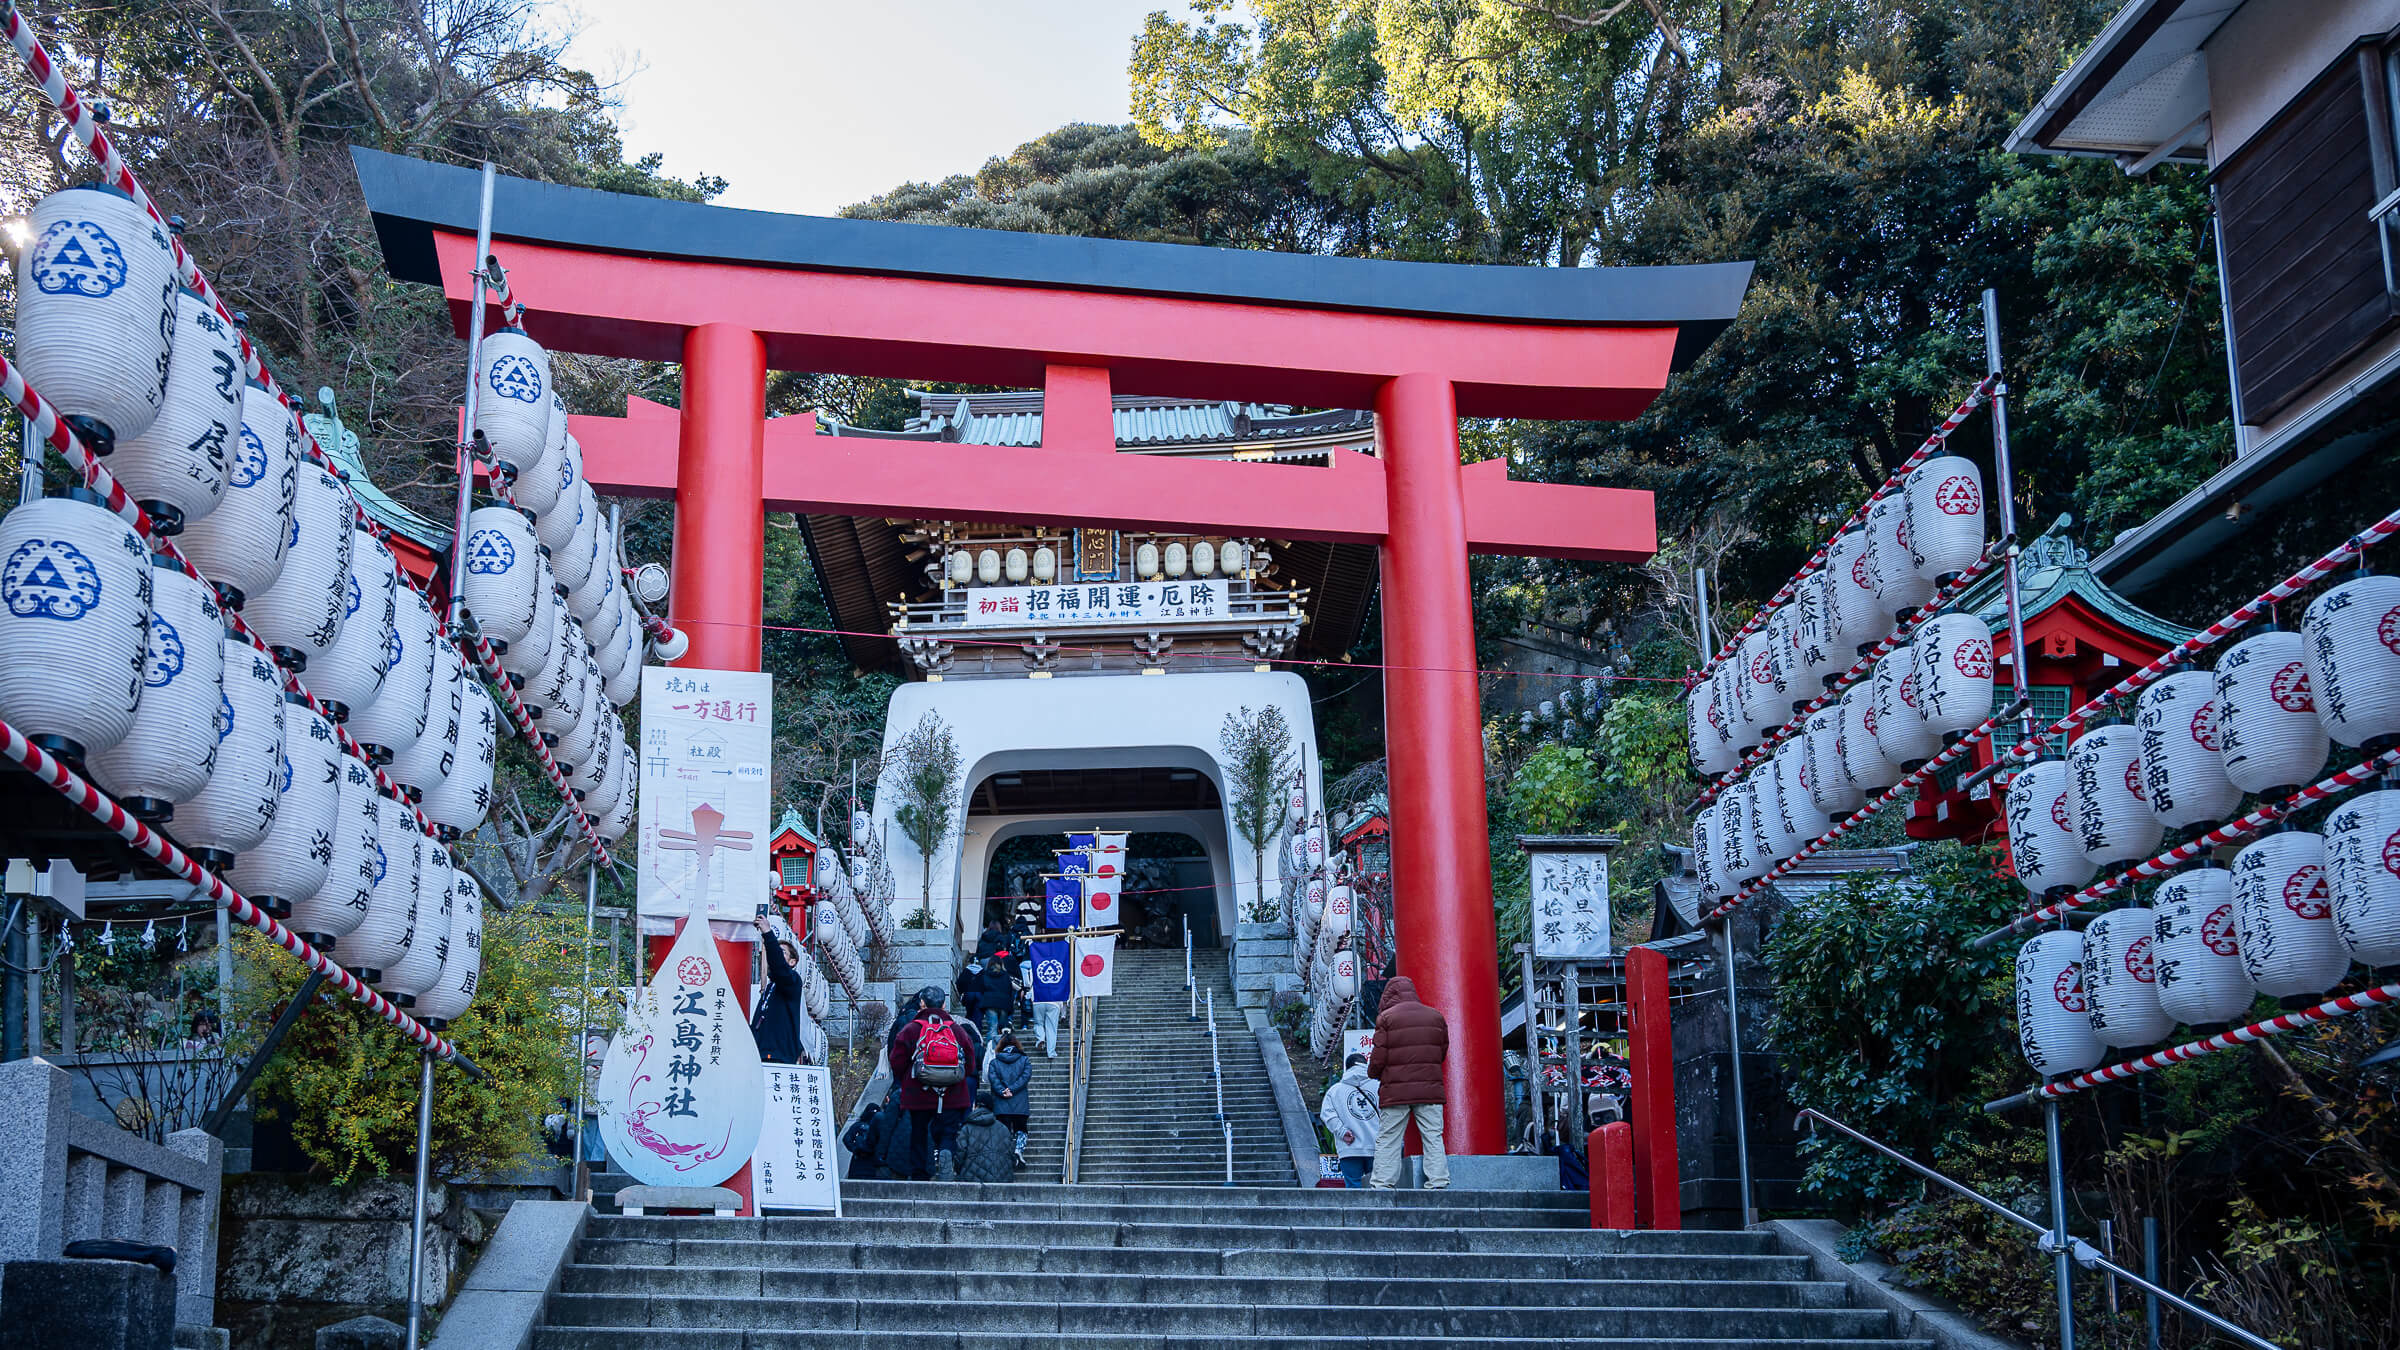
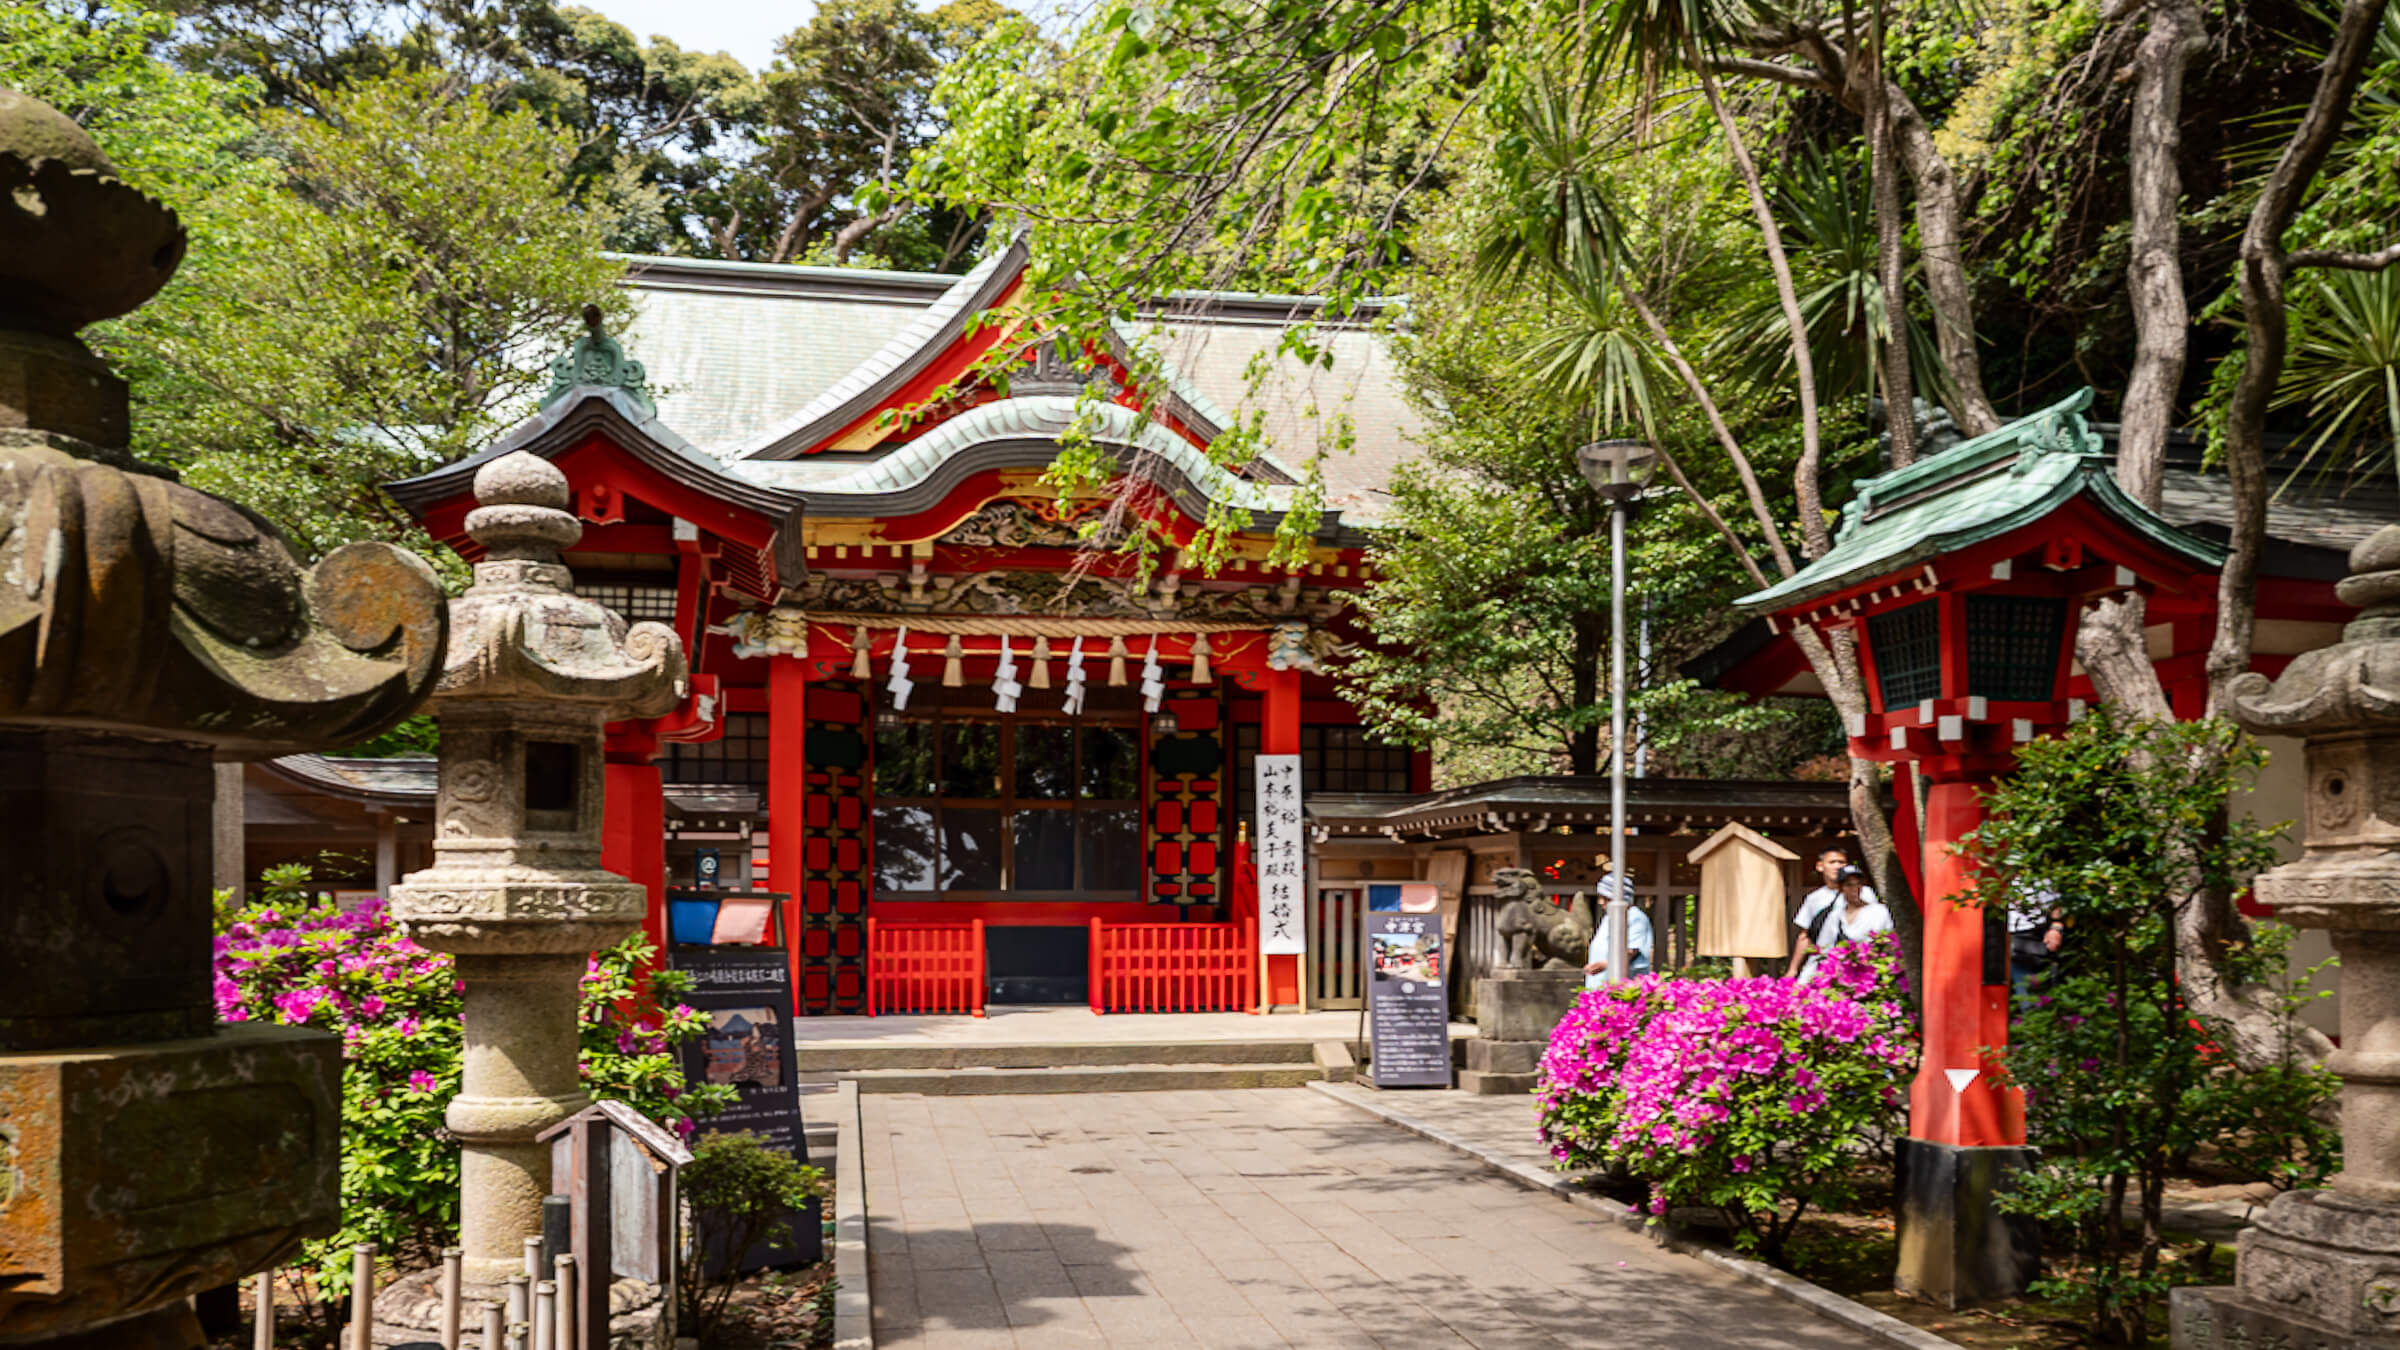
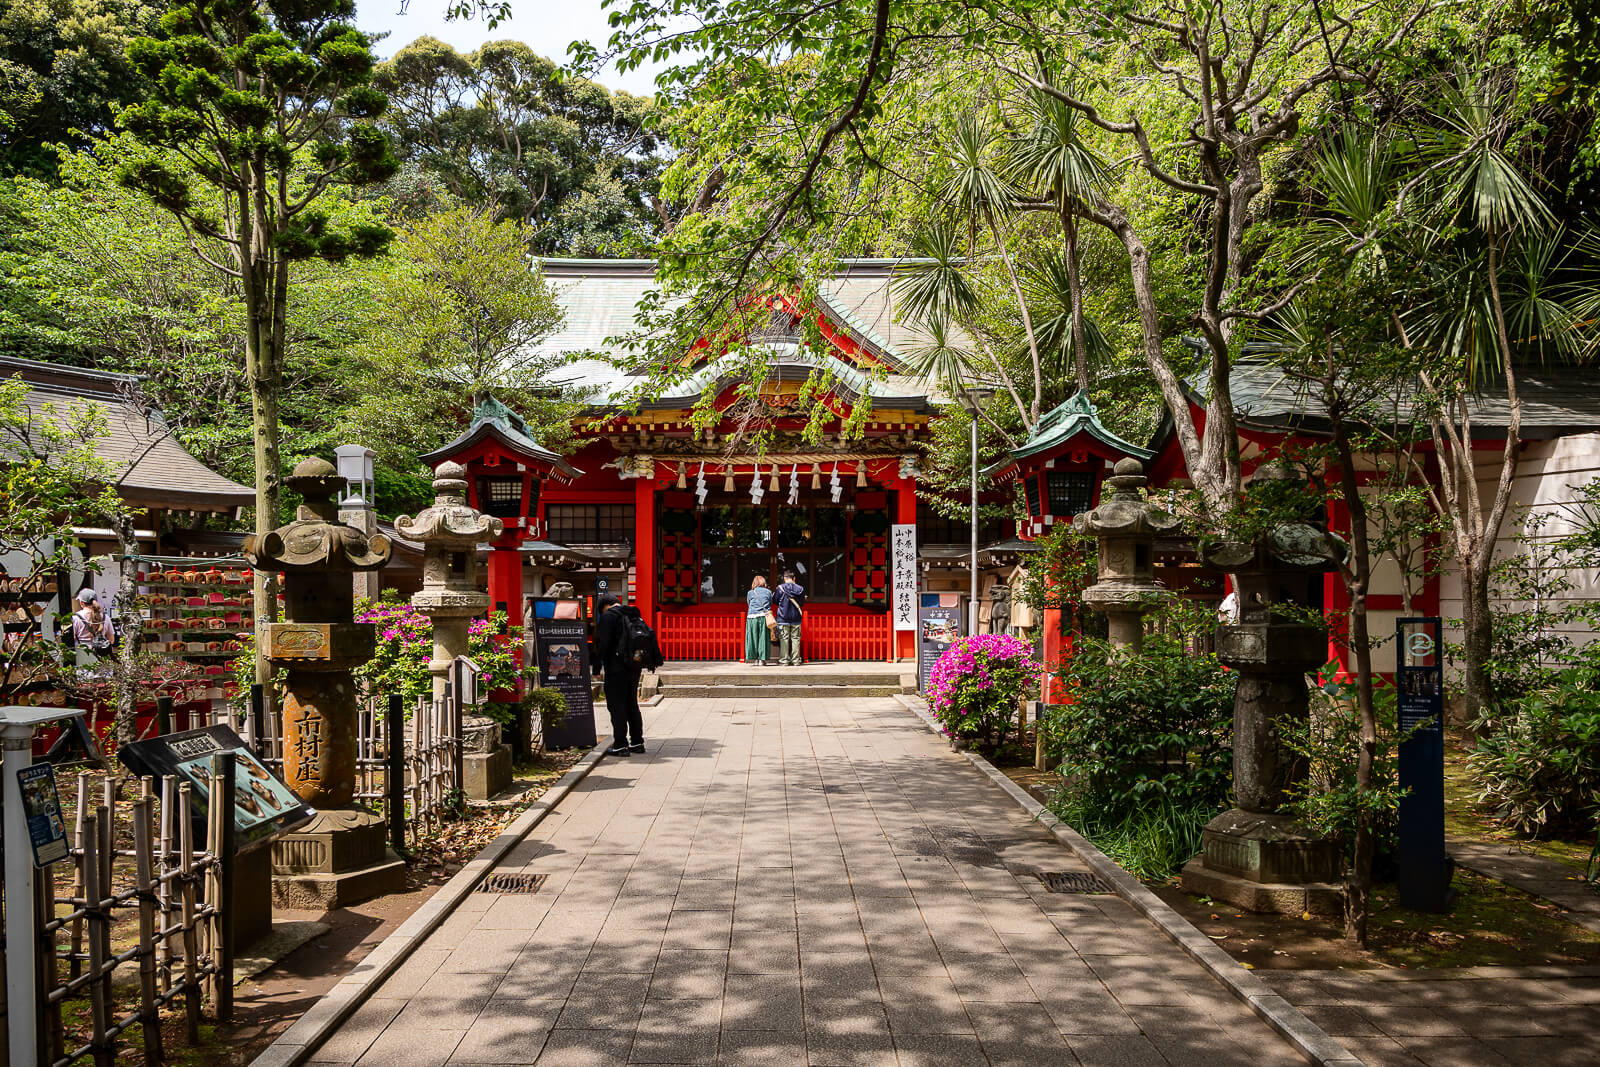
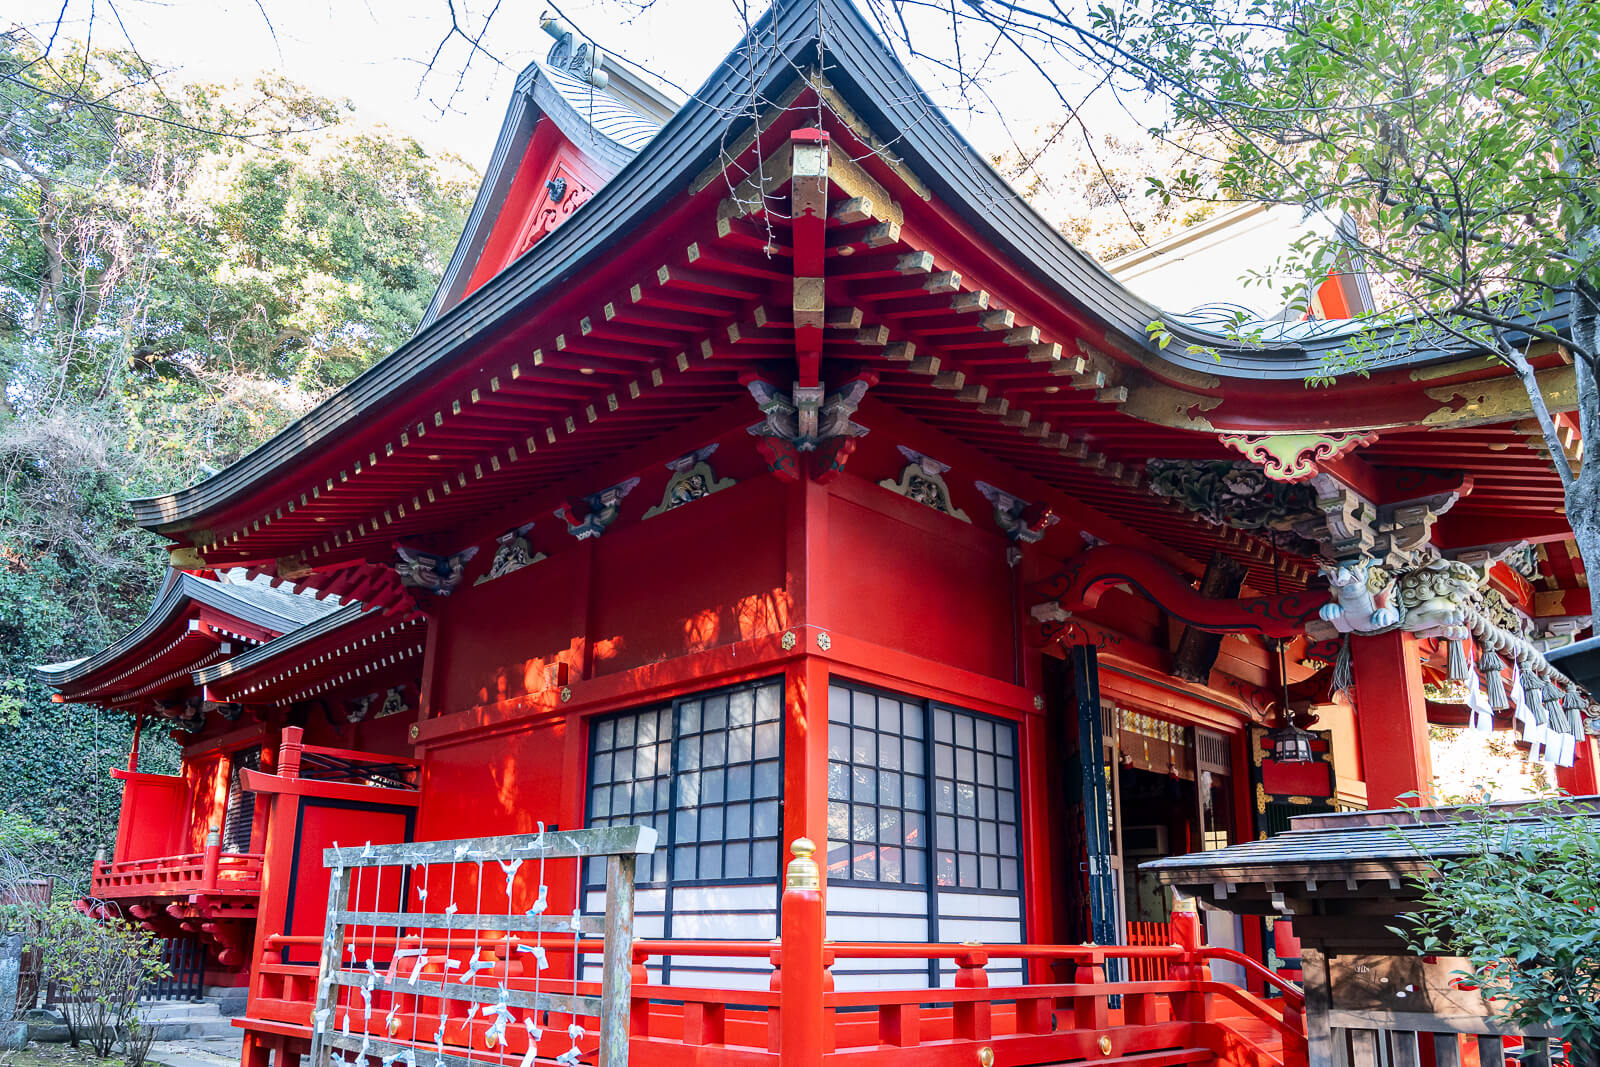
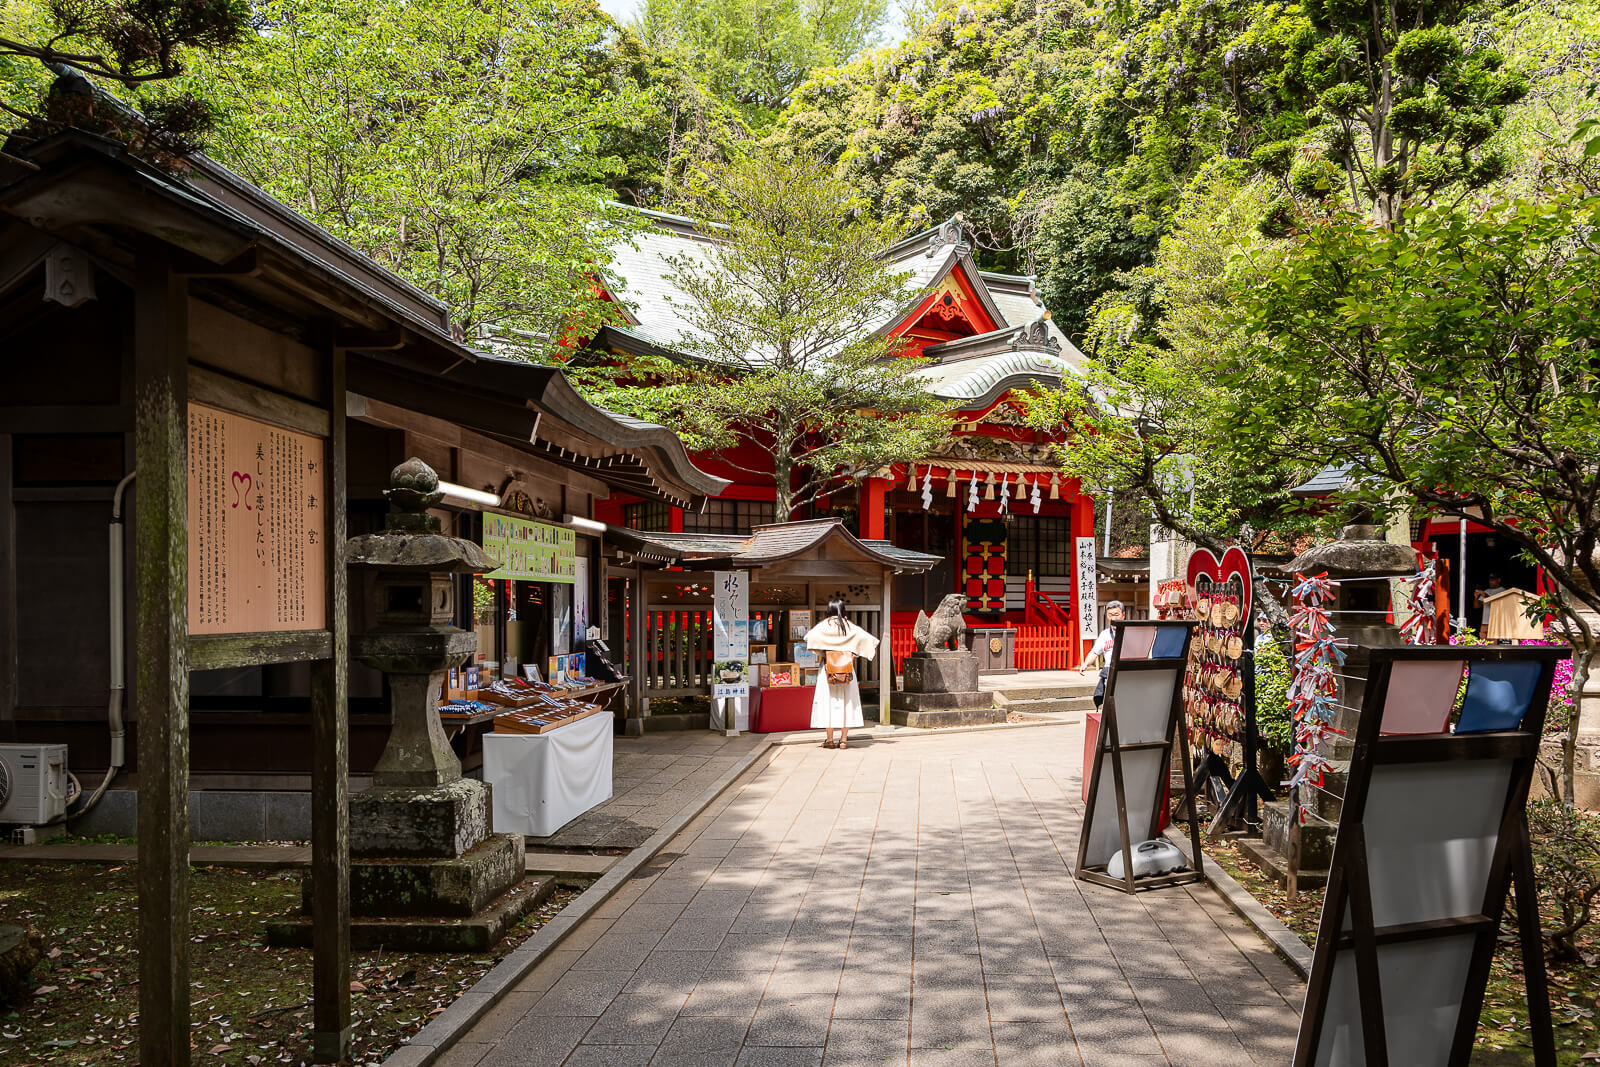
Nakatsumiya is the middle precinct of Enoshima Shrine in Fujisawa, Kanagawa, reached between Hetsumiya and the summit area around Samuel Cocking Garden. Its compact grounds make it easy to pass quickly, but the vermilion hall, painted decoration and donated stone lanterns give the stop a distinct character. It is especially rewarding for visitors who want to look closely at shrine architecture while making the wider island walk.
The visit combines two different scales of view. Near the hall, the attention is on color, rooflines, carving and the smaller details overhead; along the surrounding middle level, the outlook opens toward the bay and mainland. Leave room for both, without assuming that every photograph of the sea nearby was taken from inside the shrine’s worship area.
This is one of three precincts forming Enoshima Shrine, not a separate temple or an unrelated attraction placed between escalators. Its position above Hetsumiya and Hoanden makes it a natural pause on the ascent toward the garden and Sea Candle. Use the Enoshima island guide to choose how far to continue beyond the summit.
Nakatsumiya’s Vermilion Hall, Carvings and Painted Ceiling
The vermilion finish gives the hall its immediate visual impact. From a little farther back, the color reads together with the shape of the roof and the building’s arrangement; closer attention reveals decoration that is easy to lose in a whole-building photograph. Begin with that wider relationship before moving closer through the permitted visitor area.
Flower-and-bird painting and carving decorate the coffered ceiling. This gives a second reason to pause after looking at the exterior, bringing the attention upward into details that are much smaller than the vivid frontage. Follow the area open to visitors and look from the worship approach, without assuming that appreciating the decoration requires entry into a restricted part of the building.
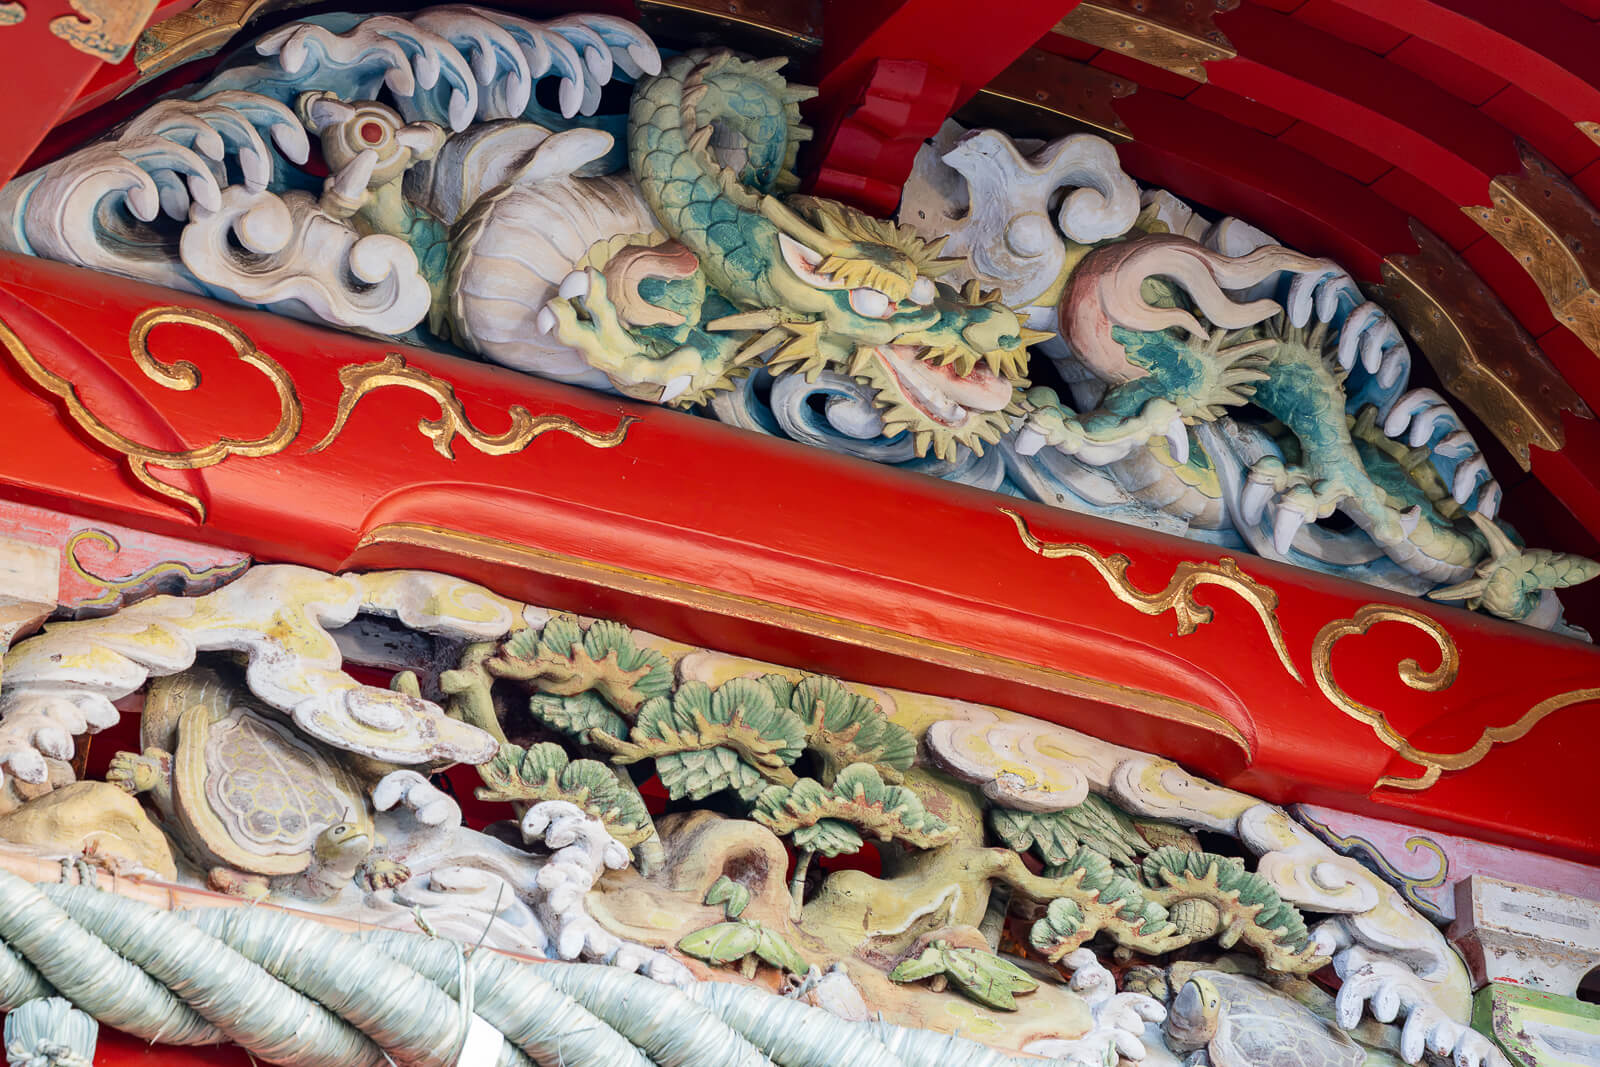
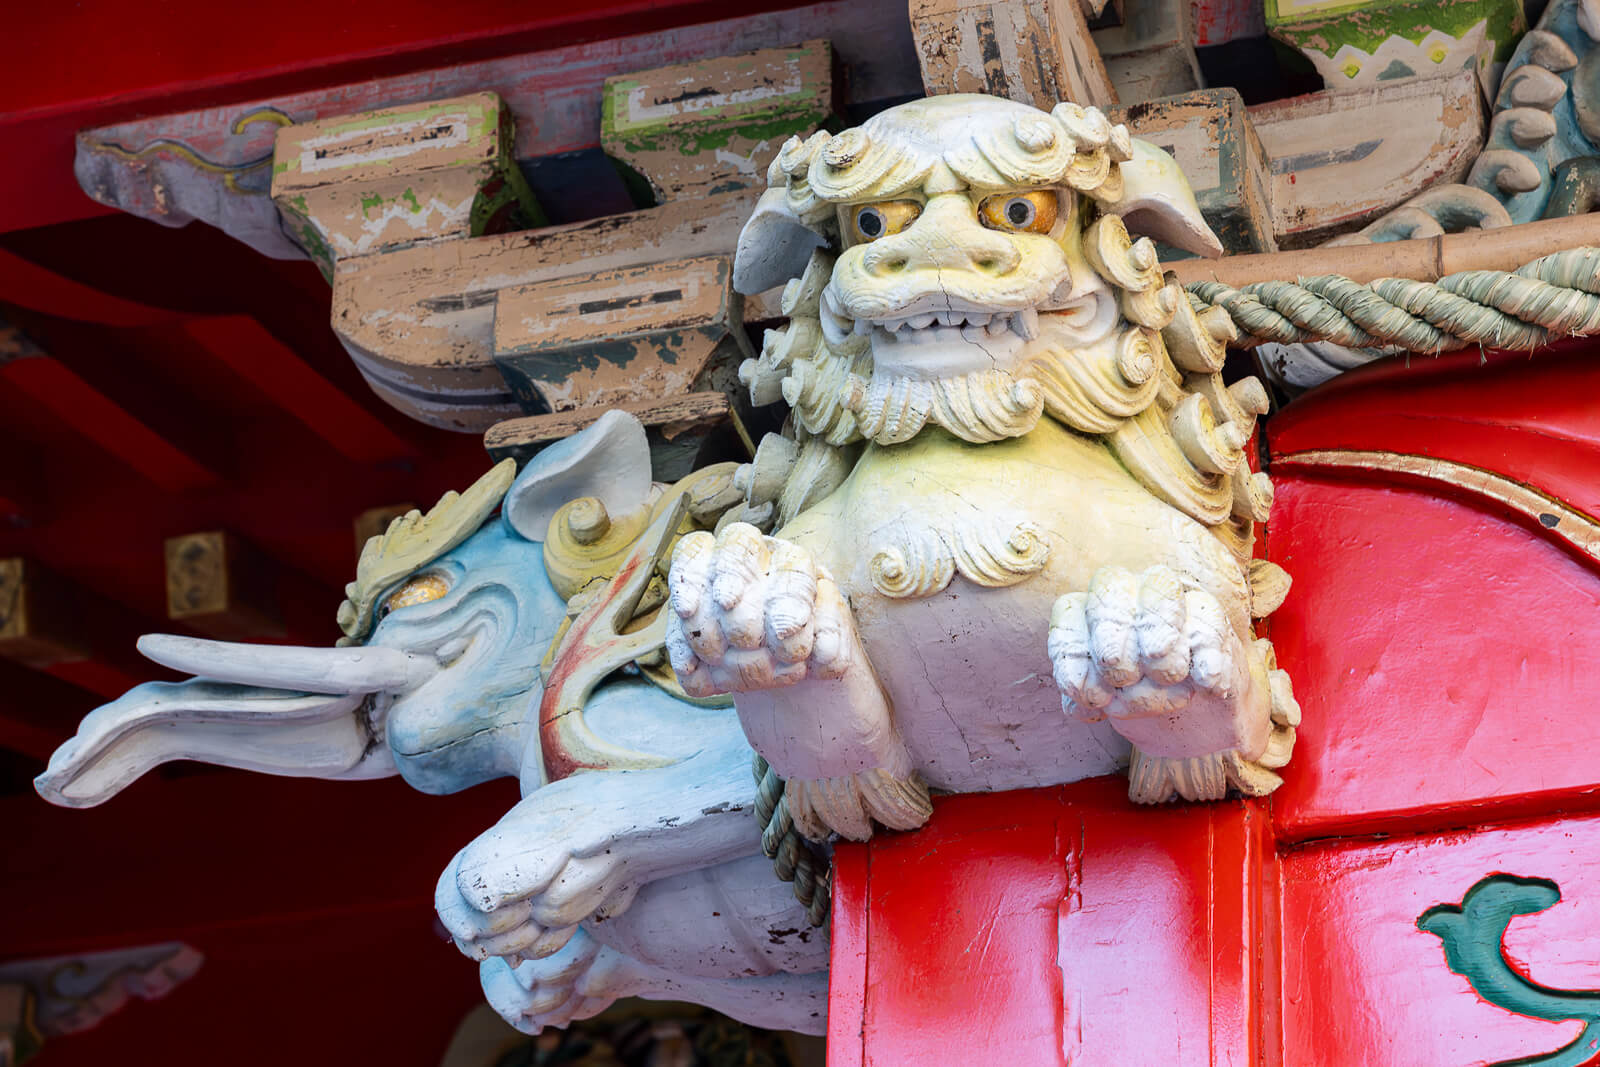
The change between the broad view and the close detail suits a short photographic visit. A frame centered only on the red exterior can communicate the hall’s color while missing the work under the roof. Taking time to examine the ornament also gives the compact precinct more substance than its size first suggests.
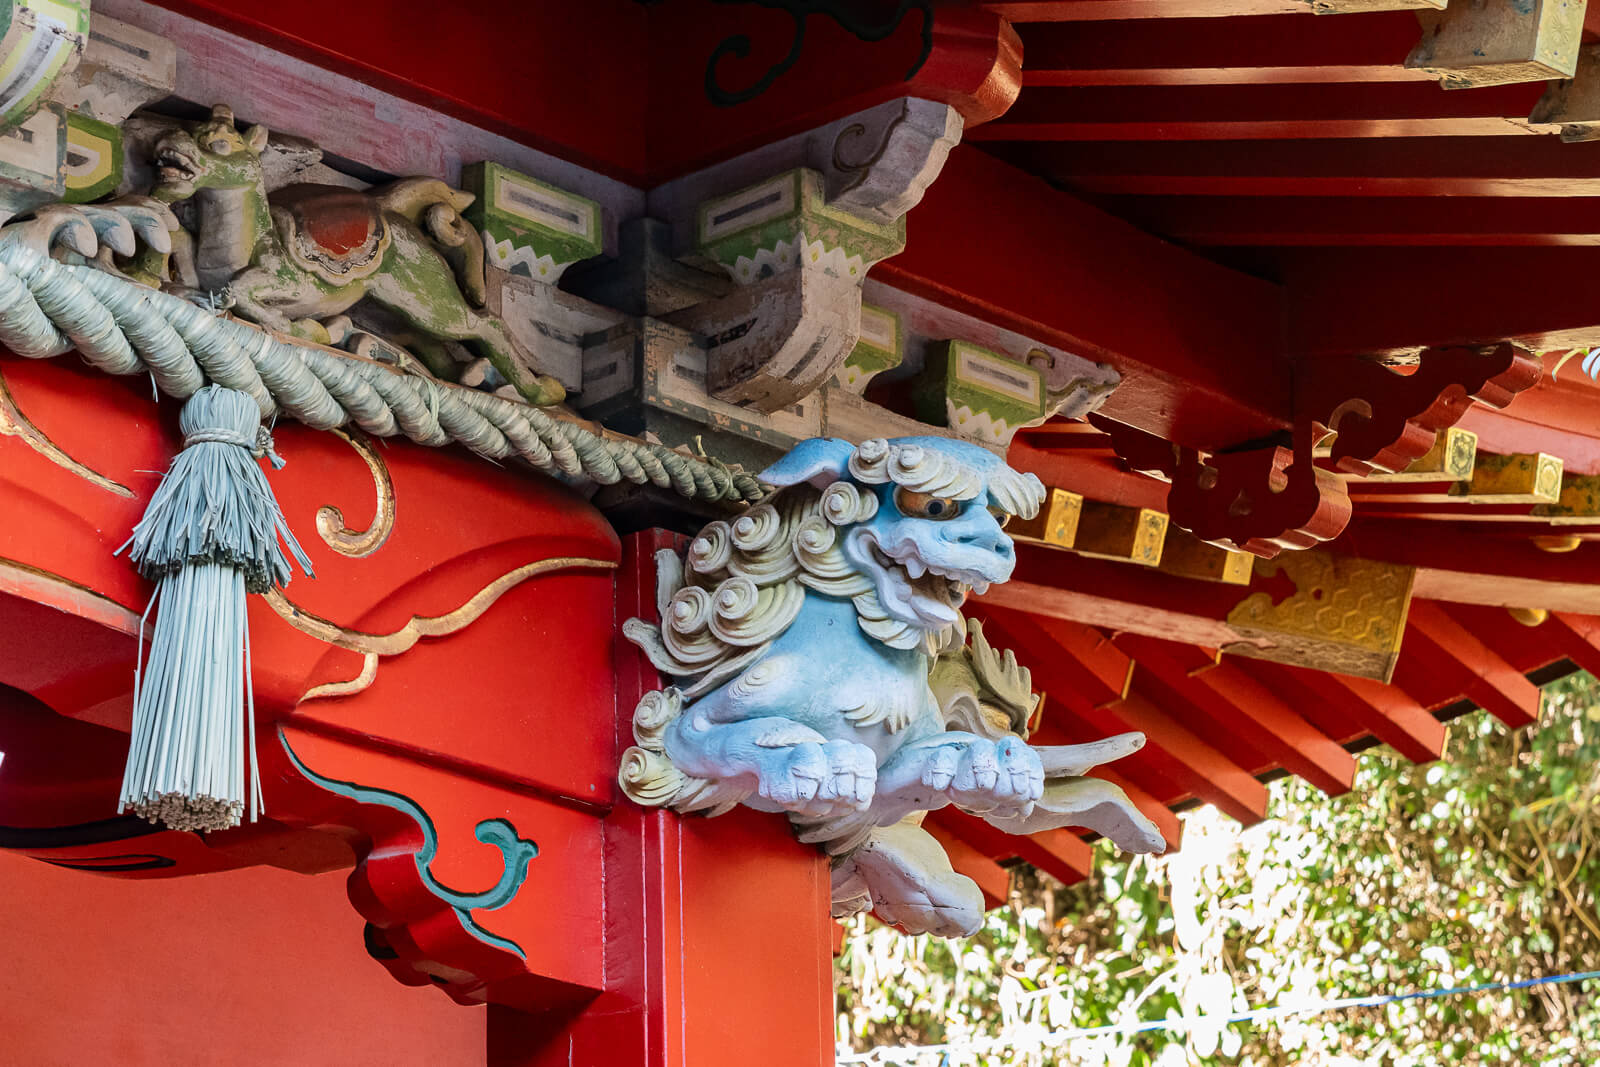
Photography should fit around the use of the hall as a place of worship. Choose a position that leaves the approach clear, then look at the ceiling and carvings before deciding which detail deserves a closer photograph. The most useful visit is not necessarily the one with the largest number of pictures, but the one in which the decoration begins to make sense as part of the building.
Nakatsumiya’s History and the Edo-Period Stone Lanterns
Tradition attributes Nakatsumiya’s founding to Jikaku Daishi in 853. The present gongen-style hall was rebuilt in 1689, and a major restoration in 1996 renewed its vermilion appearance. Those milestones describe different parts of the shrine’s history: its traditional origin, the later building and the care that helped give the current hall its strong color.
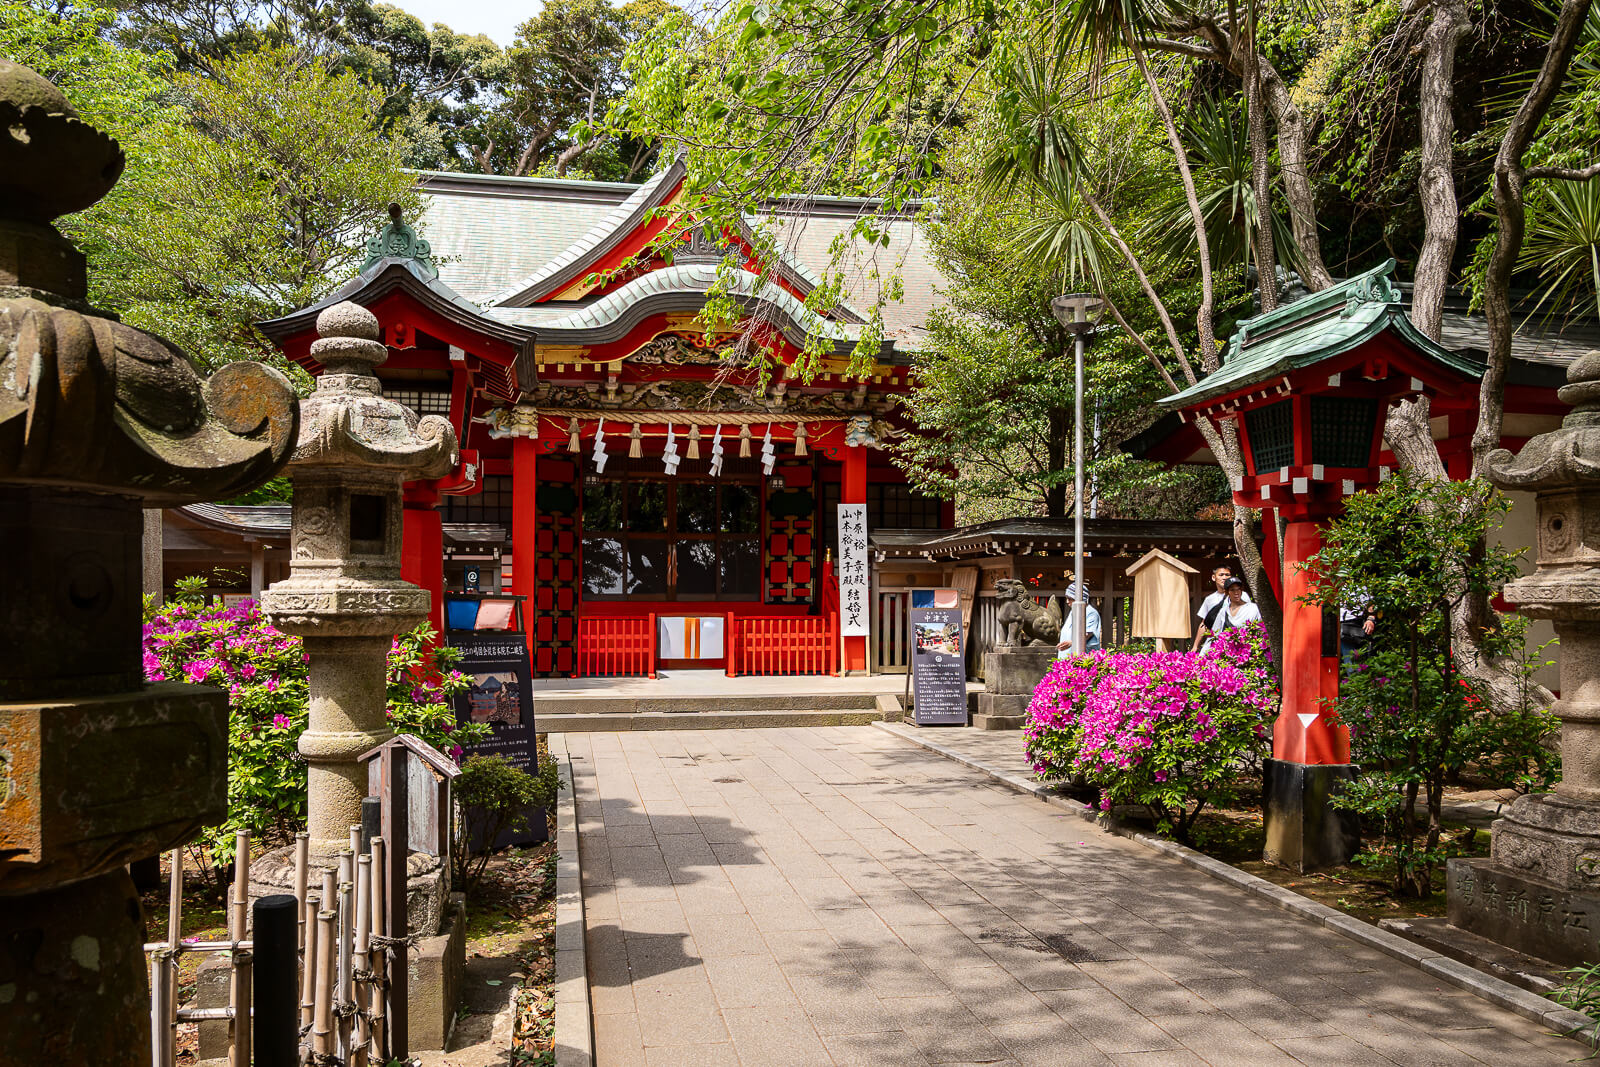
This is useful to keep in mind while looking at the architecture. A bright finish does not make the shrine’s history recent, while an early founding tradition does not mean every visible part of the building survives from that date. The hall brings several periods together in the place encountered today.
Around the precinct, stone lanterns donated by Edo-period entertainers and merchants provide a more personal trace of earlier visits. They connect the shrine with the people who supported worship here, adding something beyond the dates attached to the main hall. Looking at them beside the building helps place Nakatsumiya within the island’s history as a destination for worshippers.
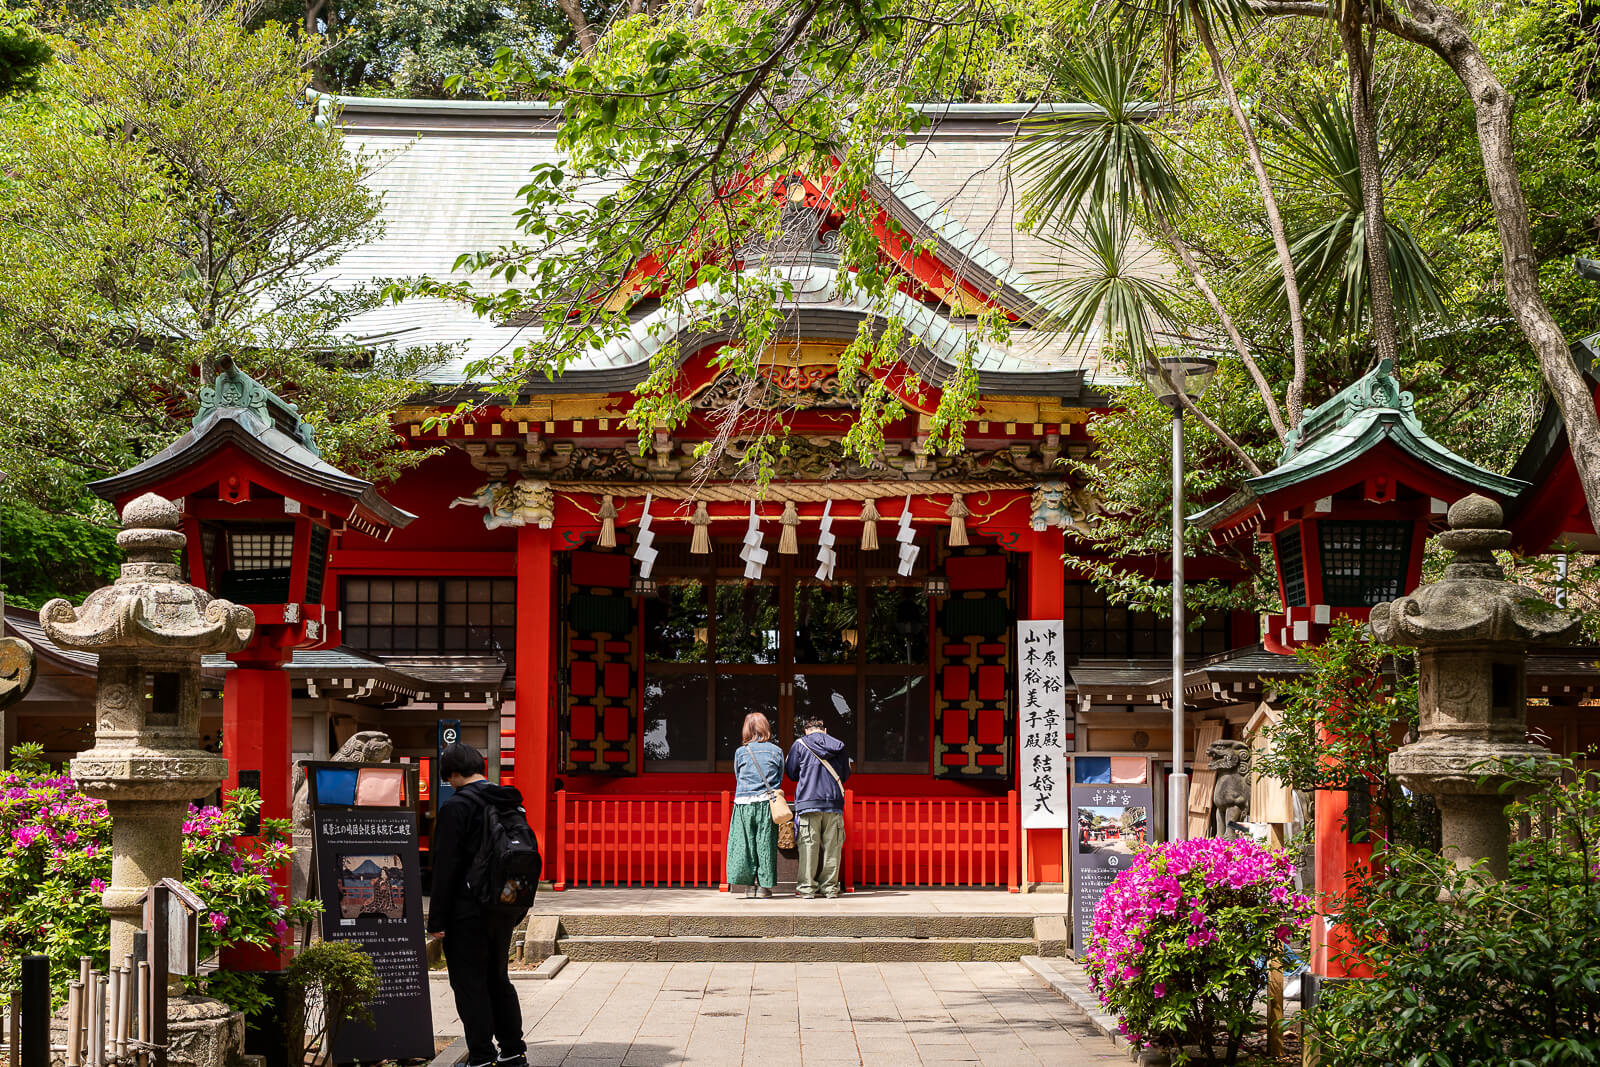
These details give a small site more to offer than a passing glance at a colorful facade. The hall shows the continuing care of the structure, while the lanterns preserve the presence of earlier donors. Together, they make the stop worth a deliberate look even when the main destination for the afternoon lies farther up the island.
Bay and Mainland Views near Nakatsumiya
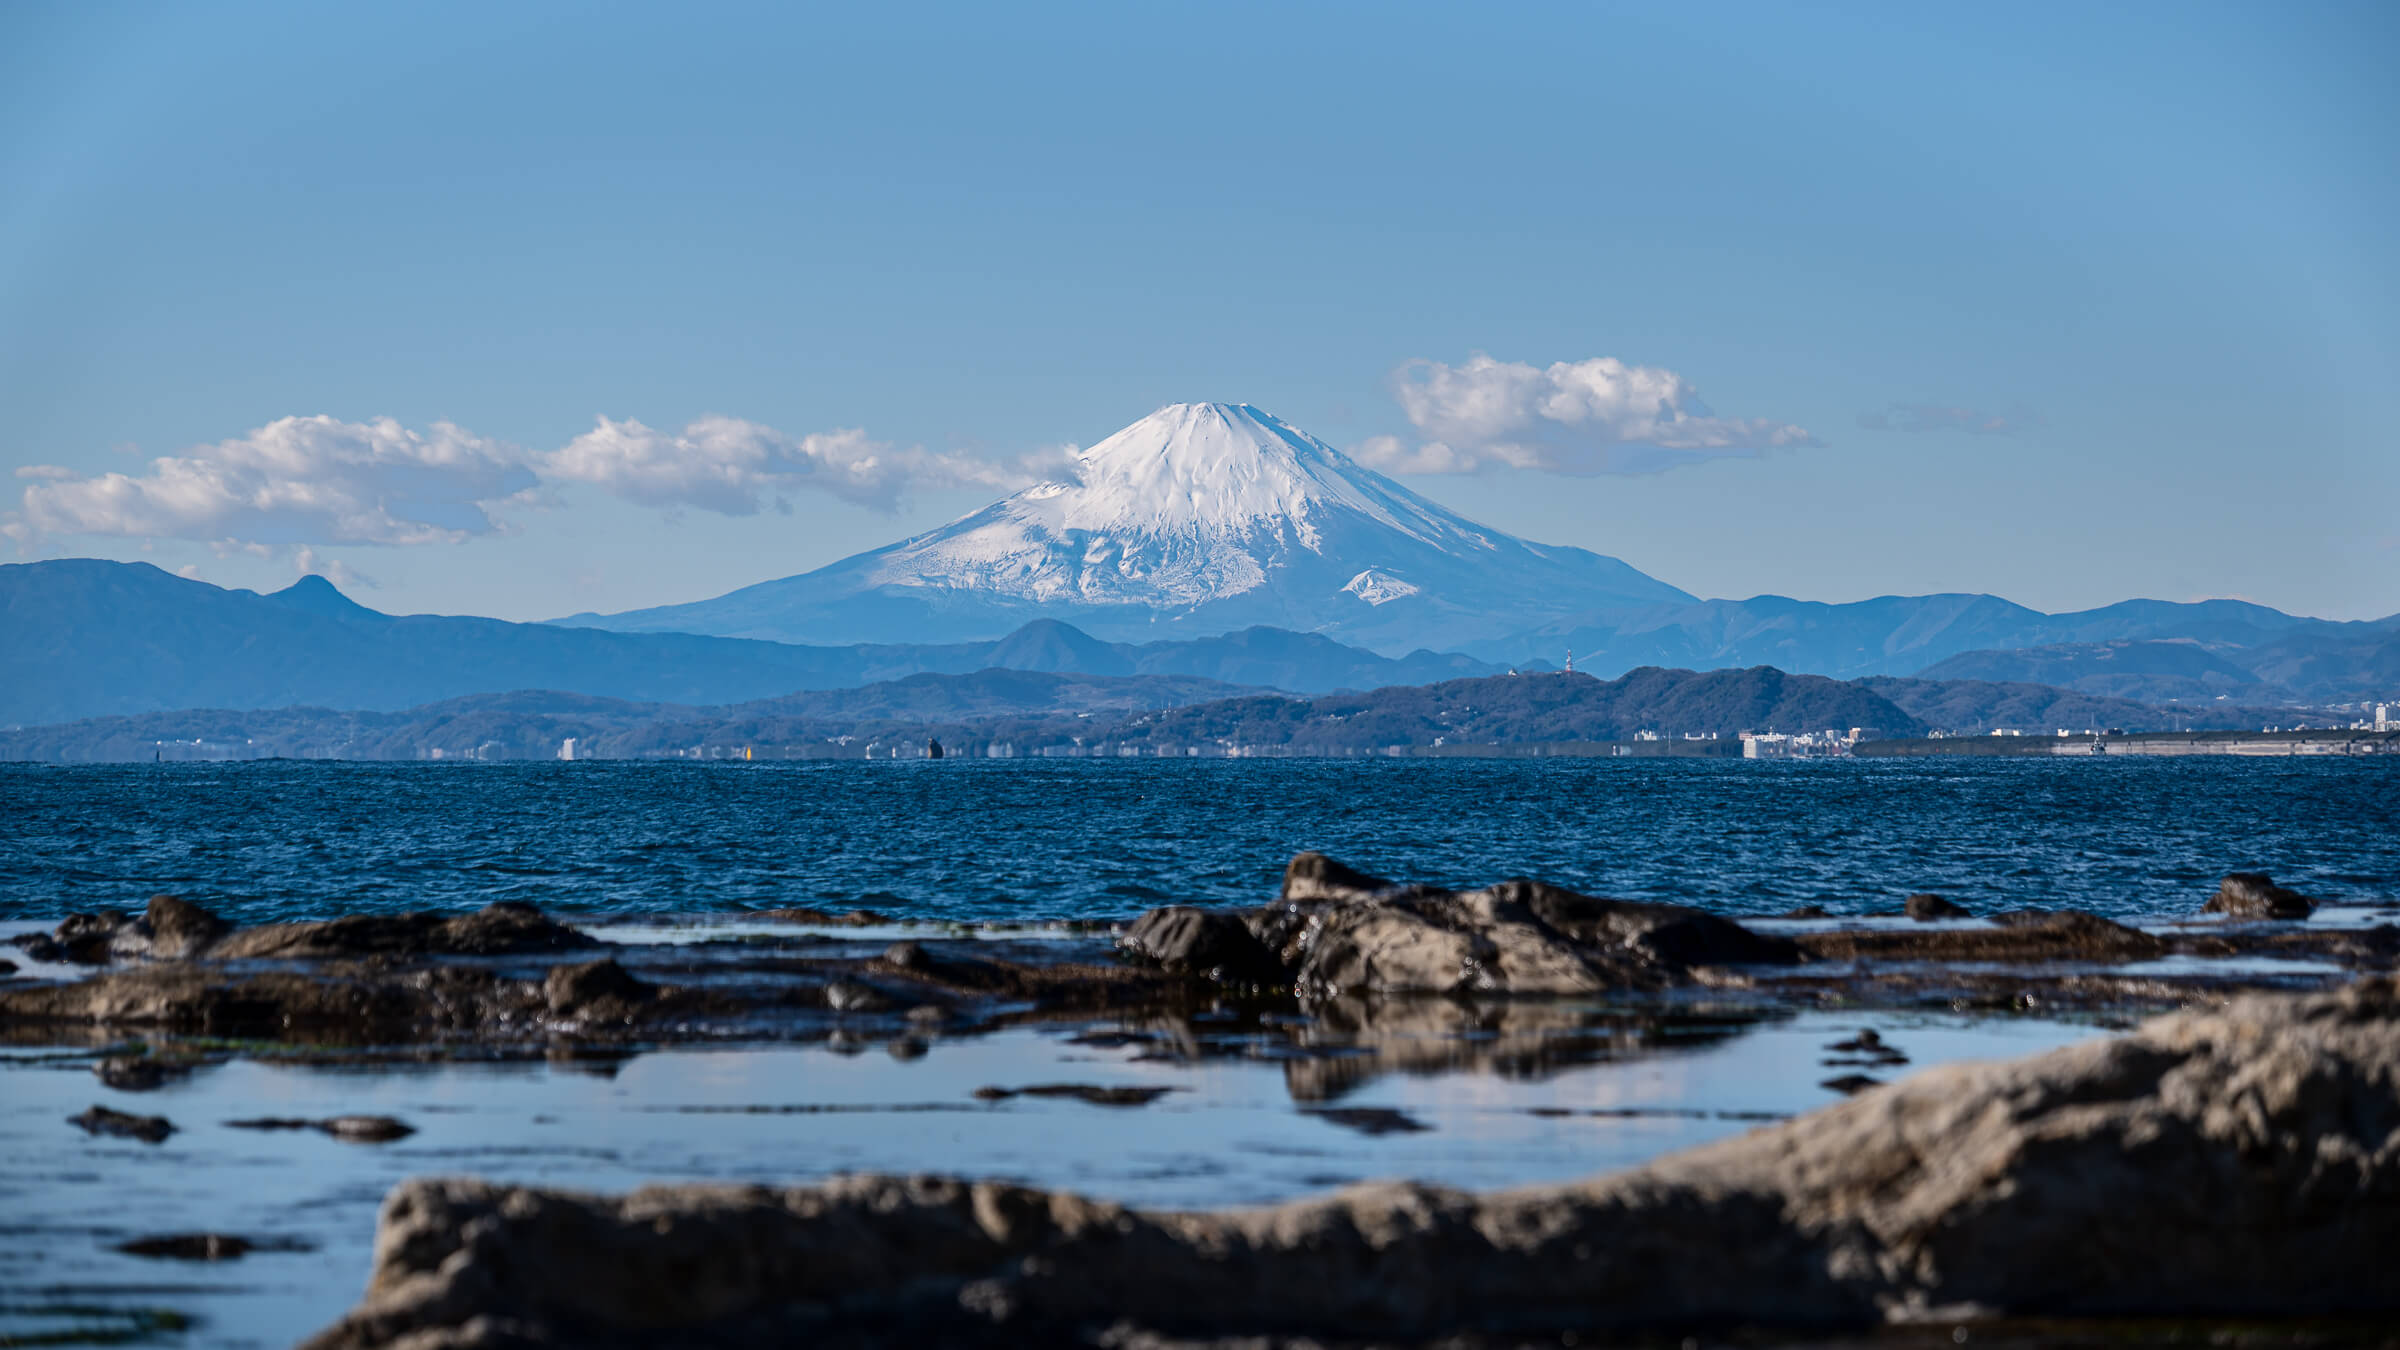
The surrounding middle section of the ascent opens toward the water and mainland. After looking closely at the hall, that outward view makes the height already gained easier to appreciate. It also connects the shrine visit with the bridge and coast that formed the start of the walk.
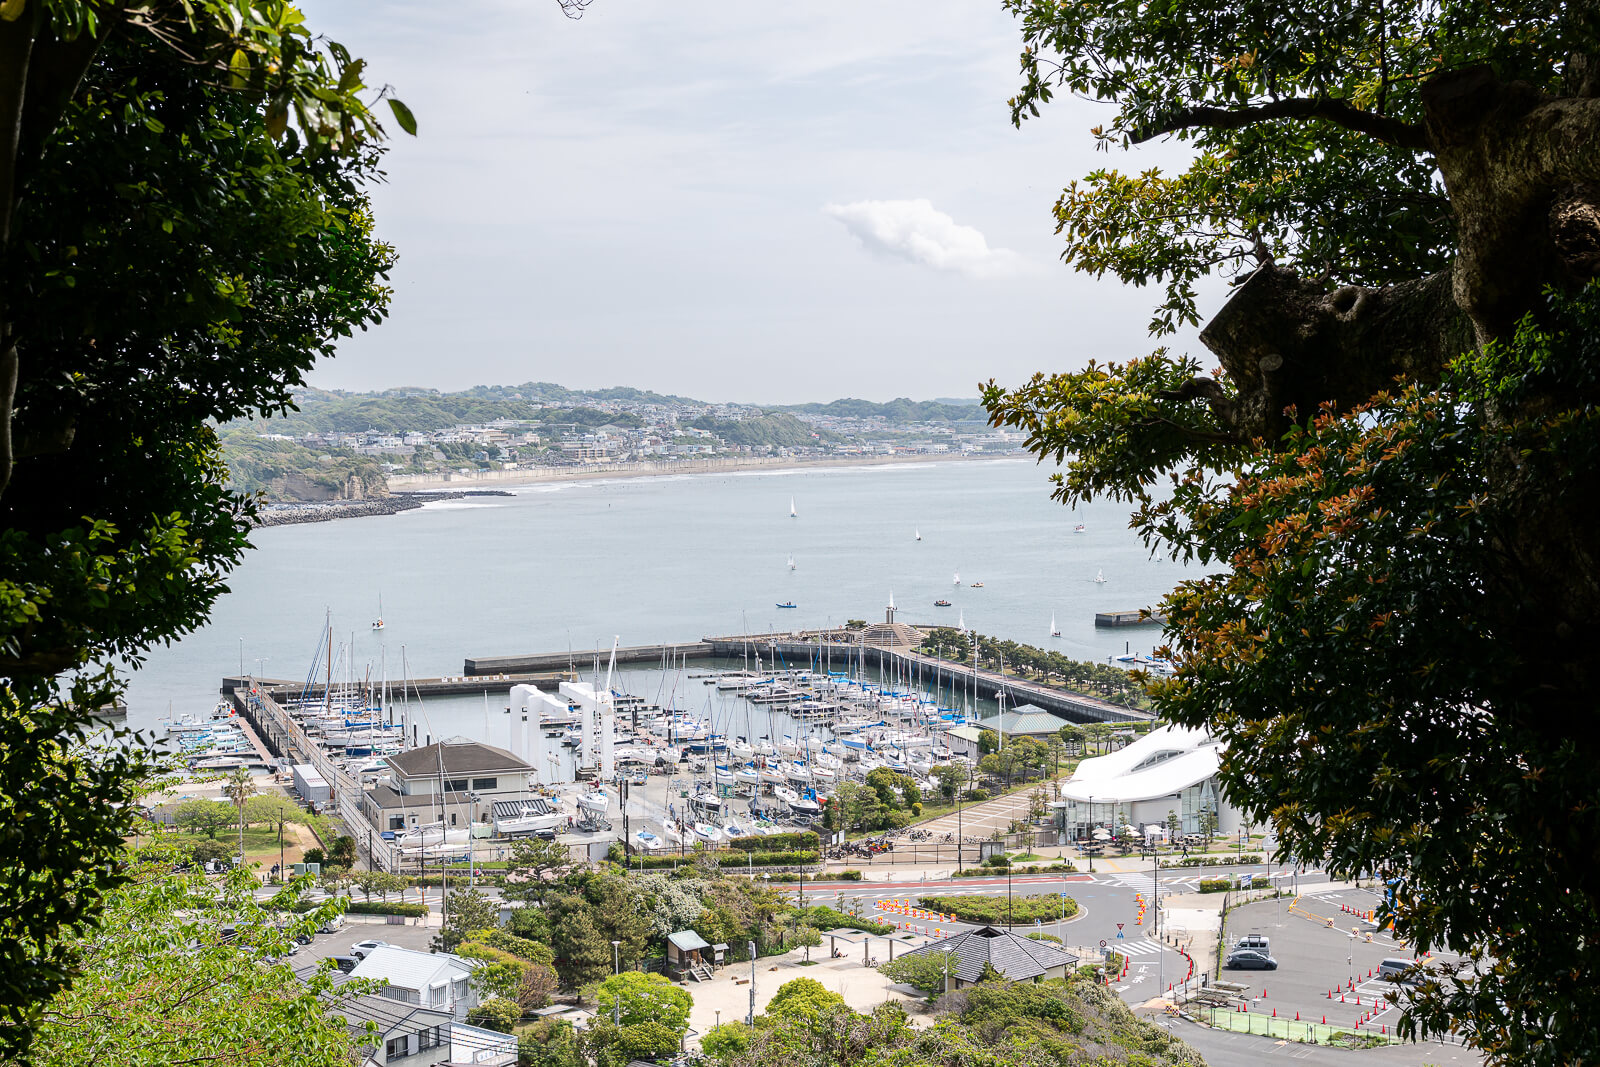
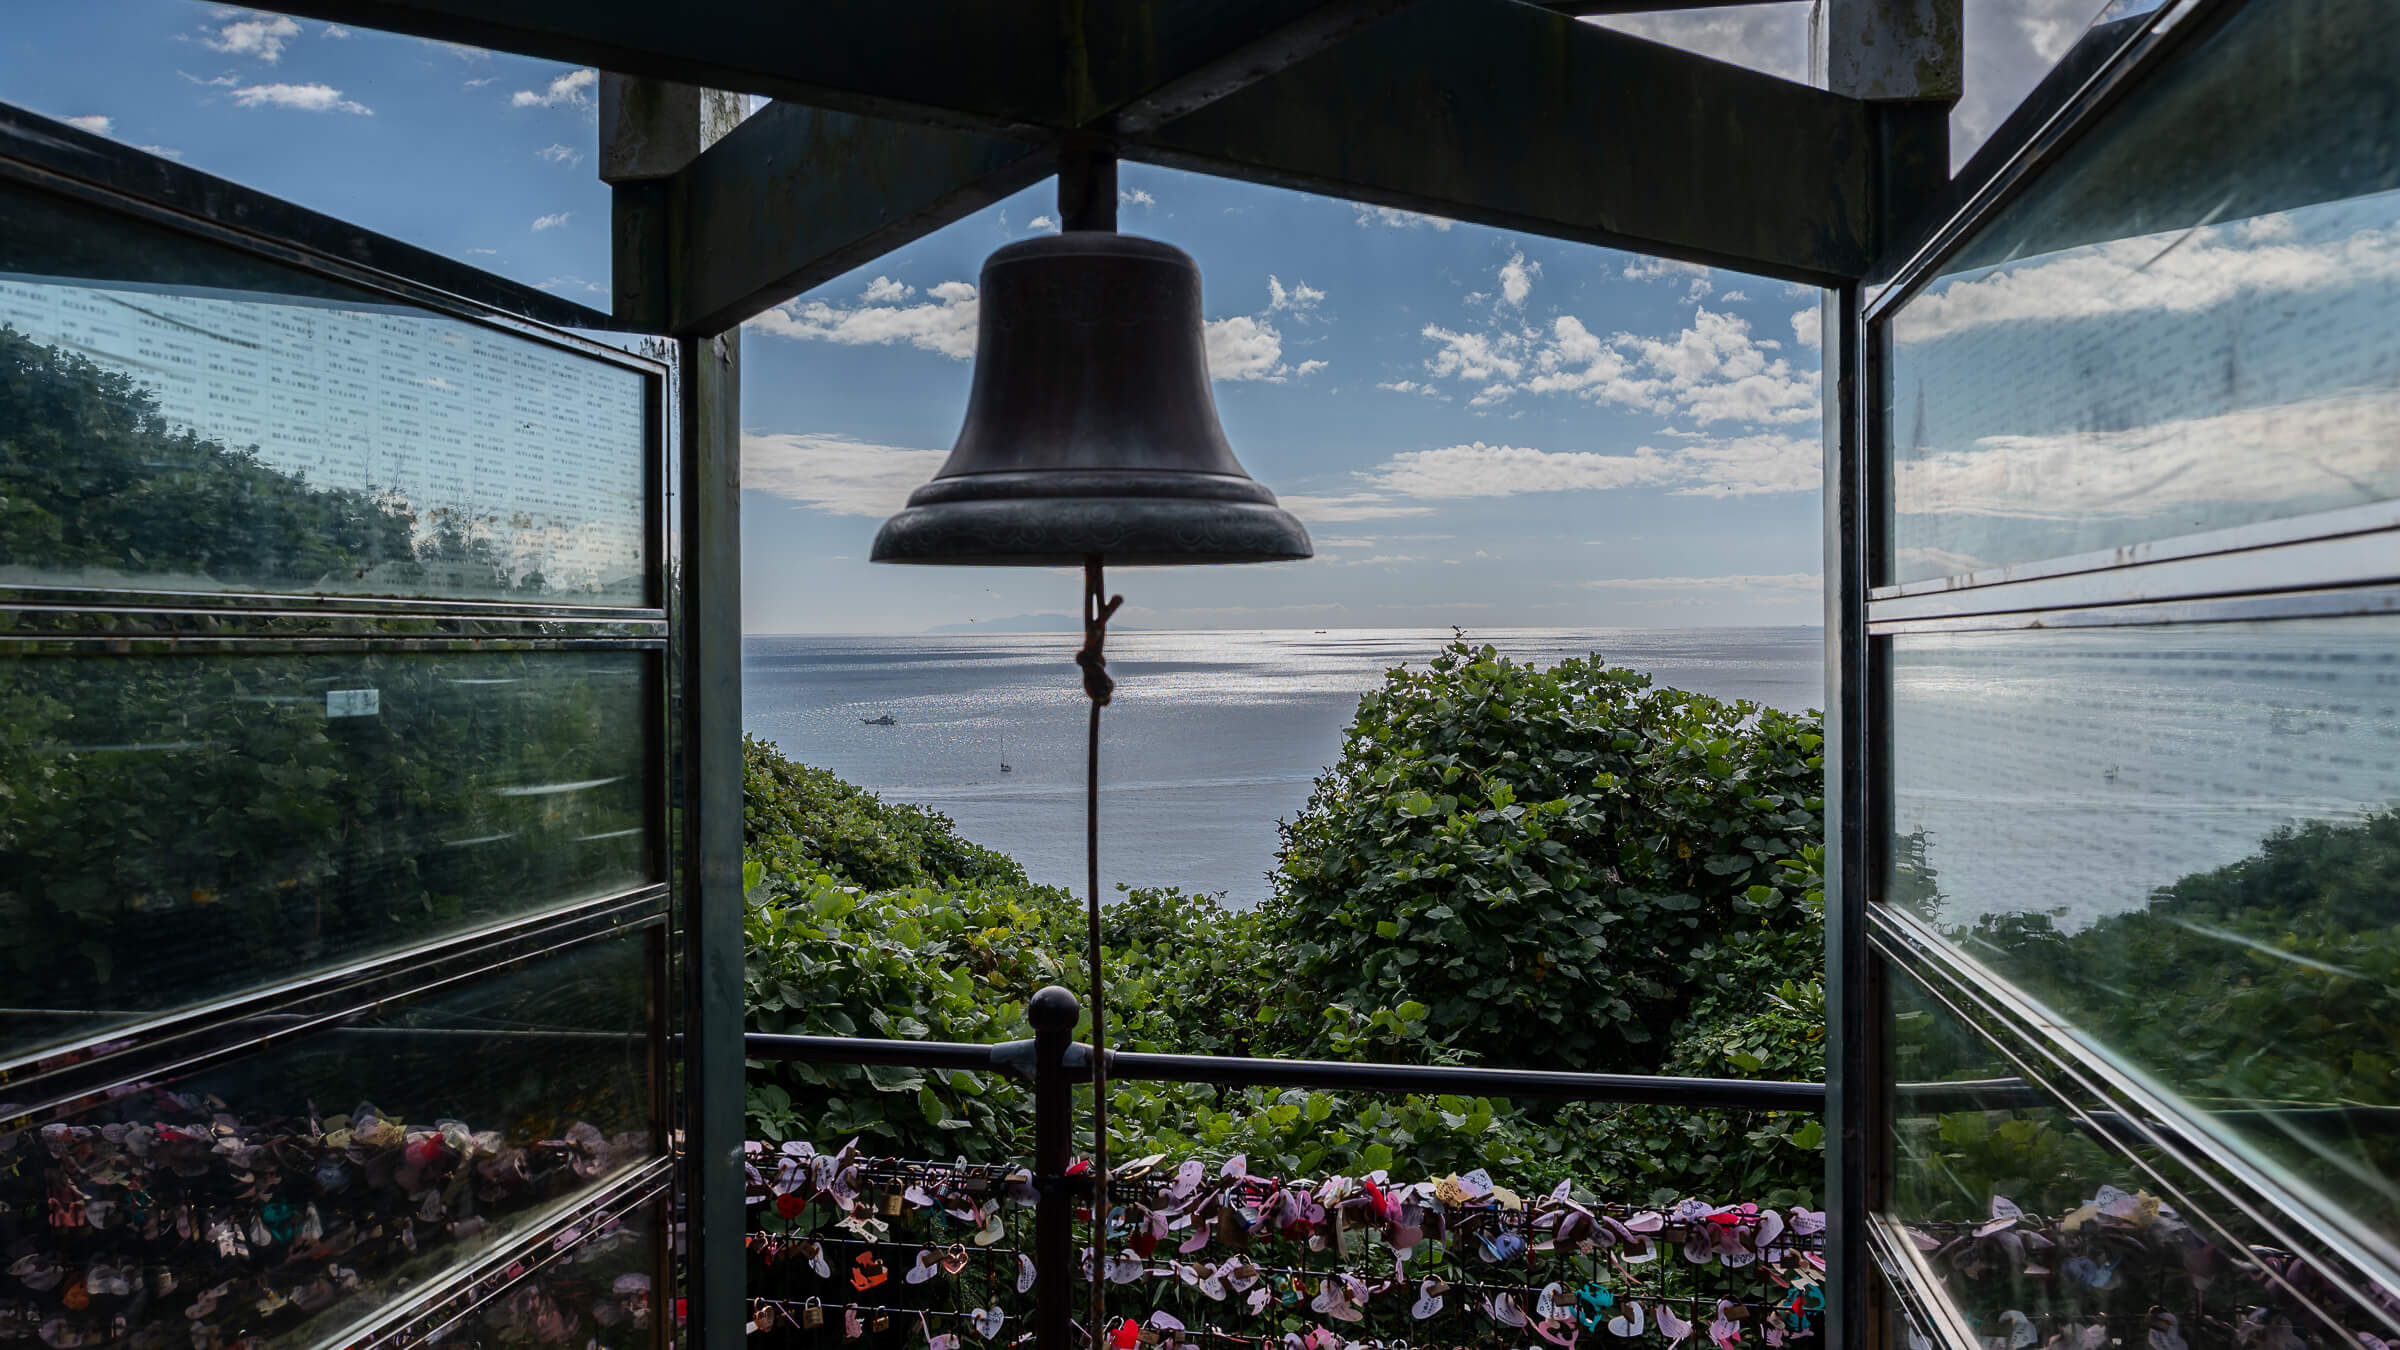
The viewpoint is part of the experience around Nakatsumiya, but it is useful to distinguish the precinct from the neighboring paths and open areas. An attractive outlook beside the route does not establish that the same panorama is available from every position at the hall. Explore the public path at this level and choose the view that the light and visibility support on the day.
The stairways can also provide a photograph looking back along the ascent. This is a different perspective from the close view of the architecture, with the descending route helping explain how the shrine sits on the hillside. Take the picture from a position that leaves room for people passing on the steps, particularly when others are stopping for the same view.
The Escar Route from Nakatsumiya to Samuel Cocking Garden
Visitors using the Escar reach Nakatsumiya on the second stage of the ascent and continue toward the third section after exploring this level. The system reduces the uphill effort, but walking still connects the escalators with the shrine and surrounding viewpoints. Allow for those short walks and stops instead of treating the Escar as a single lift from the entrance to the tower.
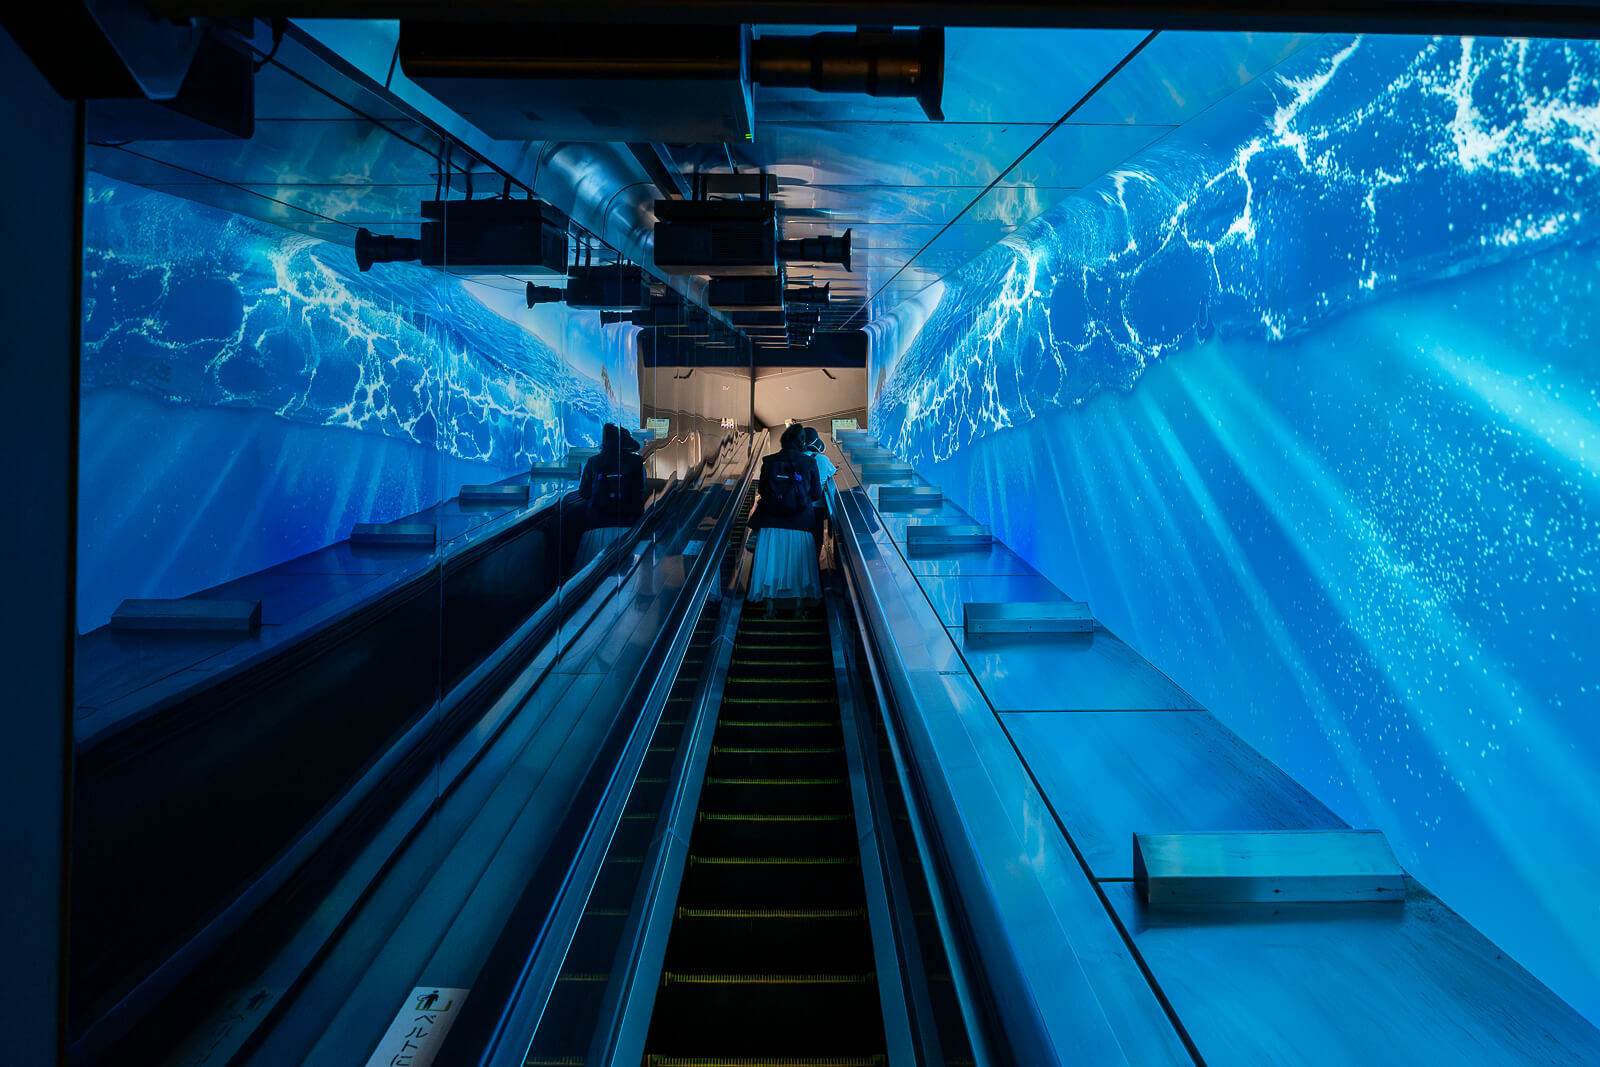
The next stage brings the route toward the summit outside Samuel Cocking Garden. The garden has its own visit, and the Sea Candle observation tower inside it is a separate paid choice. Reaching that area does not require deciding in advance to spend the rest of the afternoon there.
Nakatsumiya is well suited to a focused stop within that larger day: look at the hall from a distance, inspect the decoration, notice the lanterns and take the nearby coastal view if conditions suit it. Visitors interested in architecture can give those details more attention, while others can make a shorter pause and continue uphill. Its compact size keeps the stop manageable without reducing it to a landmark passed between escalator sections.
If the day continues to Okutsumiya, Chigogafuchi and Iwaya, preserve the time and energy needed beyond the summit. The Escar is an uphill aid, and there is no downhill escalator for the island return. Nakatsumiya’s position is therefore useful both as a cultural stop and as a moment to check how much of Enoshima still fits the day.
Getting There
Choose the railway approach before continuing up the island to Nakatsumiya with the guide to getting to Enoshima.
Access and Arrival
Continue uphill along the island route from Hetsumiya, using the next Escar section or the walking path.
- Across Enoshima Island
Hetsumiya → next uphill walking or Escar section → Nakatsumiya
Follow the signed island route and local access instructions. · Allow for slopes, stairs and the walking return.
Continue uphill: The next stage climbs toward the summit. The Escar runs uphill only; plan the walking descent as well.
Hours and Fees
Visitor information
Nakatsumiya is a brief shrine stop between Hetsumiya and the island summit.
- Hours
- Plan the outdoor precinct visit for daylight and allow time for the next uphill section. Check current reception and any special access arrangements on arrival.
- Admission
-
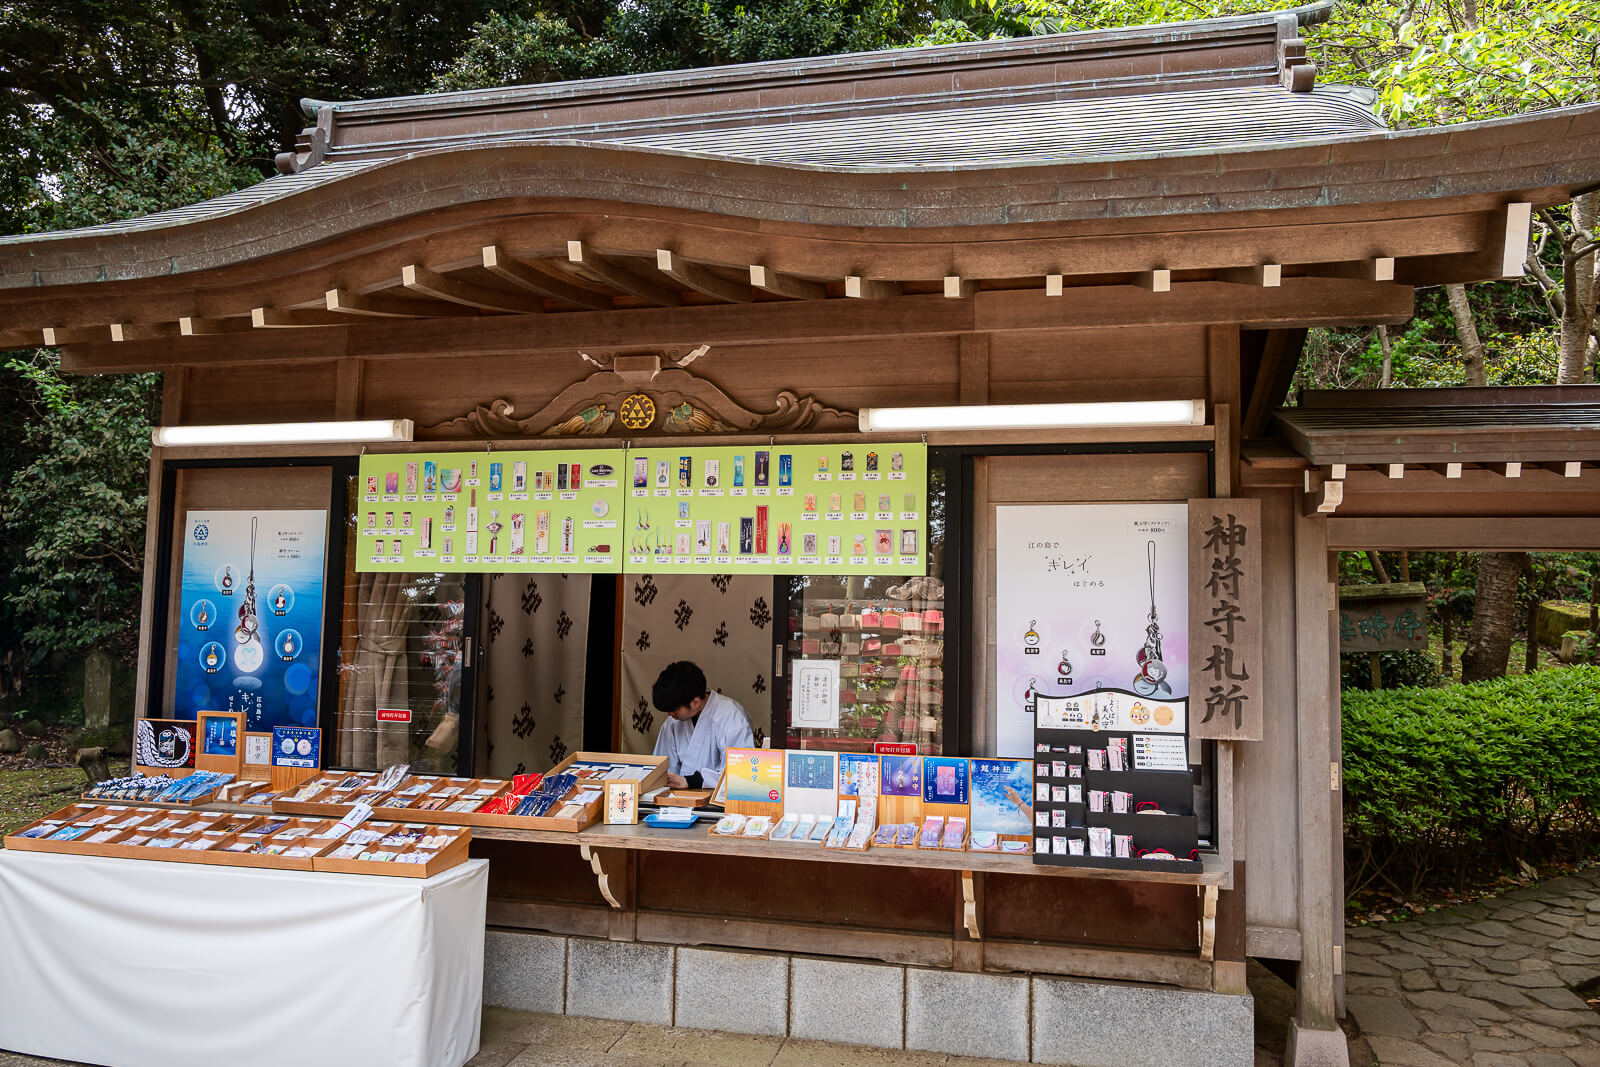
No separate precinct admission ticket. Escar travel, goshuin, amulets and other purchases are separate optional costs.
Optional combined admission
Enoshima Island All-Access Pass
Optional for a wider island-and-aquarium day. Includes Escar, Sea Candle, Iwaya and the aquarium. Choose + Night for event-evening garden entry. Rail, Bentenmaru and Hoanden are separate; check date and package conditions.
Compare Enoshima All-Access Passes
Plan Your Visit
Choose the stay, transport and experiences that fit the wider coastal trip.
Compare Fujisawa and Enoshima Stays
Compare the actual location, station connection and cancellation terms before choosing a mainland or island base for a longer coastal visit.
Compare Fujisawa Stays
Compare Tokyo Car Rental Options
Rail and walking suit Enoshima itself. Consider a rental car when the wider trip includes places beyond the local railway corridor.
Compare Tokyo Car Rentals
Browse Guided Kamakura Day Trips
Compare itineraries, included stops and free time. Check explicitly whether the selected tour includes Enoshima before booking.
Browse Kamakura Tours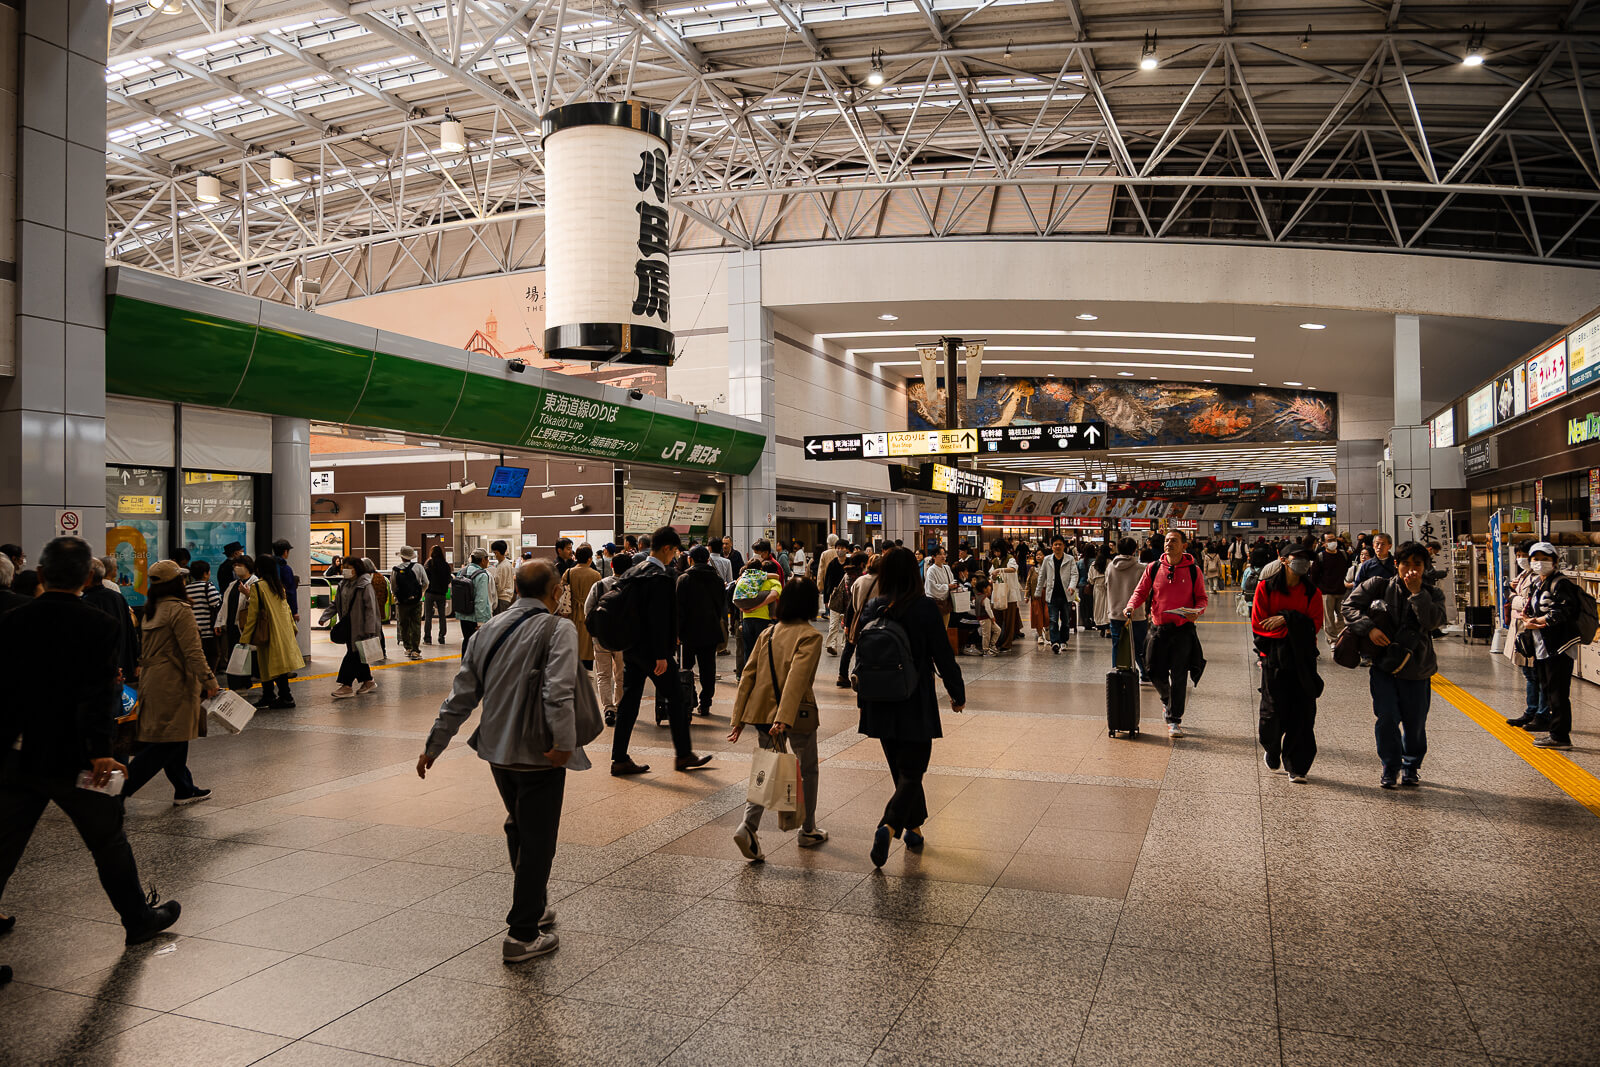
Explore Enoshima Aquarium Tickets
Add jellyfish galleries and Sagami Bay marine life to your coastal day. View aquarium admission options for your travel date.
View Aquarium Tickets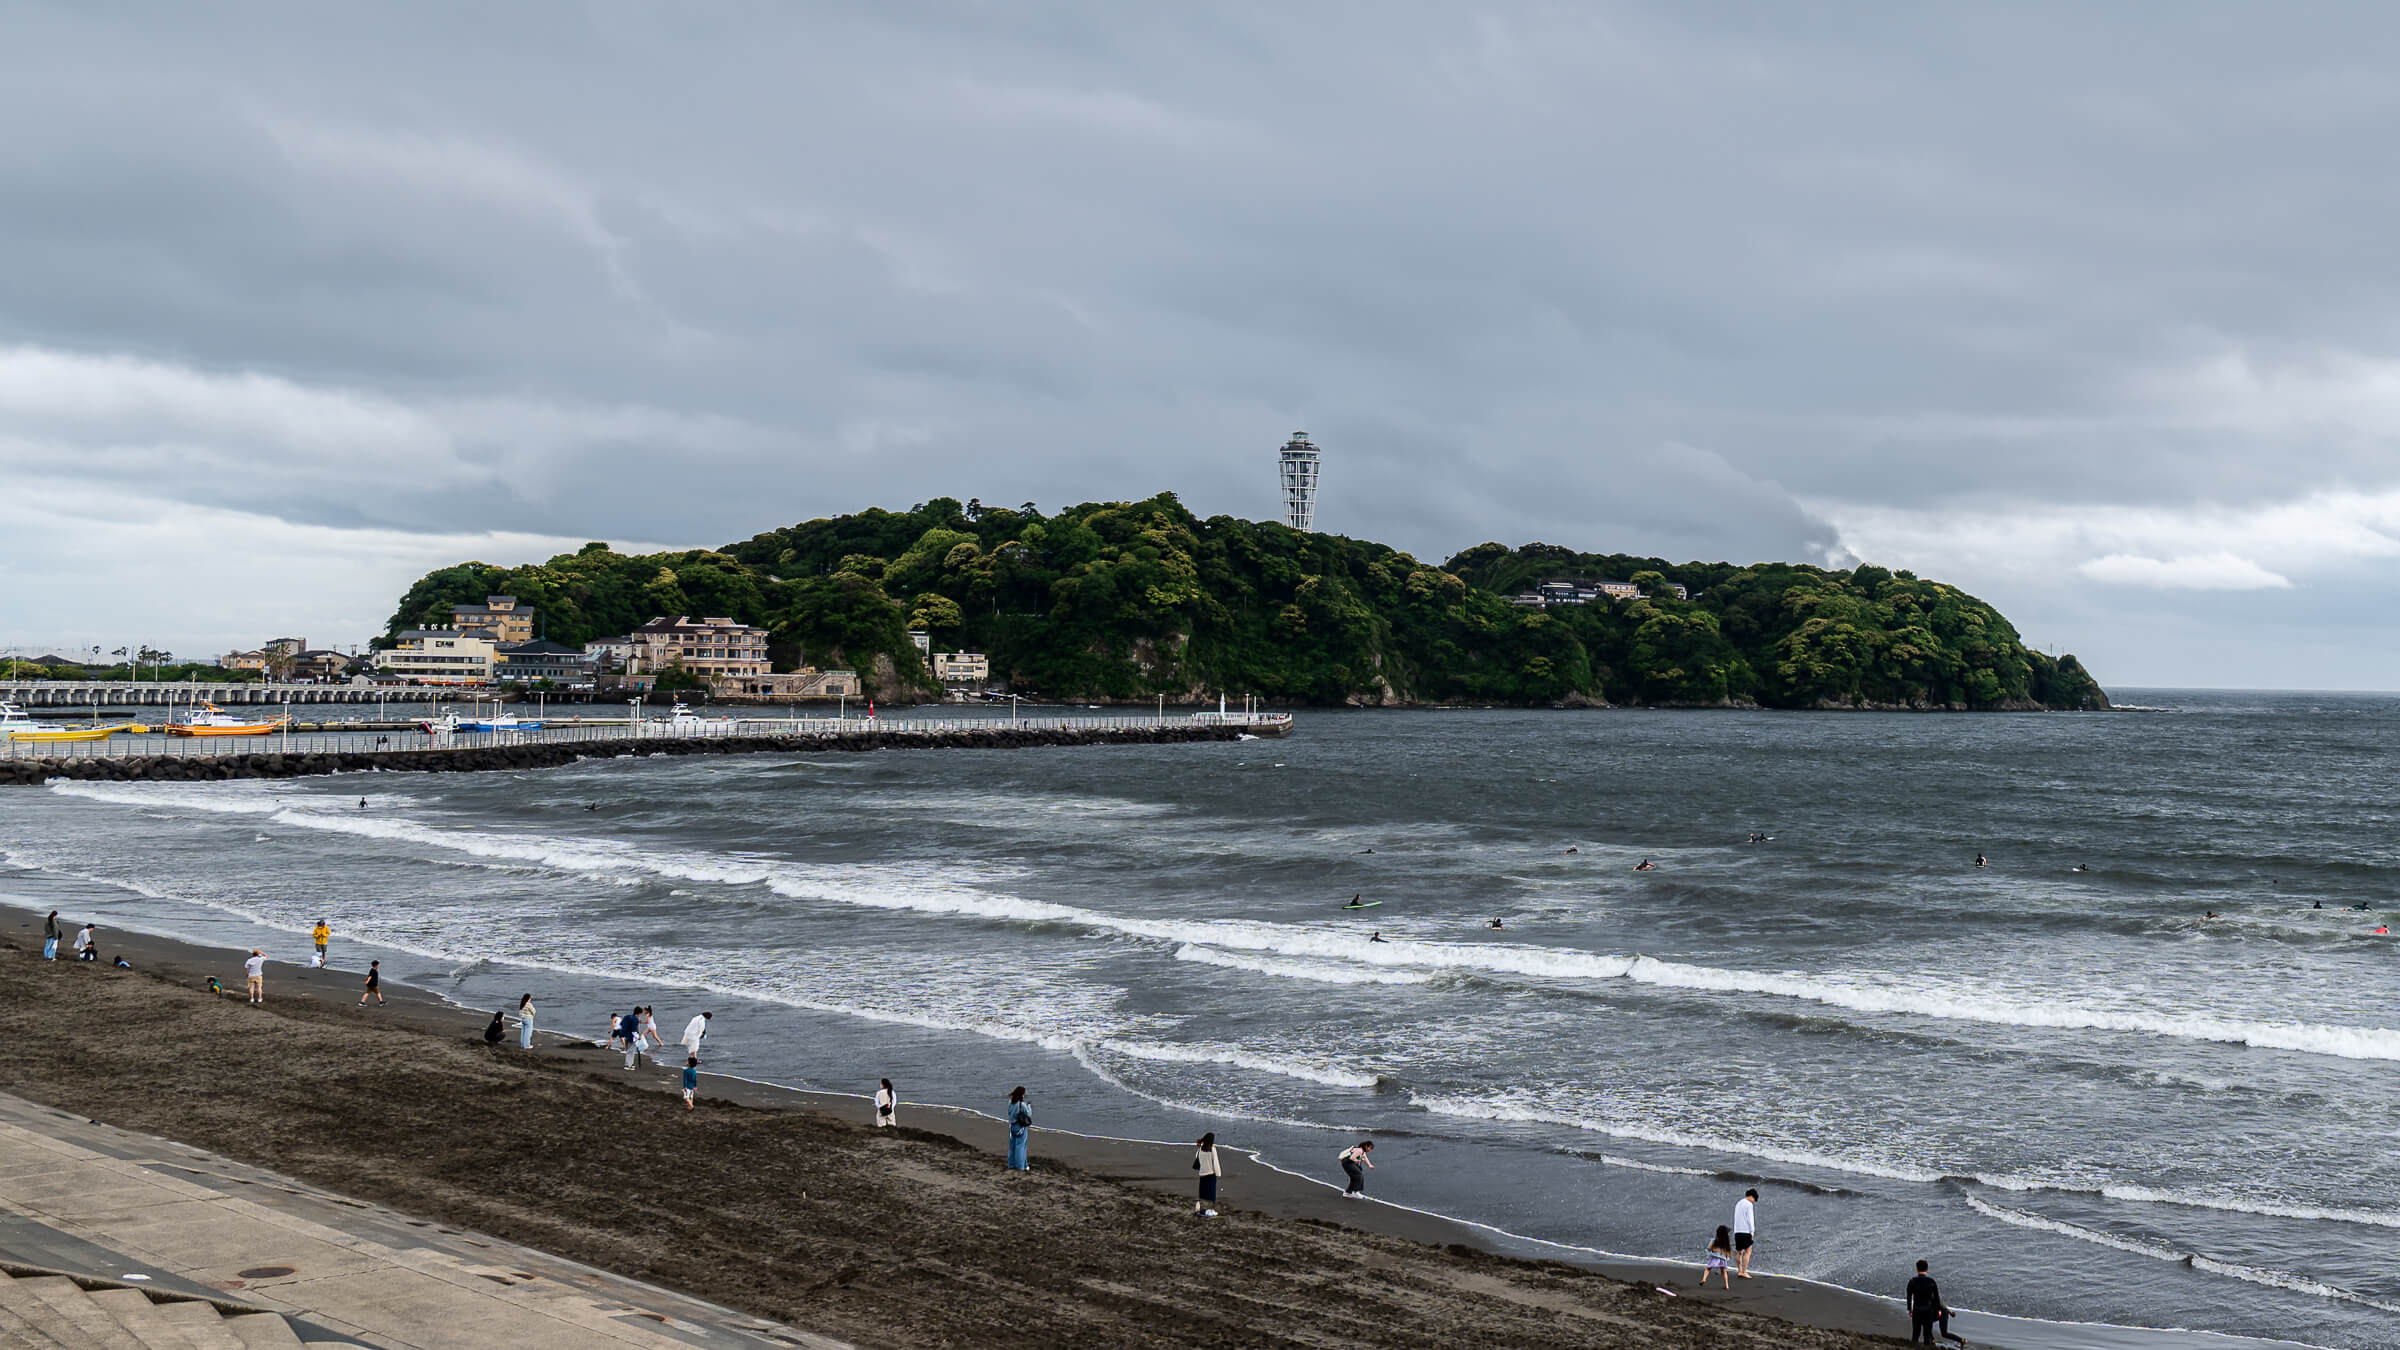
Compare Japan Data Plans
Check phone compatibility, coverage and data allowance for navigation, translation and railway updates while travelling along the coast.
Compare Japan eSIMs
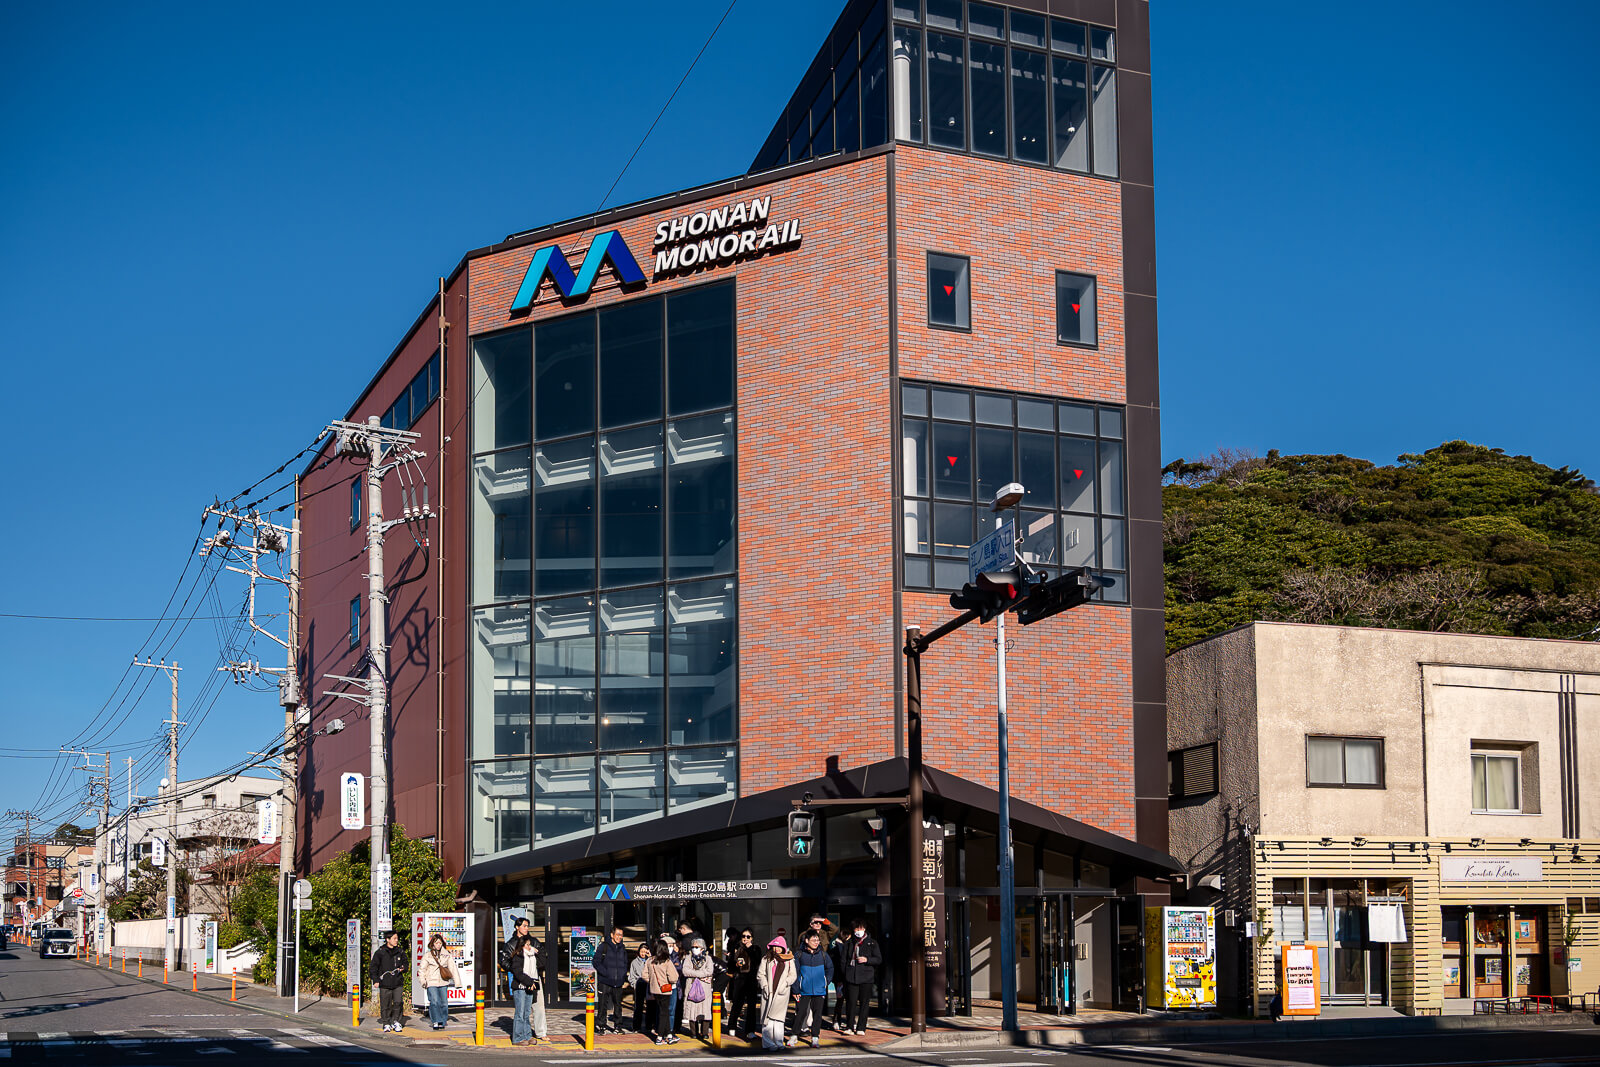
Consider the Shonan Monorail
Check ticket validity and the Ofuna connection before choosing the monorail approach. It does not cover every railway serving Enoshima.
View Monorail Tickets