What to See Around the Lower Shrine
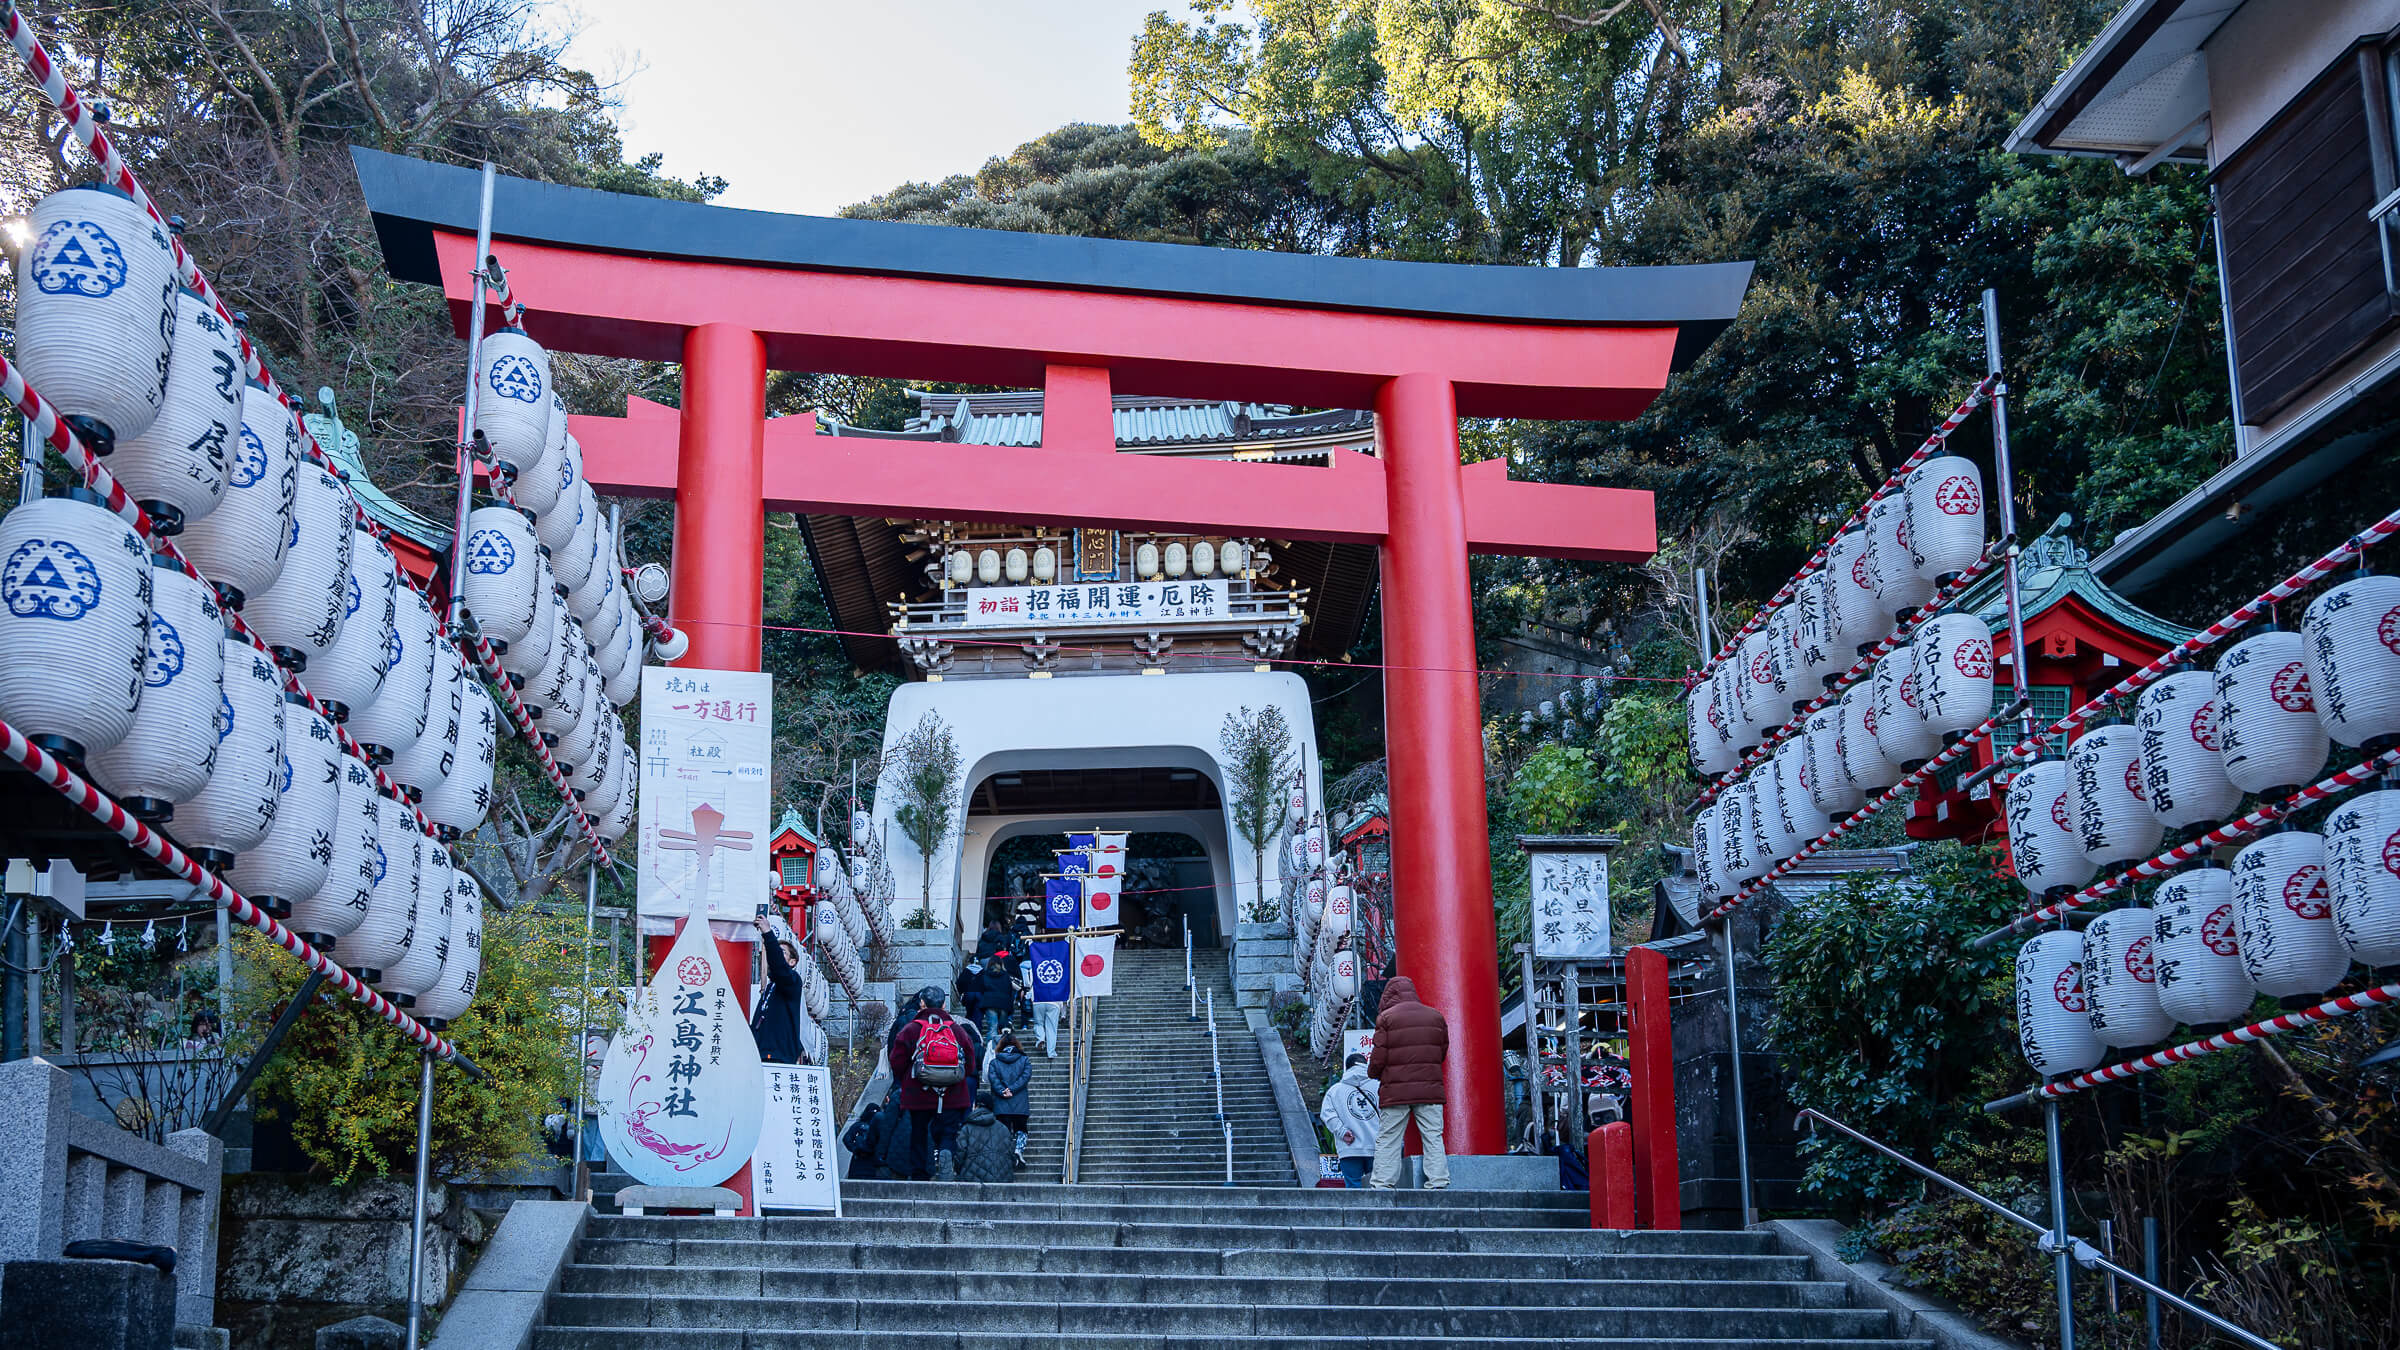
Hetsumiya is the first main precinct of Enoshima Shrine in Fujisawa, Kanagawa, on the climb from the island’s shopping street. The worship hall is the obvious stopping point, but several of the most distinctive features sit around it: the white-dragon coin-washing area, the wish-granting mallet and Hoanden, the octagonal hall housing two Benzaiten statues. This is a place to look around before continuing to the next escalator, especially for visitors interested in how the island’s religious traditions appear in individual objects and buildings.
Hetsumiya belongs to the same shrine as Nakatsumiya and Okutsumiya, which are spread farther across Enoshima. It is the lower precinct, so it can fit a shorter island visit without requiring the full walk to the far-side coast. Entry to Hoanden is a separate decision within this stop, with its own admission and opening hours. The Enoshima island guide places the three precincts within the wider walking route.
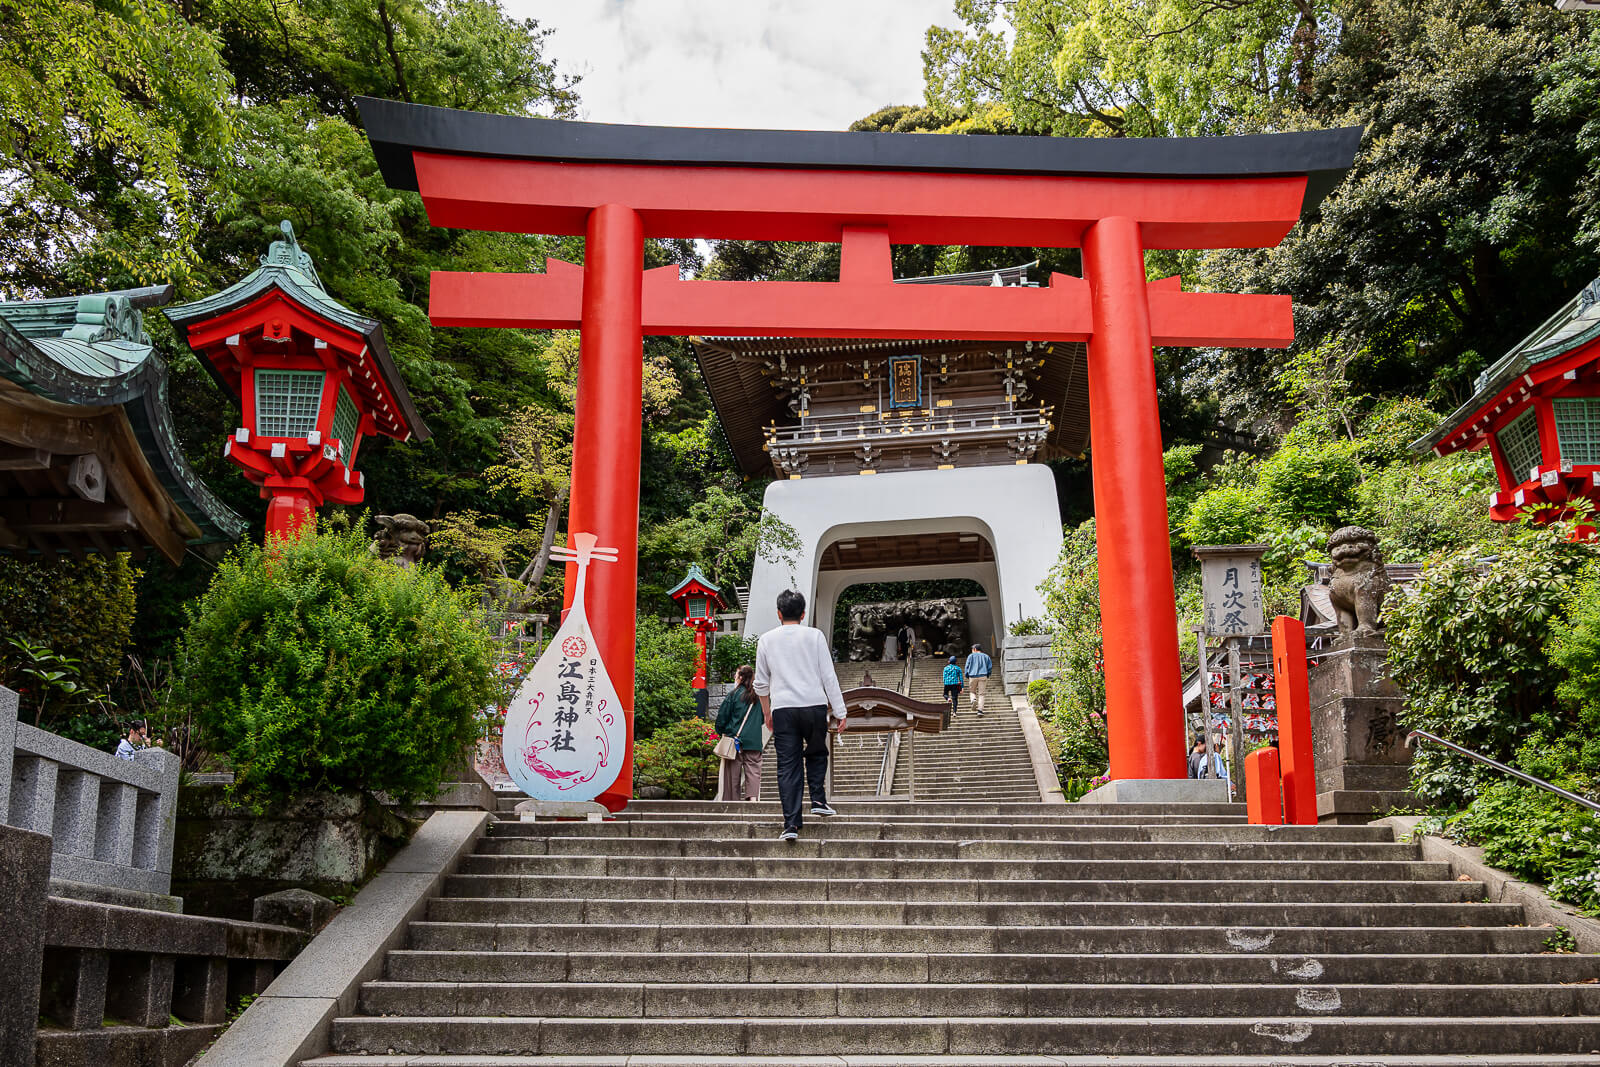
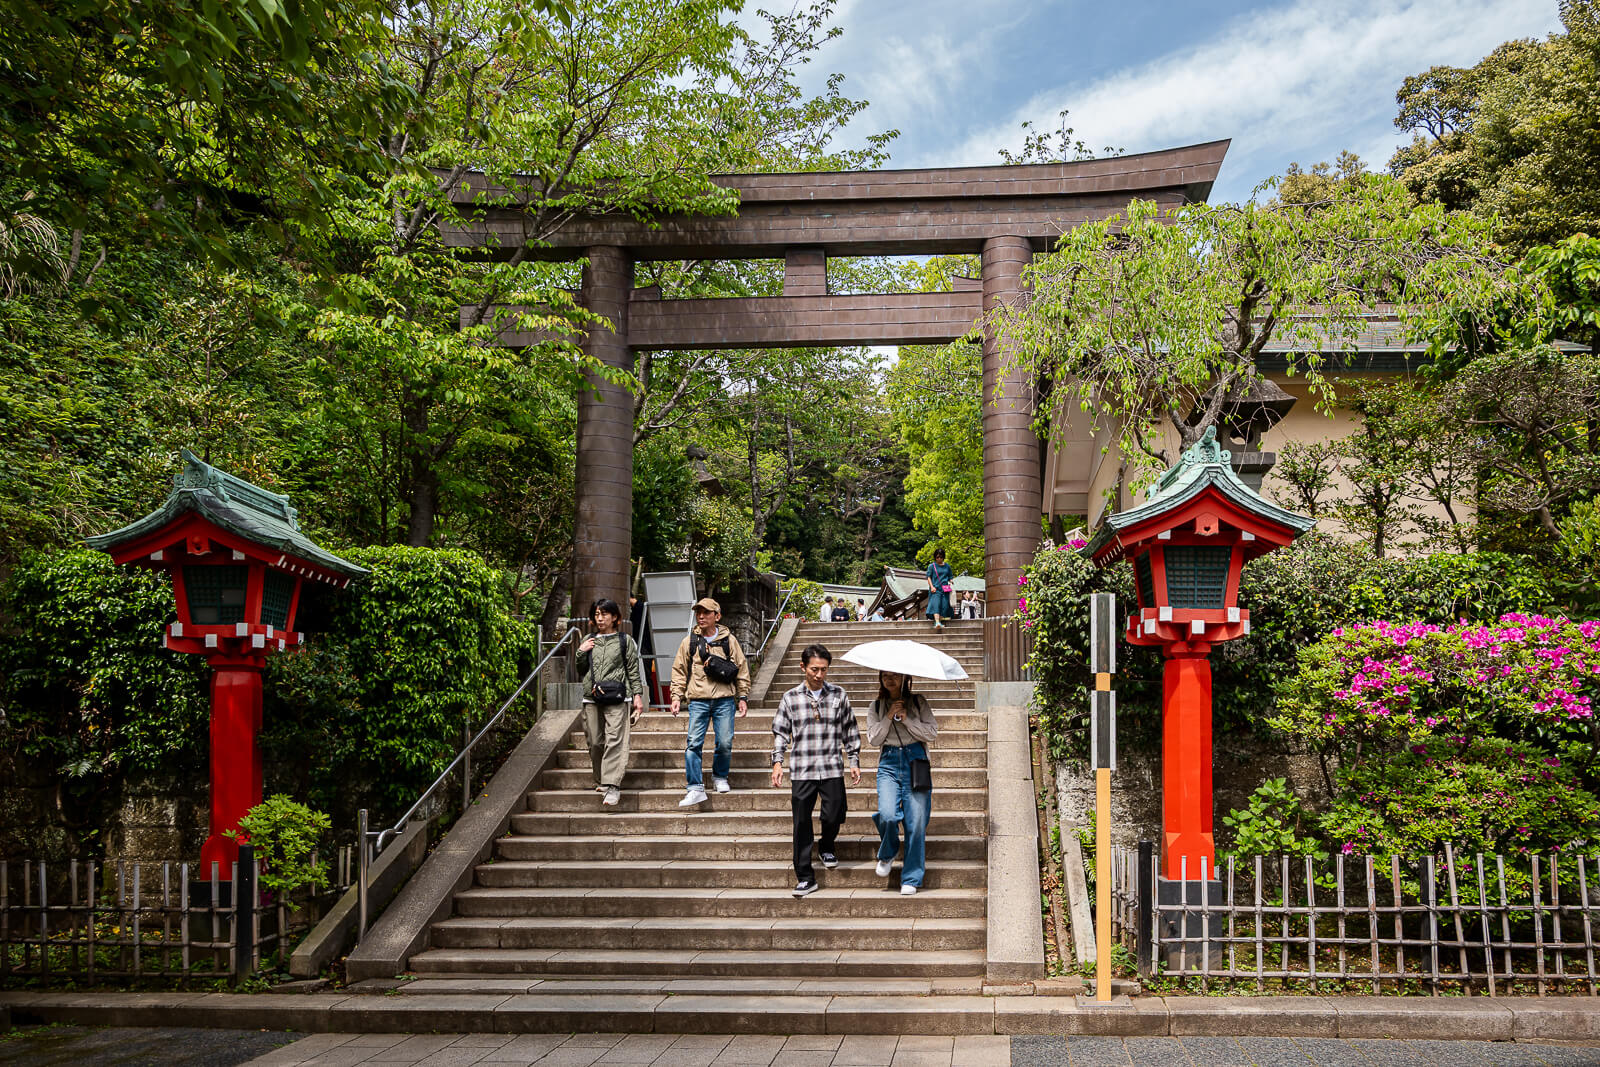
The approach provides a useful introduction to the precinct’s position. Shops and food stalls continue uphill until the stairs and gateway take over, and a look back down the street places the shrine above the arrival route. That short backward view is worth remembering even when the paid Escar is being used to save energy for the rest of the island.
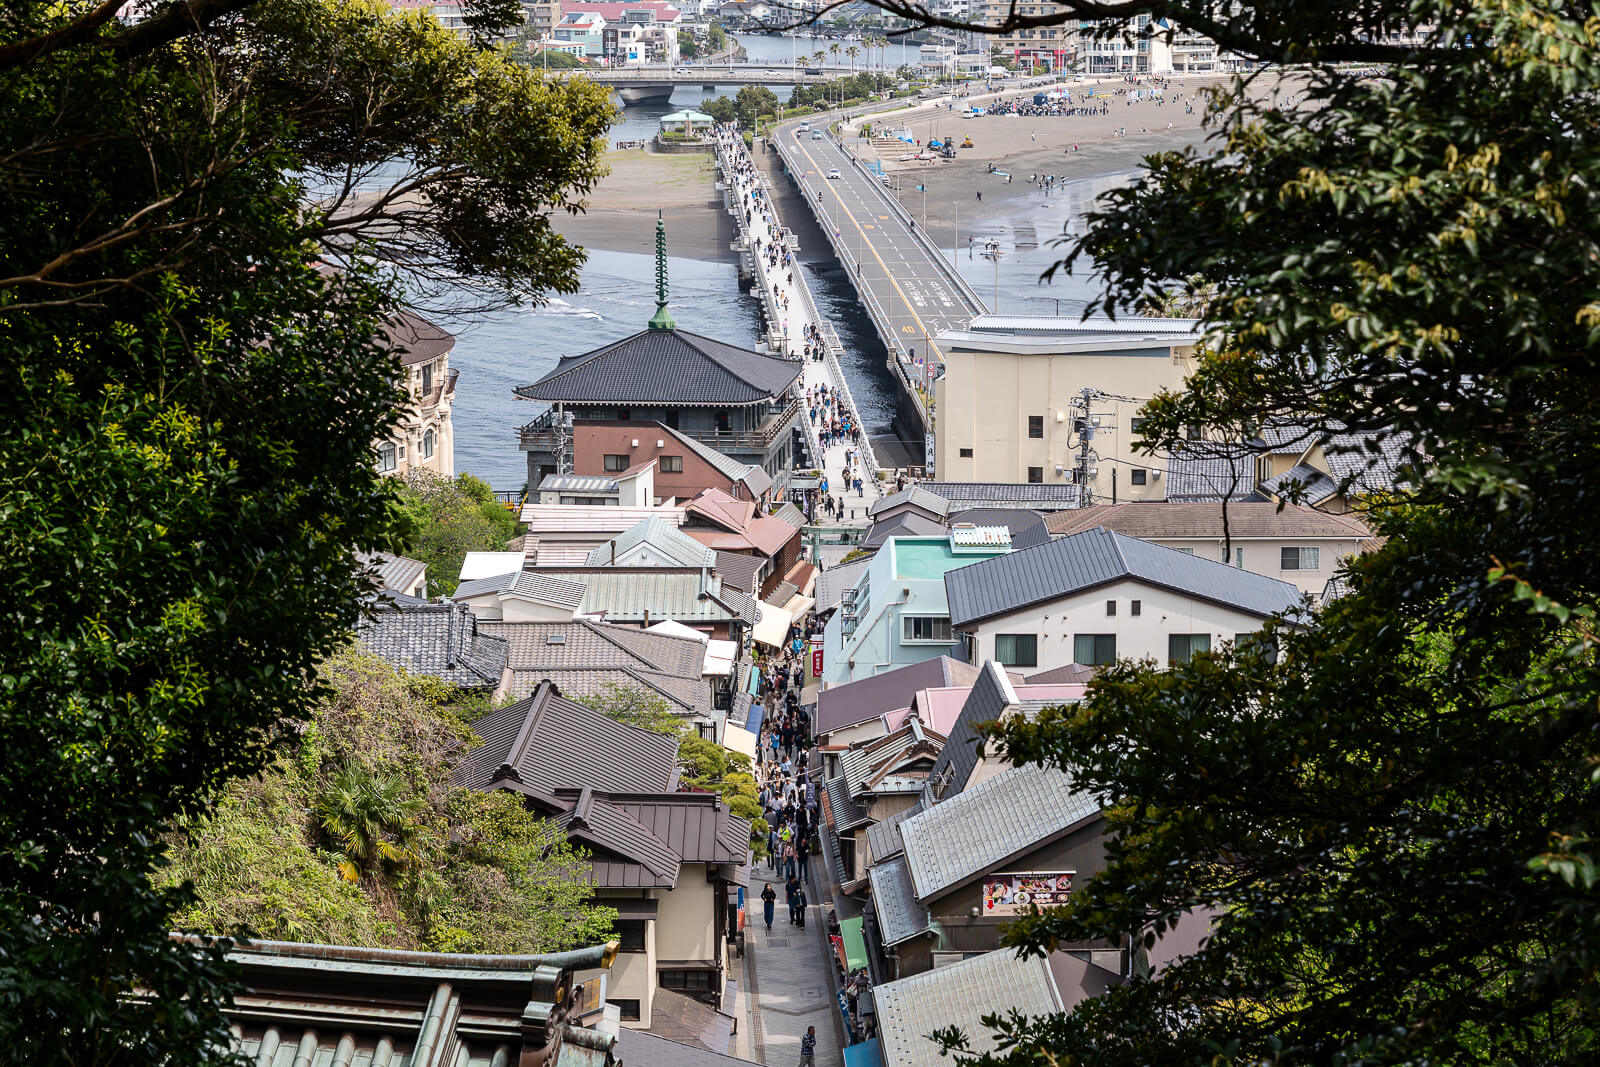
The Shrine Approach and the View Down Enoshima’s Shopping Street
The climb begins among the shops of the island approach, where food, souvenirs and people walking uphill remain part of the same narrow street. At its upper end, the stairway gives the route a more definite destination. From the first useful landing, looking downhill brings the shops and approach into one view, providing a different photograph from the forward-facing view of the hall.
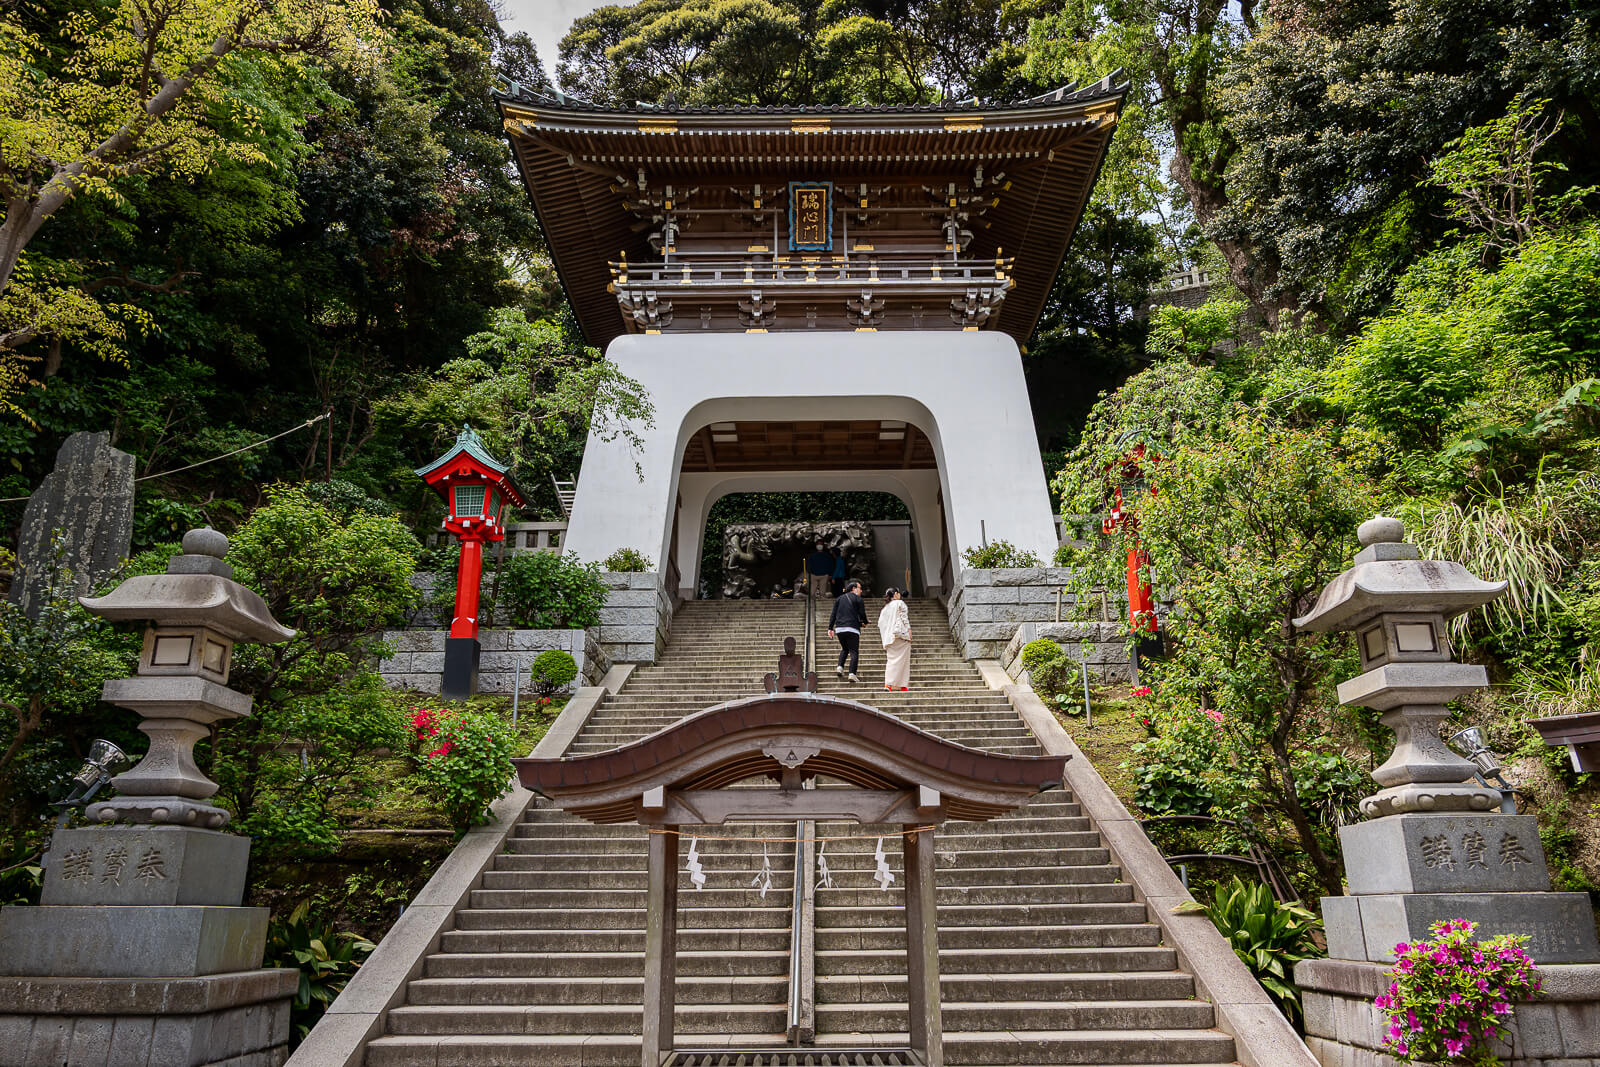
This is an optional photographic detour, not a reason to climb the entire stair route if the Escar better suits the day. A visitor can walk up for the view, return to the lower level and then use the escalator toward Hetsumiya. Keep the stairs clear while choosing a position, since this is also a working approach for people continuing to the shrine.
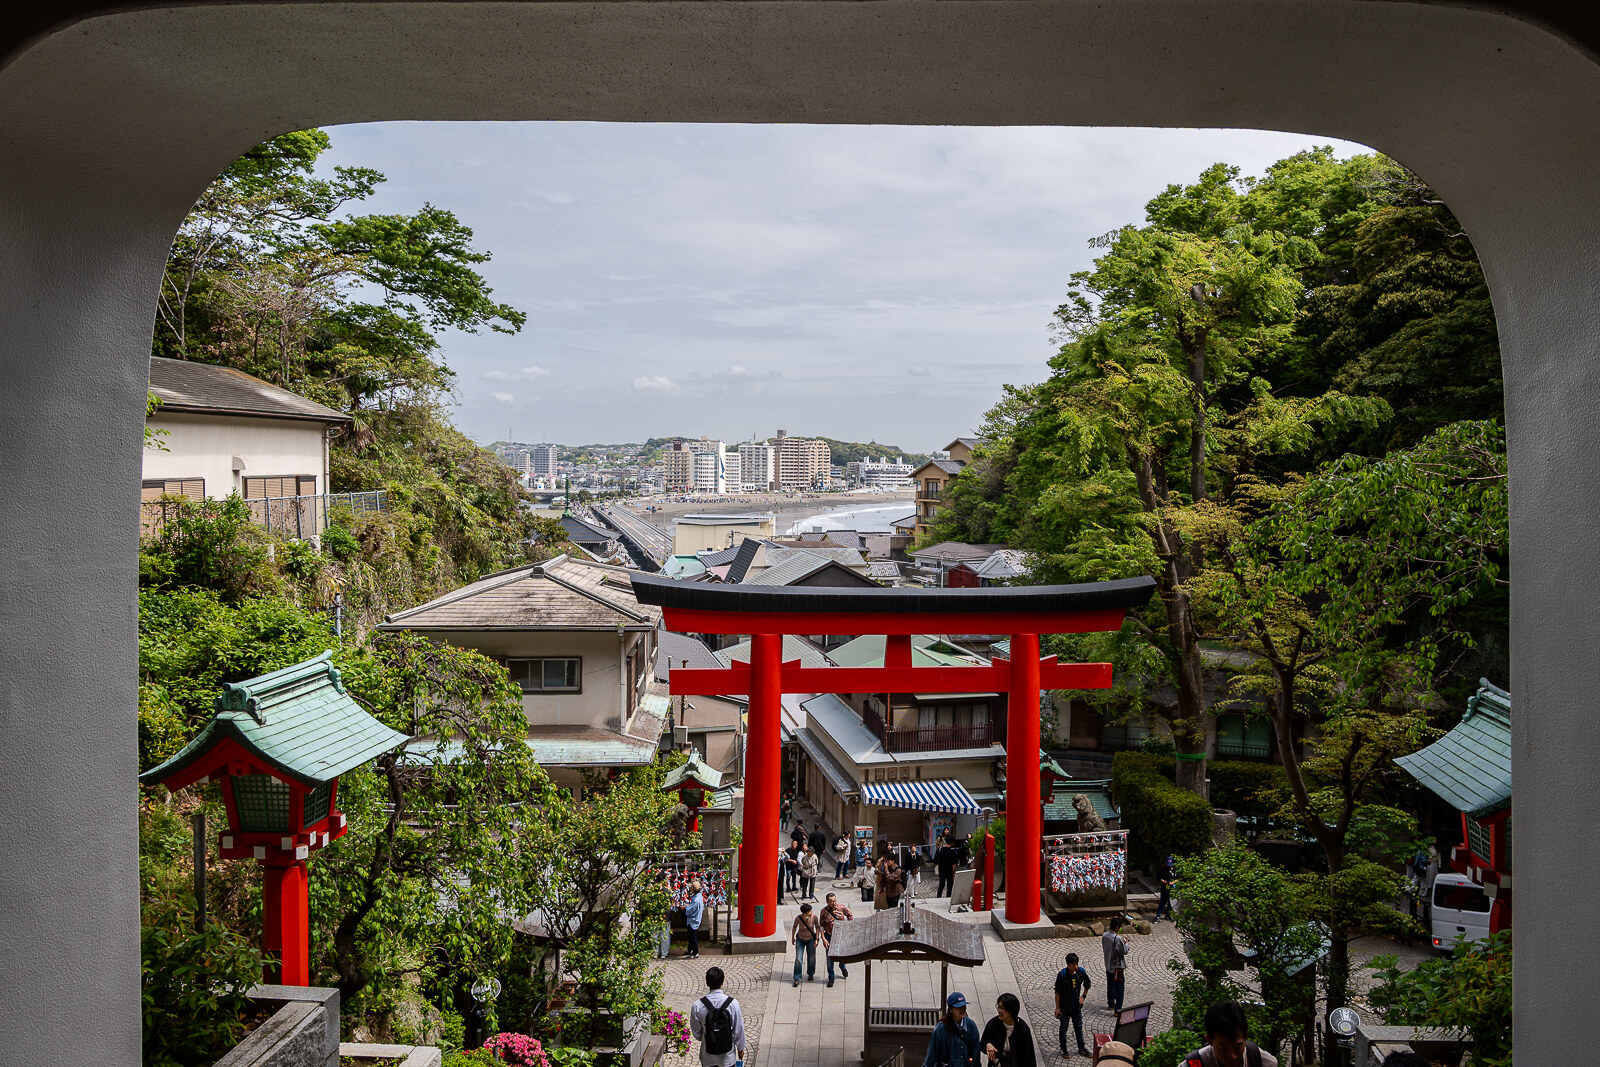
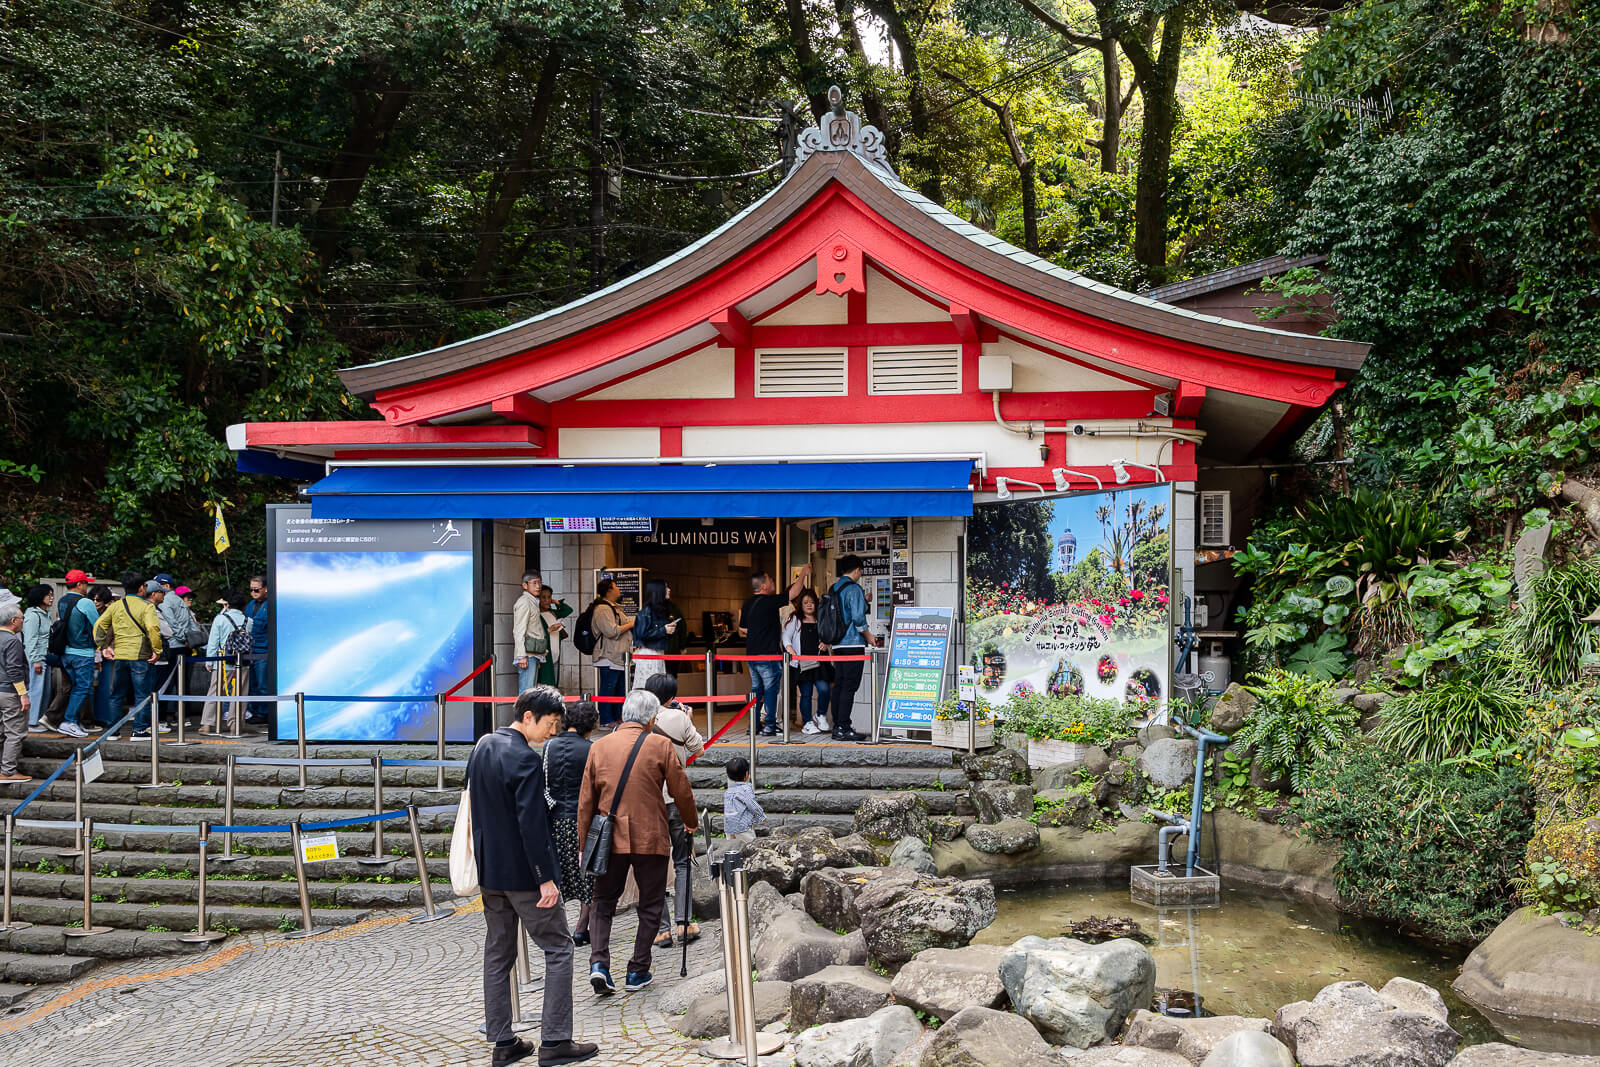
The Escar boarding area and ticket options are part of the same lower approach, so the choice can be made around energy, interest and the remaining island route. Taking the escalator still leaves the shrine precinct itself to explore on foot. It saves some uphill effort without replacing the stop at the hall or making the smaller devotional features disappear from the visit.
Hetsumiya’s History and Its Rebuilt Shrine Hall
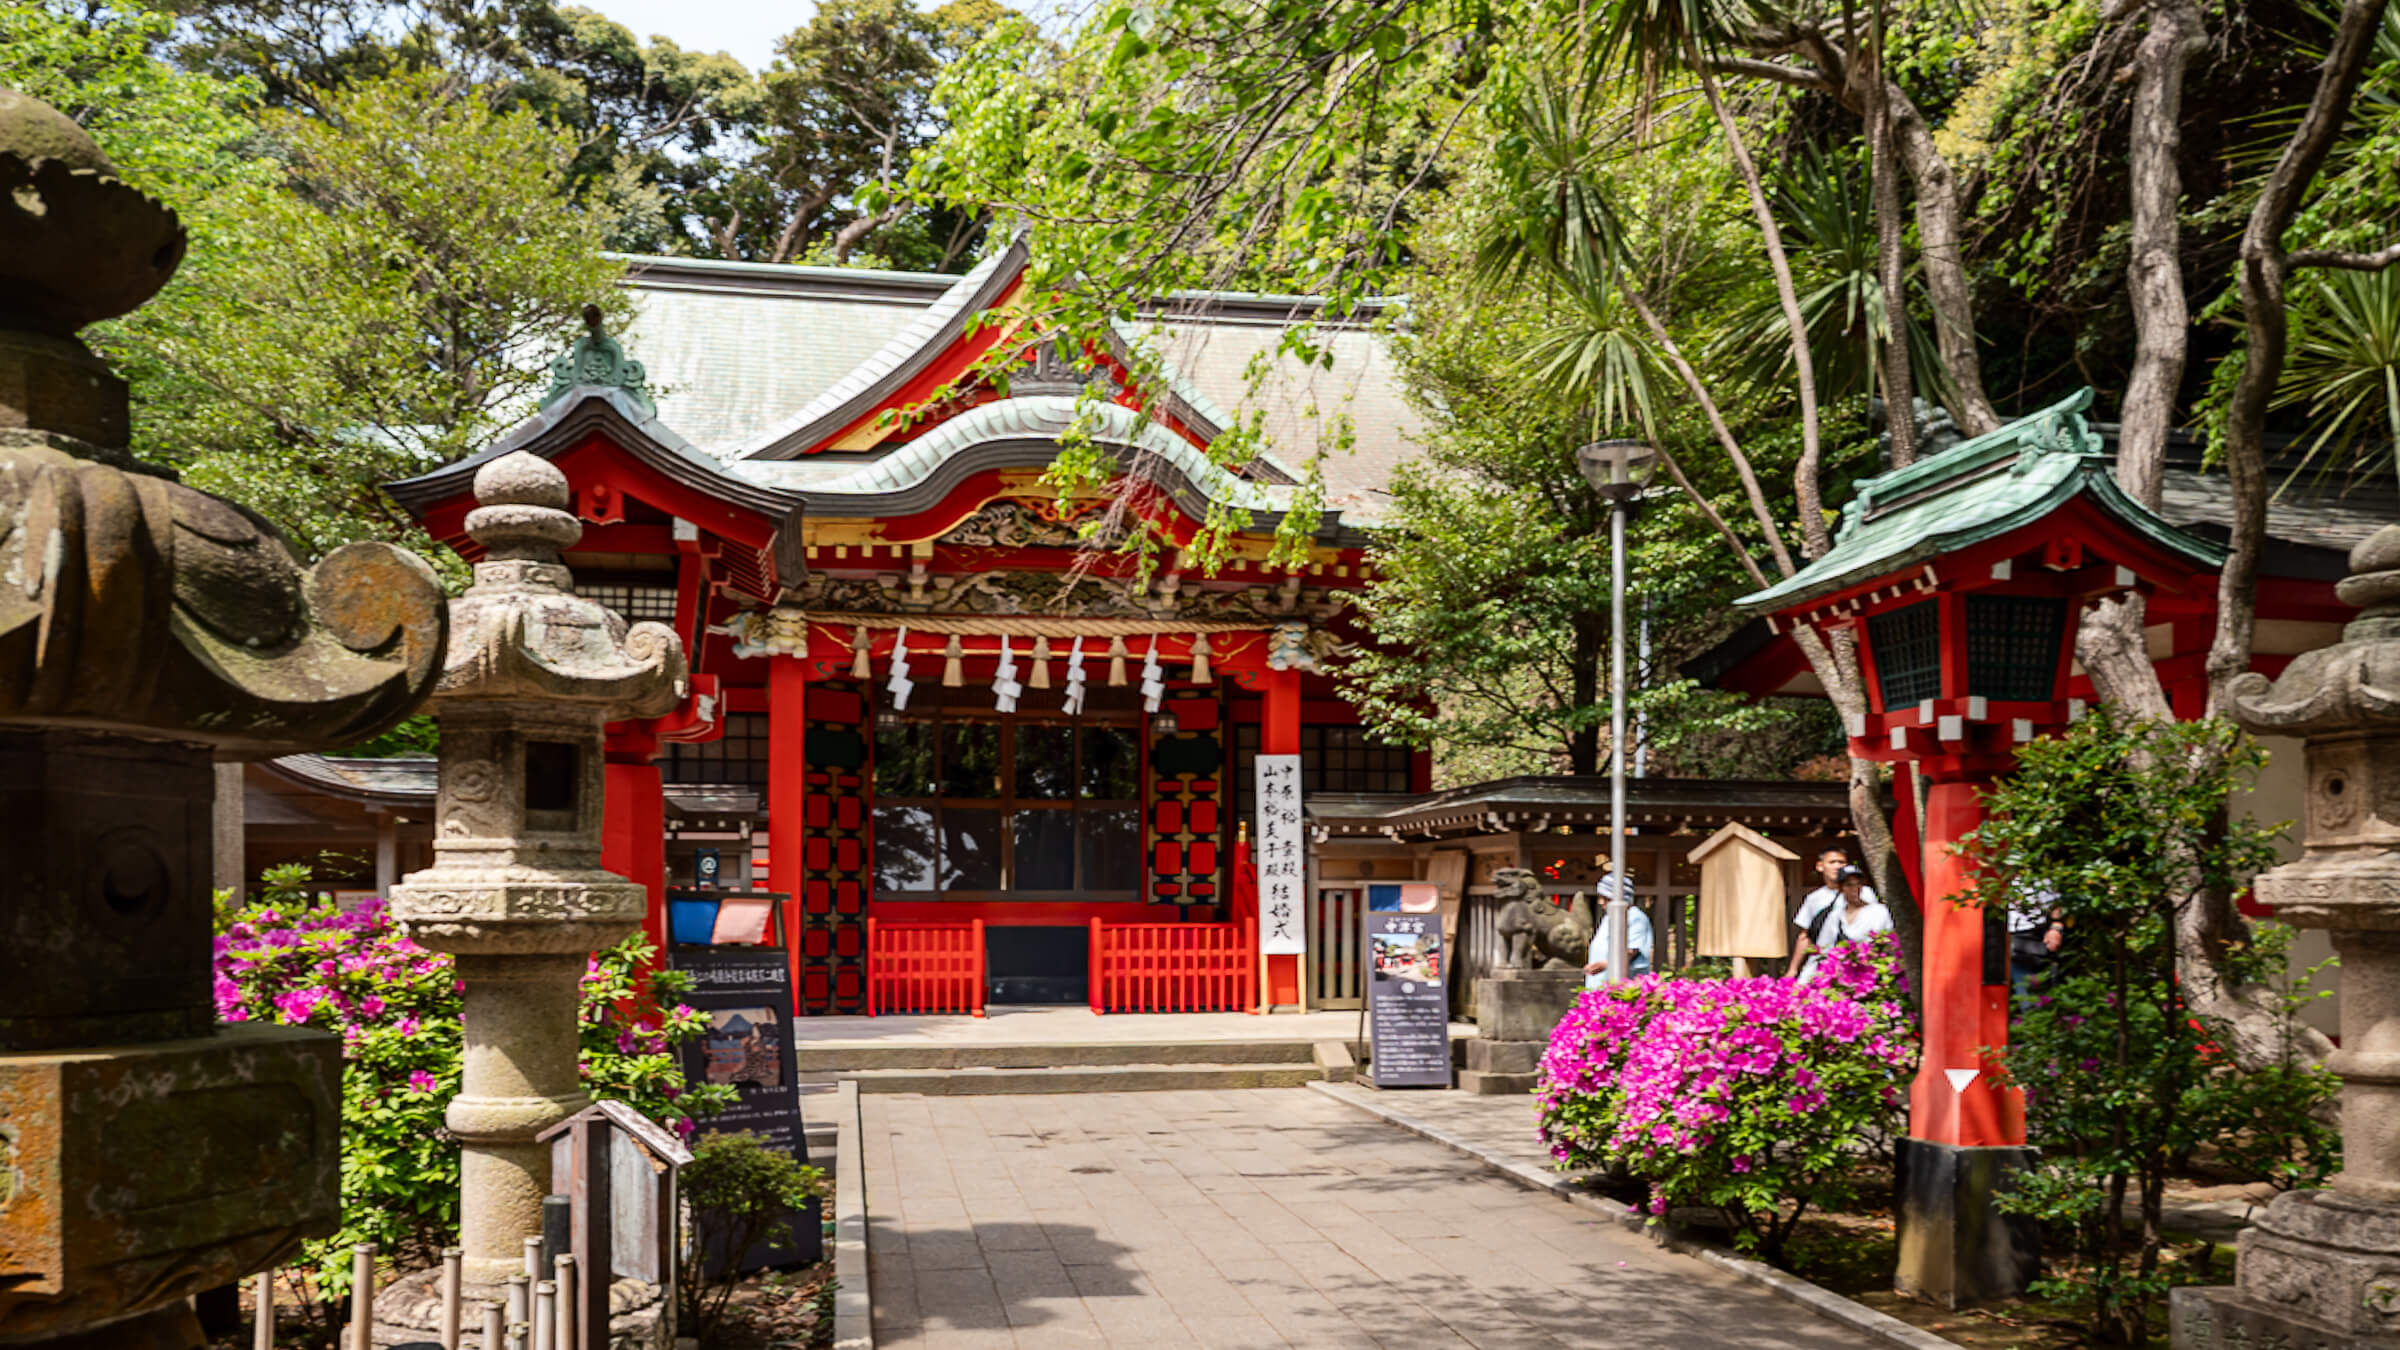
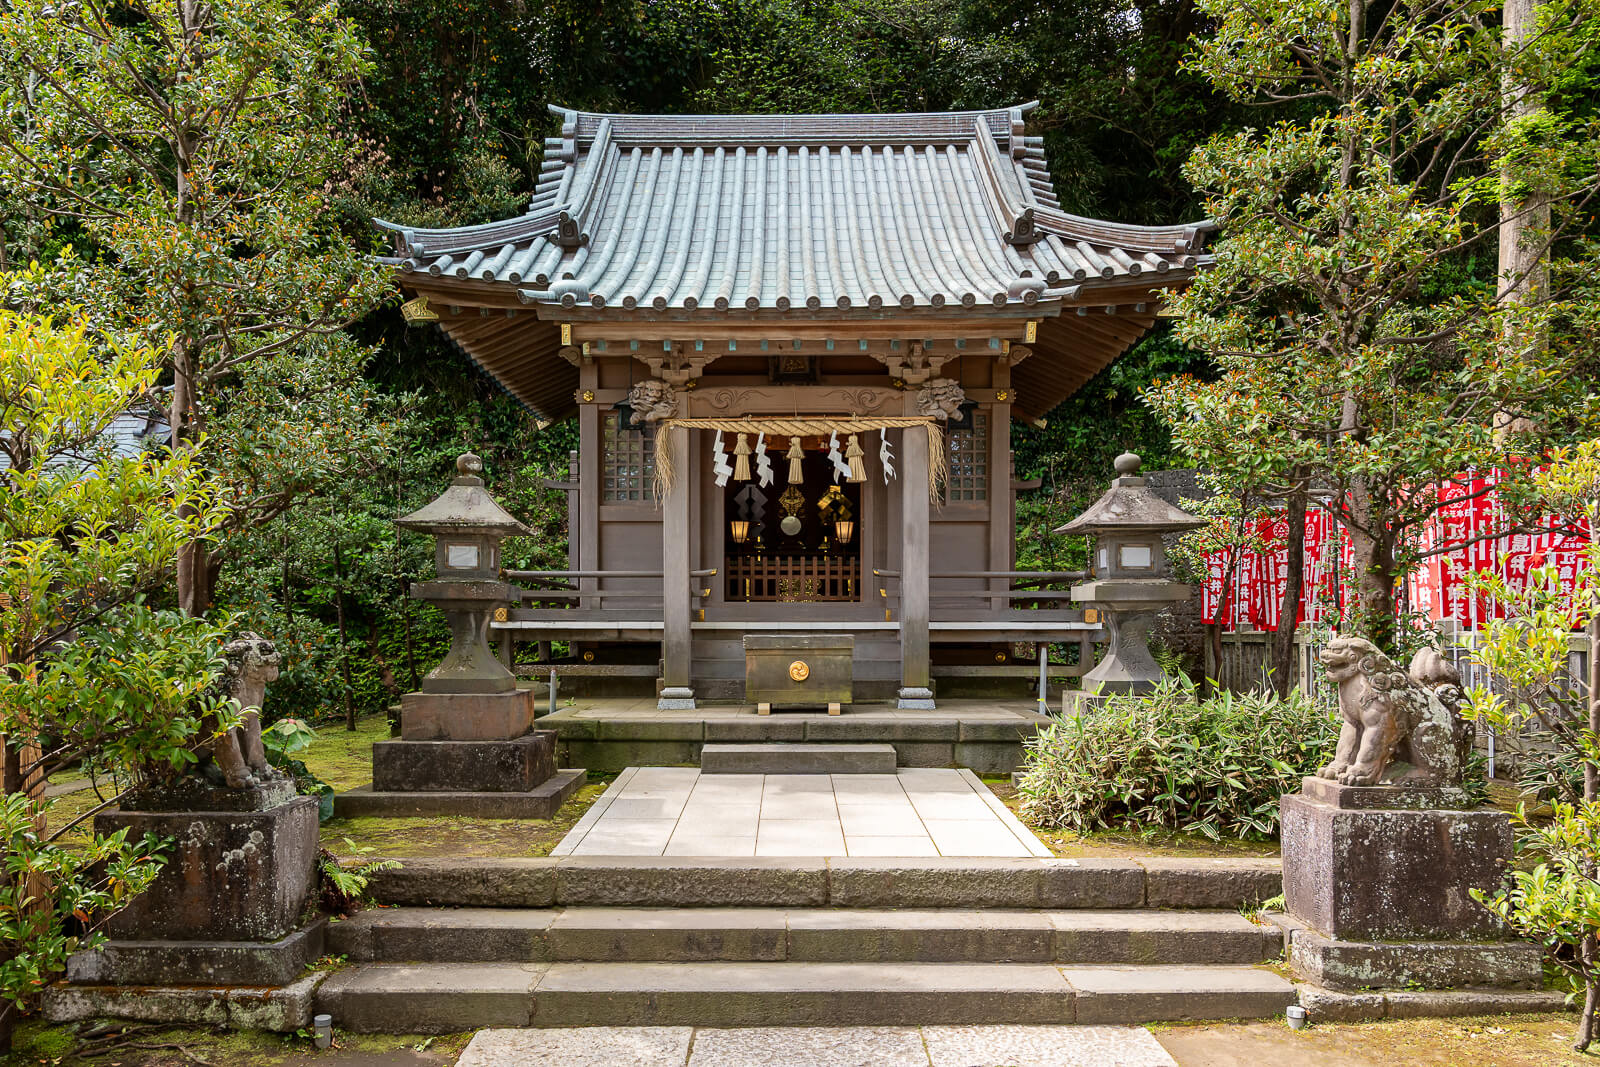
Hetsumiya’s establishment is dated to 1206, when Minamoto no Sanetomo prayed for the prosperity of the Kamakura government. The building seen today belongs to a later stage of that history: it was rebuilt in 1675 and renovated in 1976. These are different milestones, so the medieval origin of the precinct should not be mistaken for the age of every part of the present hall.
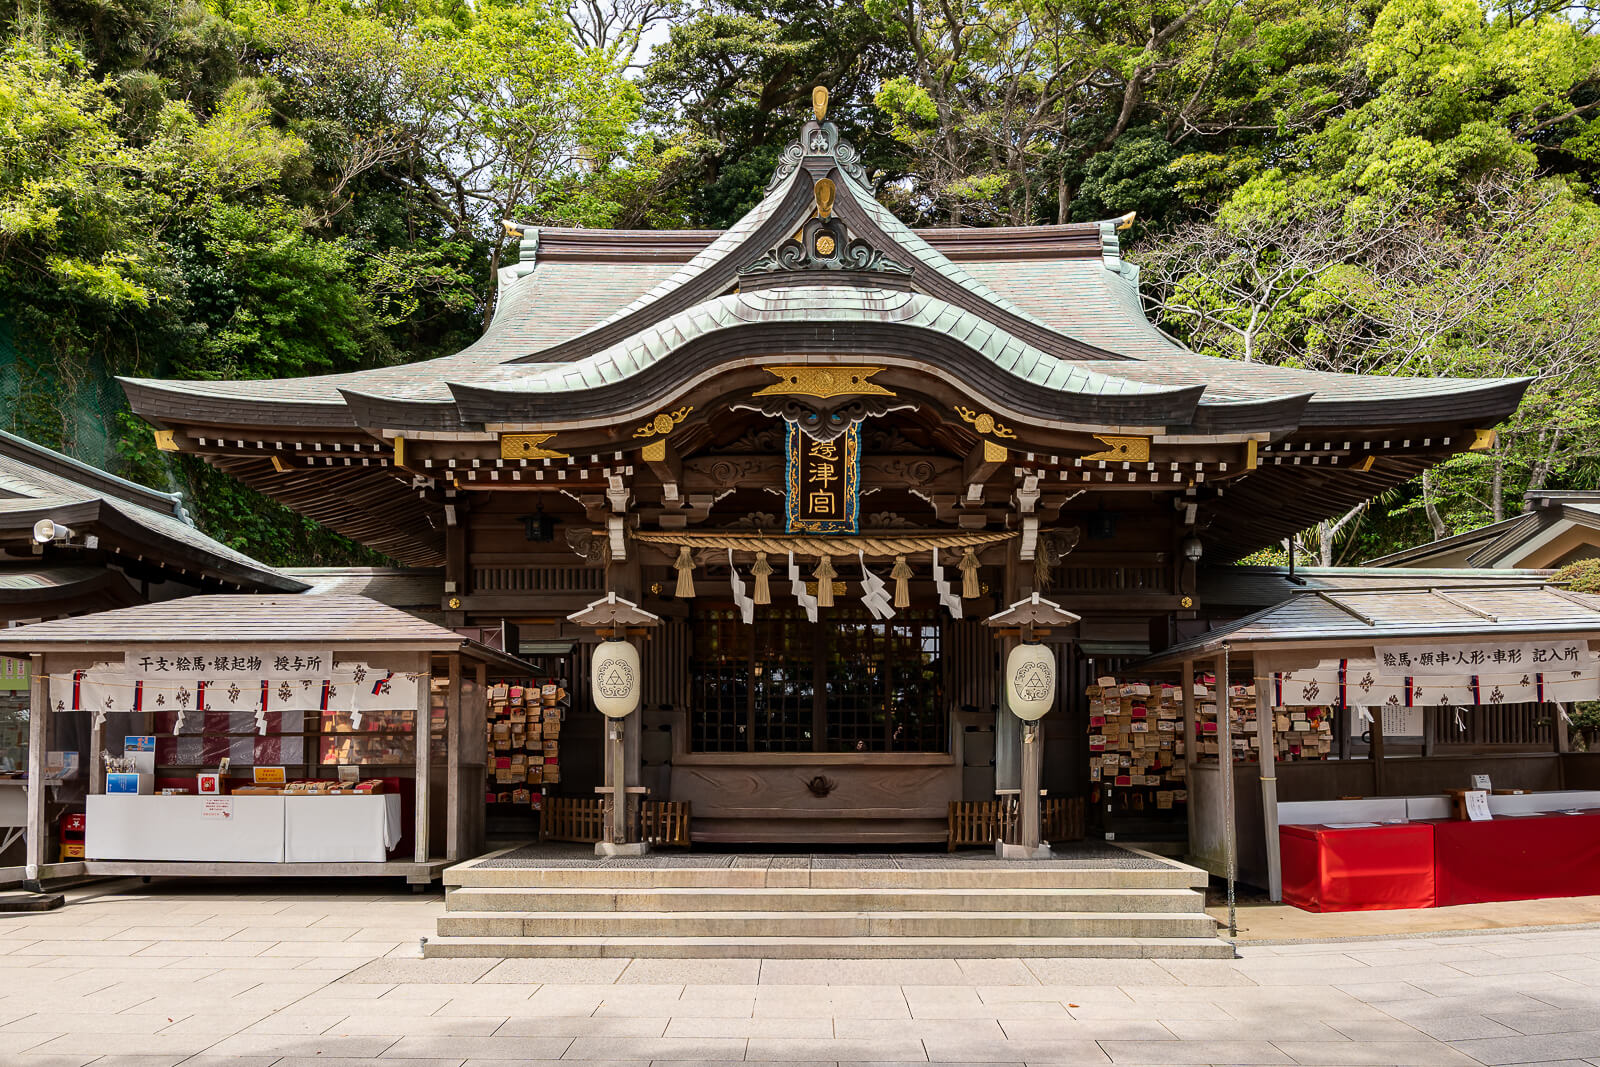
The distinction gives the building a more useful place in the island visit. It is a continuing place of worship with a history of rebuilding and care, surrounded by features still used for individual devotional practices. Looking at the hall together with the smaller stops around it gives a fuller picture than photographing its frontage and immediately moving to the next Escar entrance.
Begin with the hall as the main point of orientation, then allow the visit to spread into the surrounding precinct. The coin-washing dragon and mallet each explain a different part of what people come here to do. Hoanden adds an interior encounter with the Benzaiten figures, making this lower level one of the island’s more varied shrine stops.
Zeniarai Hakuryuo and the Wish-Granting Mallet
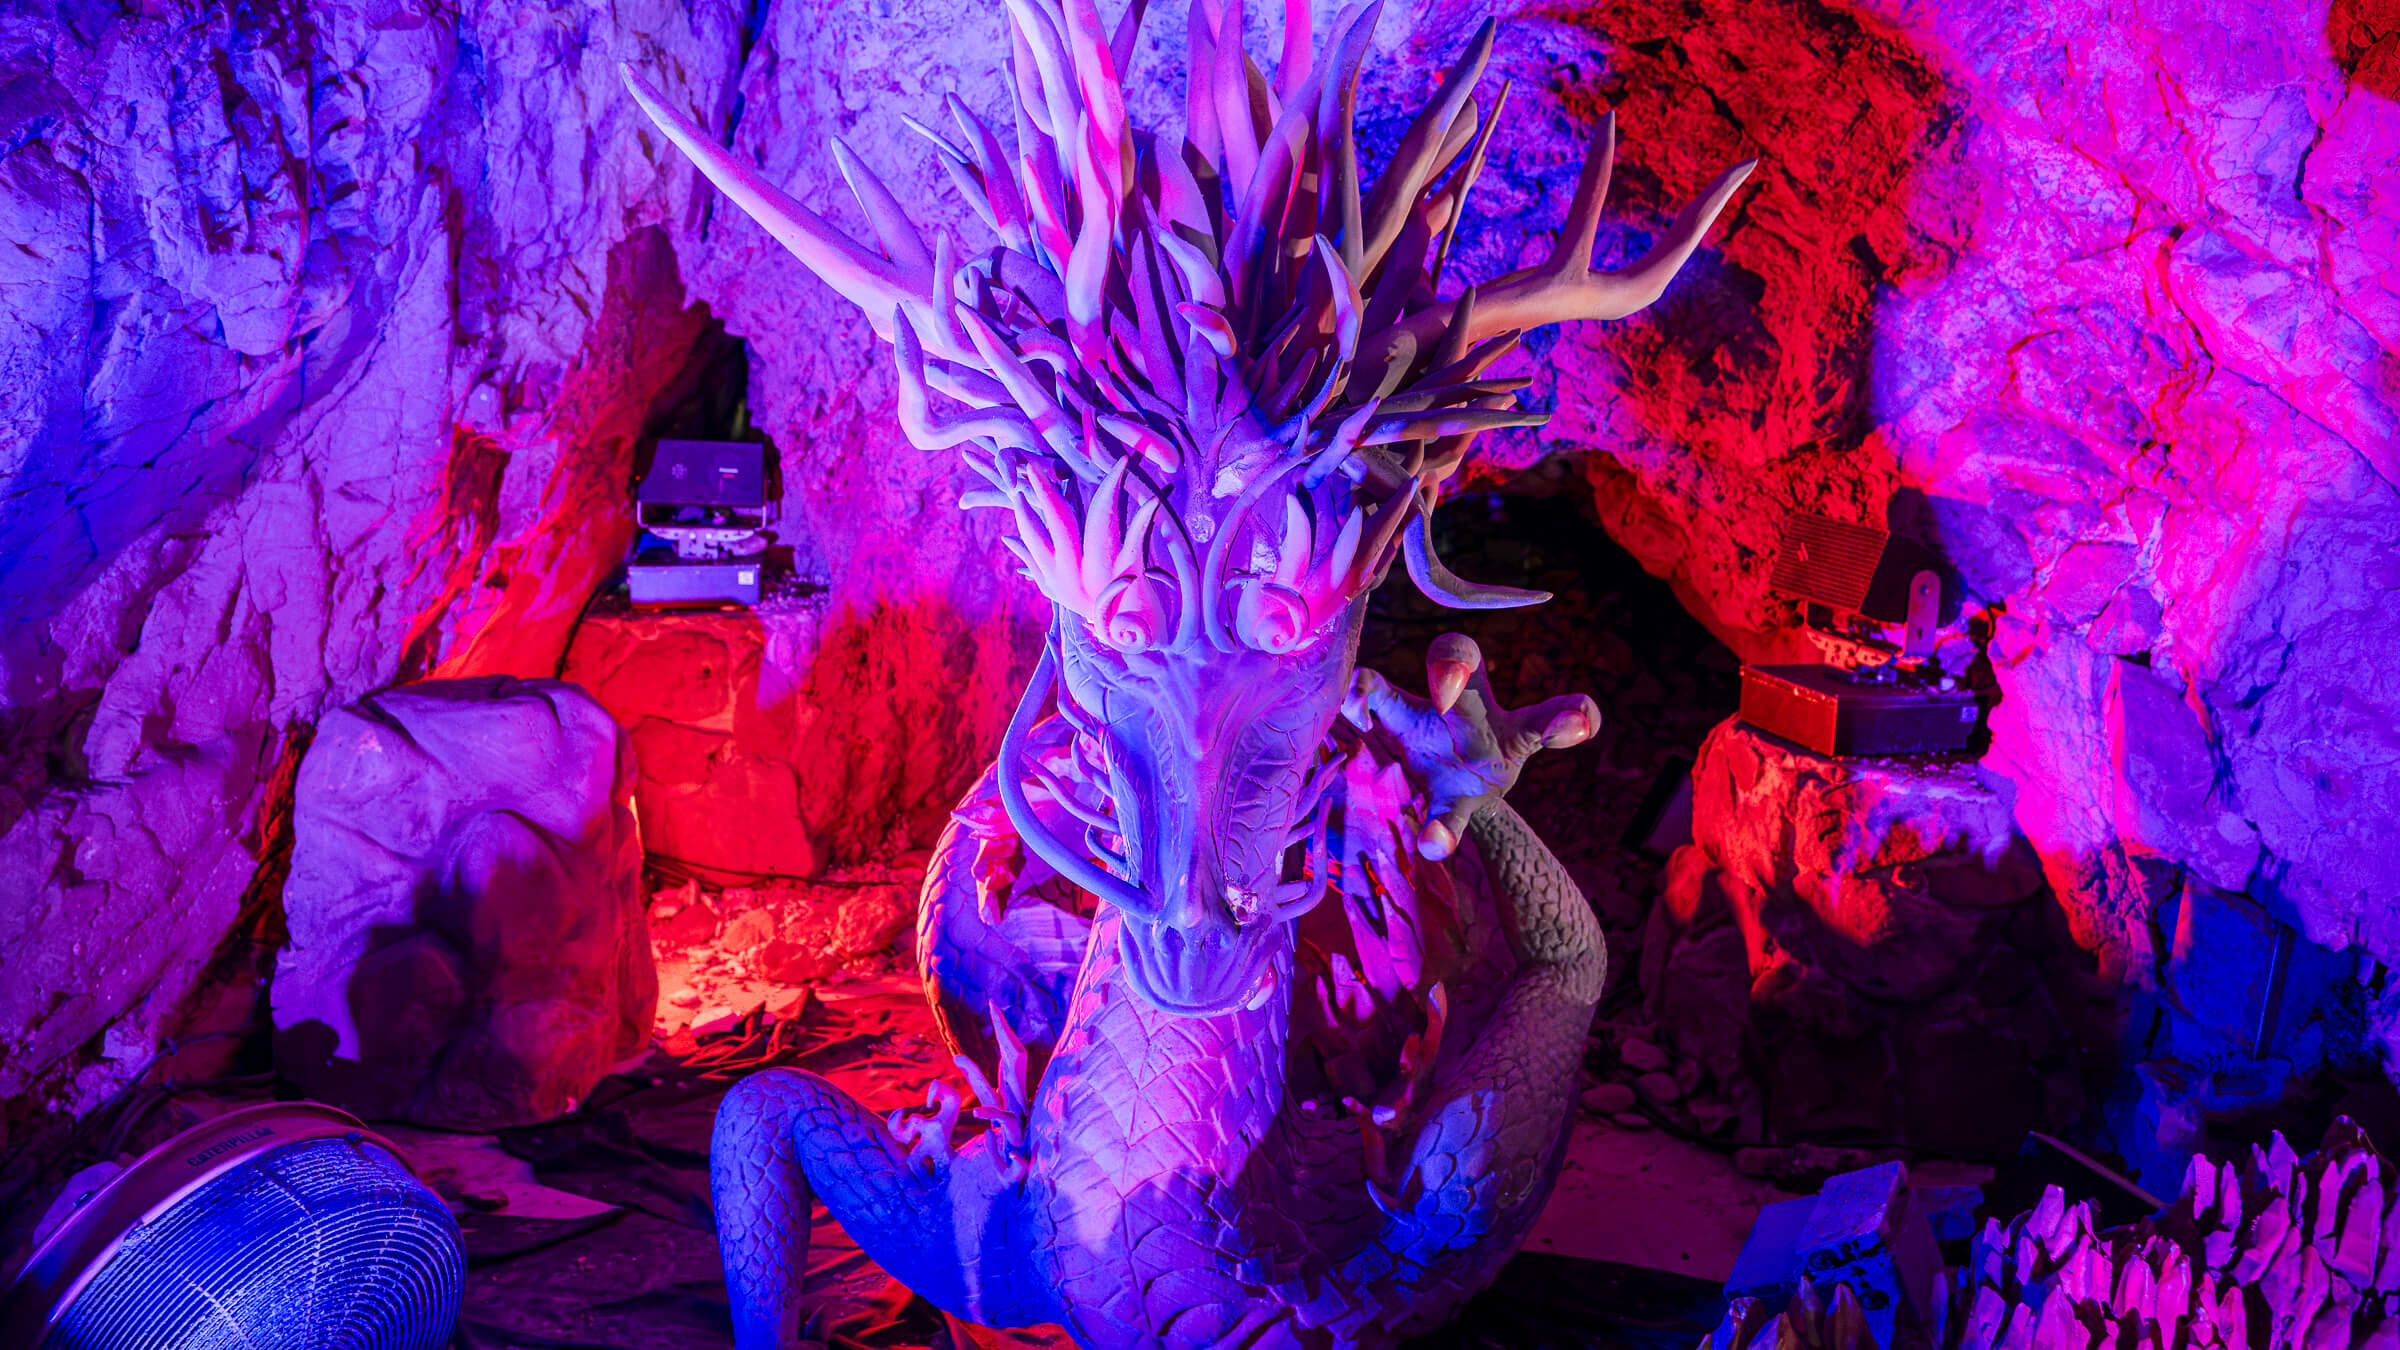
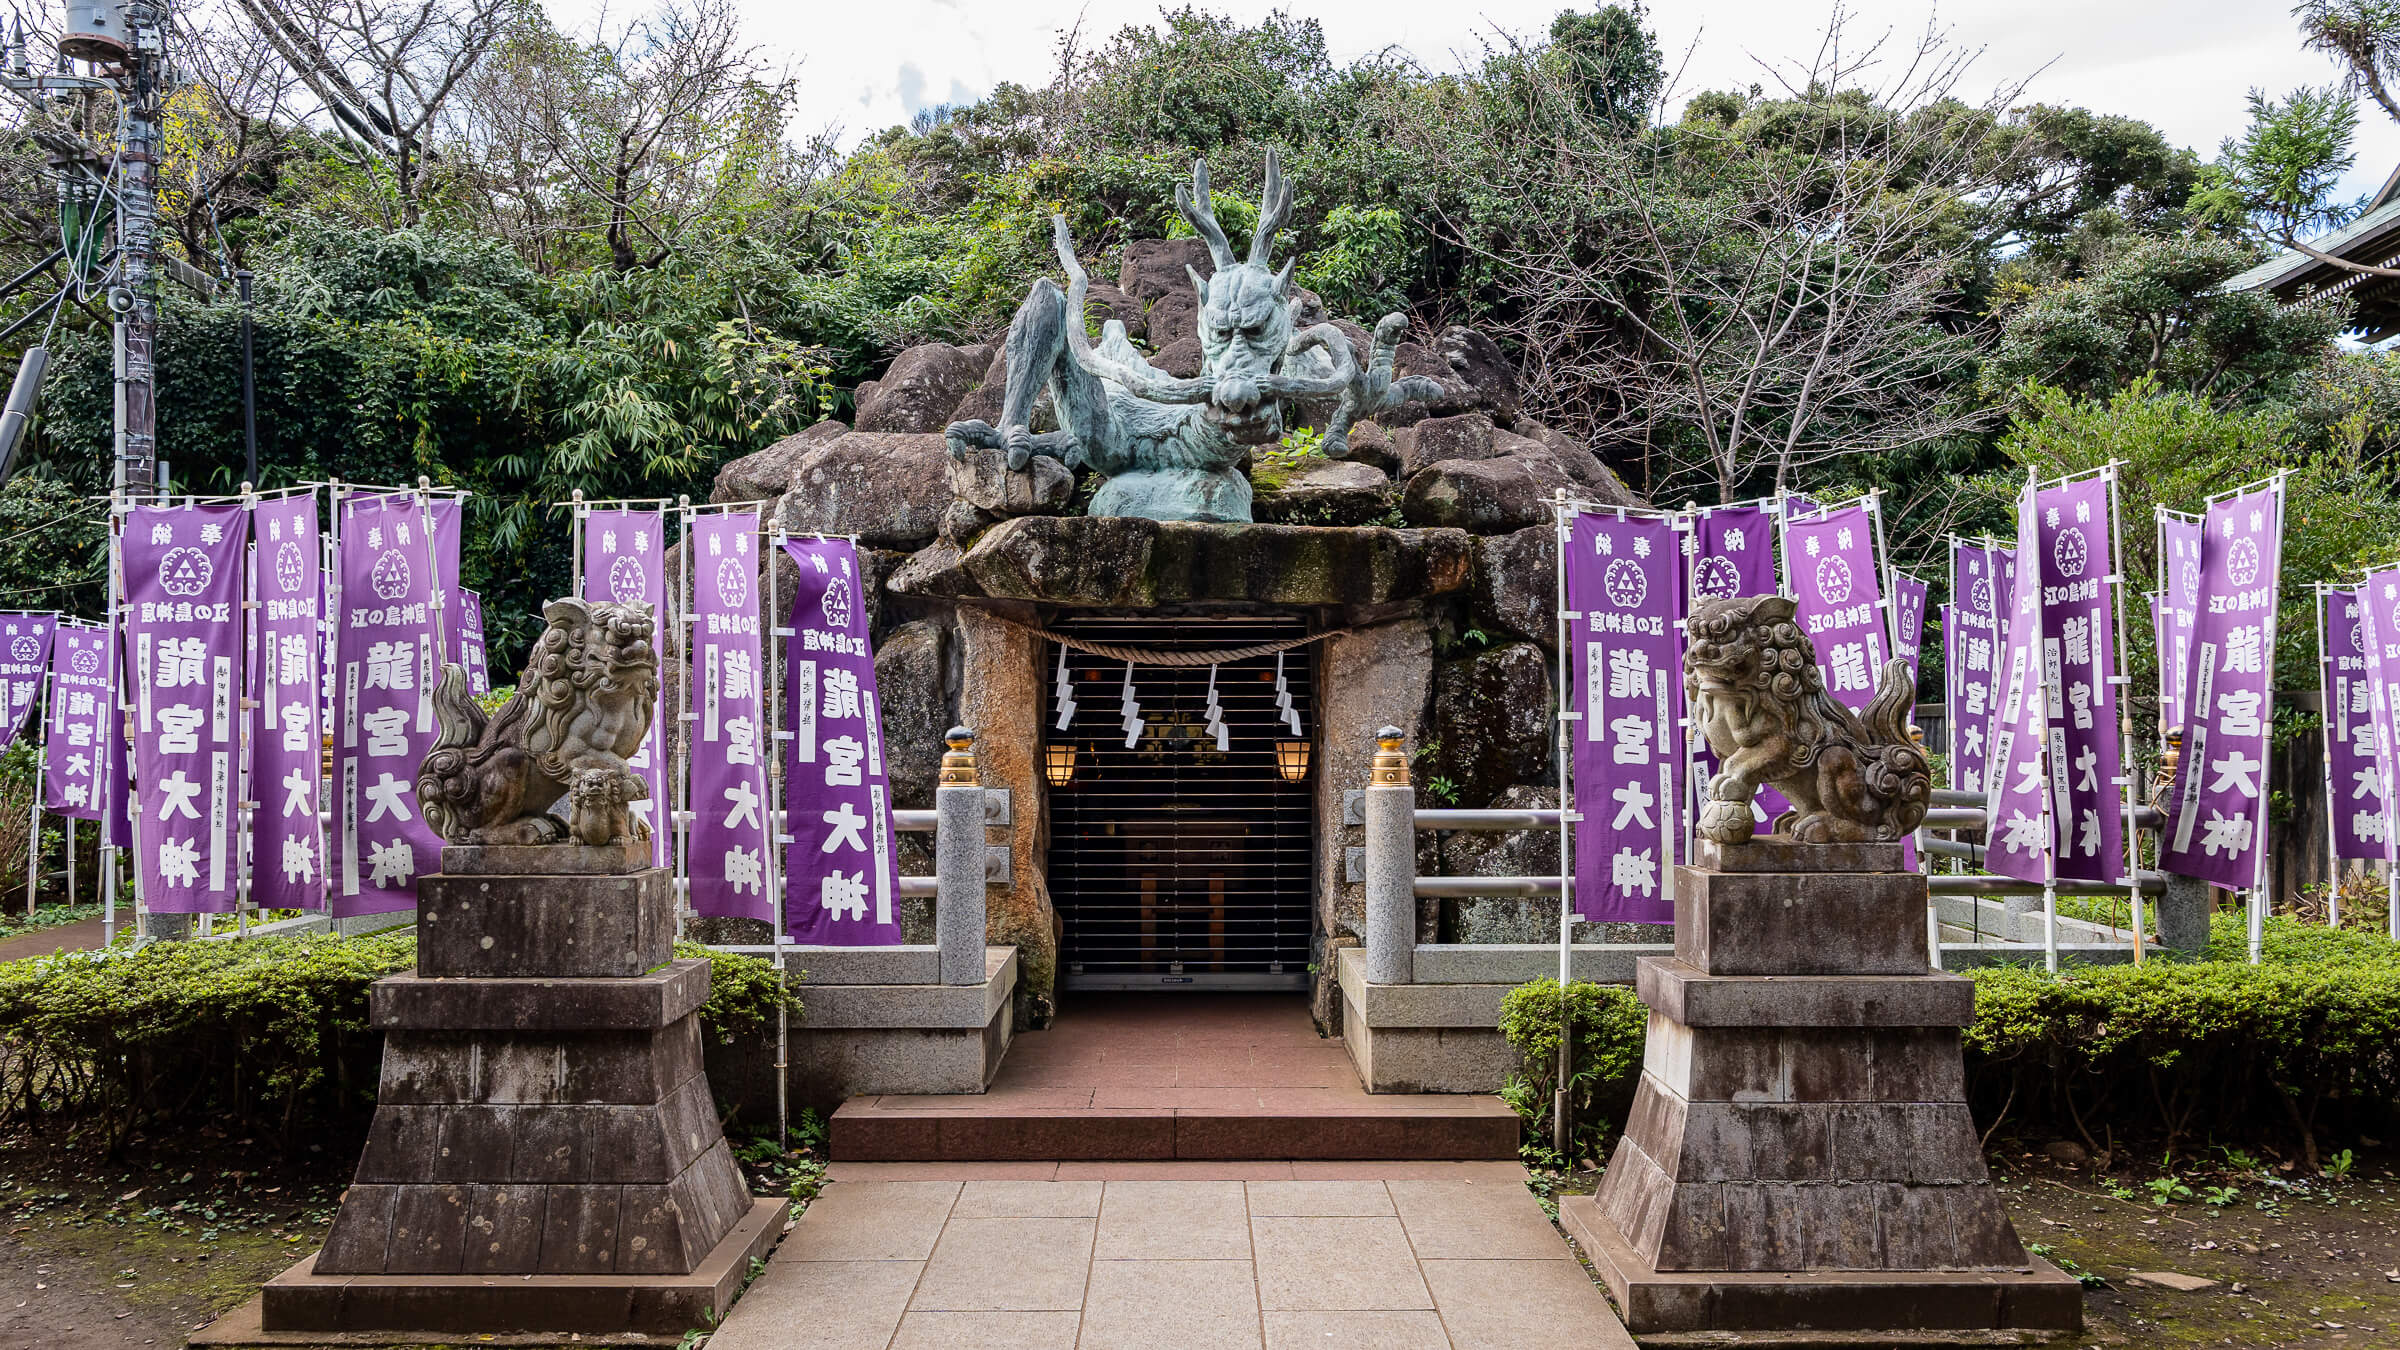
The white-dragon feature, Zeniarai Hakuryuo, is associated with the practice of washing money and prayers for good fortune. Its dragon imagery also belongs to the wider religious and legendary landscape of Enoshima. Here, the important distinction is practical: this is a specific devotional feature beside the lower shrine, separate from the dragon-topped cave-like shrine encountered much later near Okutsumiya.
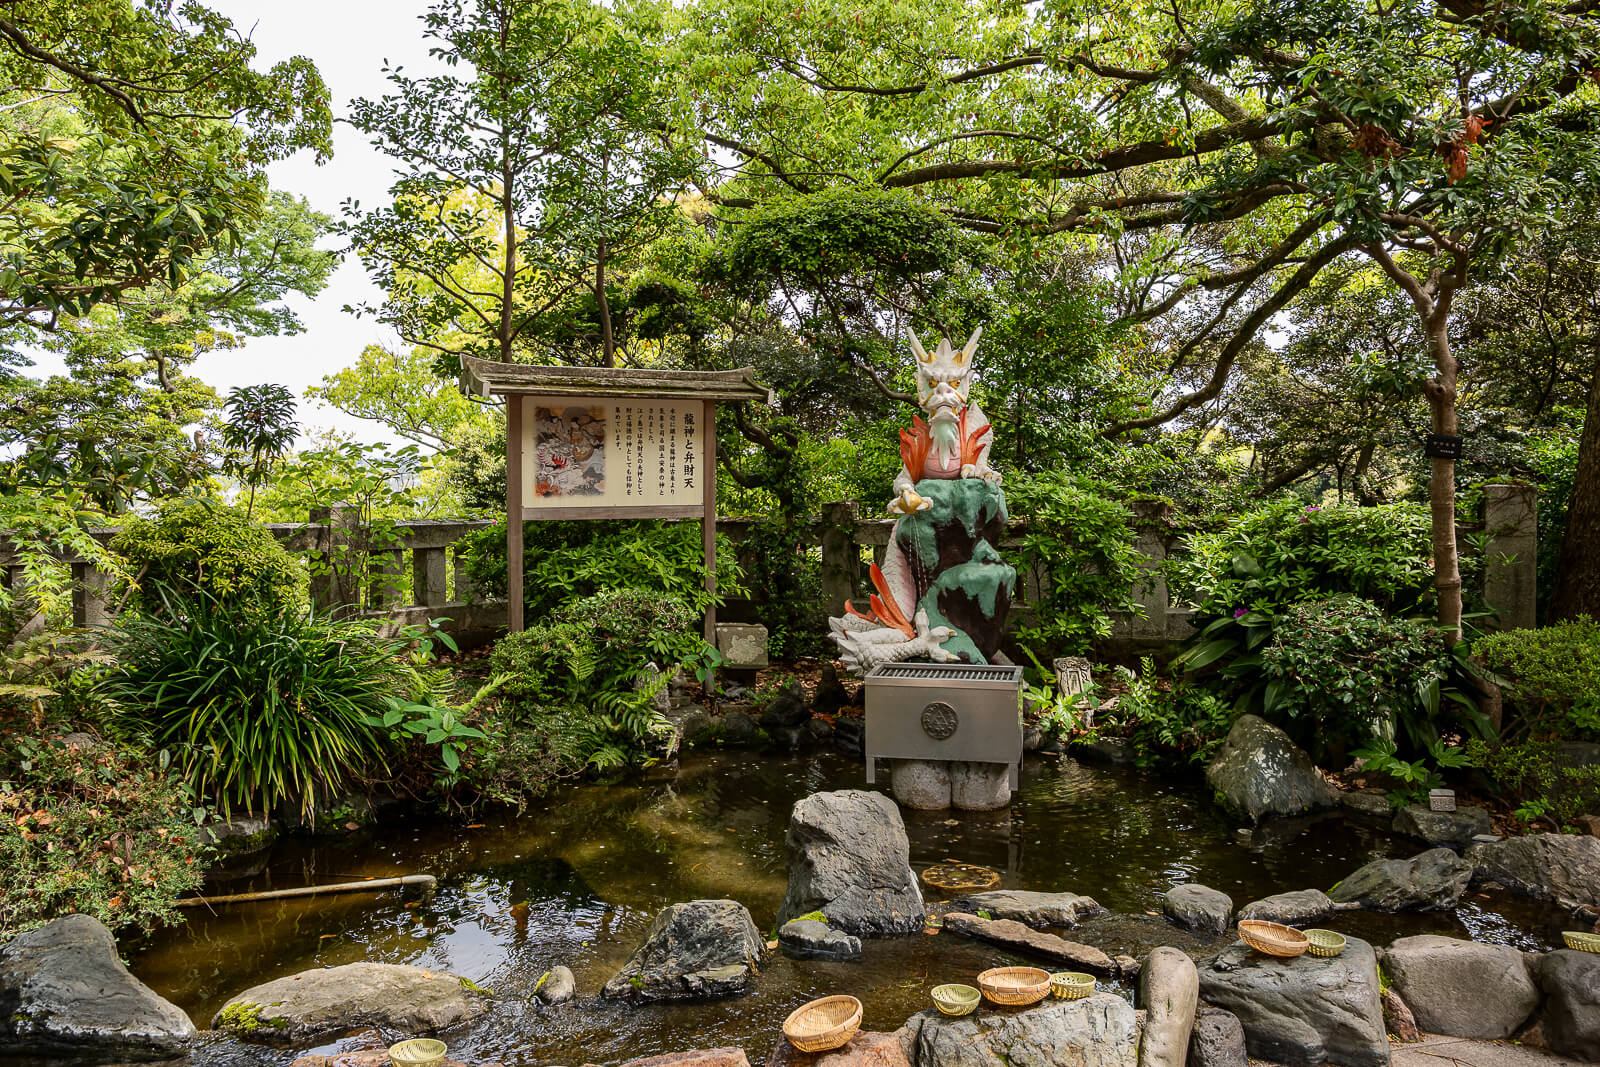
The feature deserves a closer look even for visitors who do not take part in the custom. It shows how an island-wide tradition appears in a small, approachable part of the precinct. Anyone participating should follow the explanation displayed at the site, with the belief understood as a religious custom, not a promise of financial return.
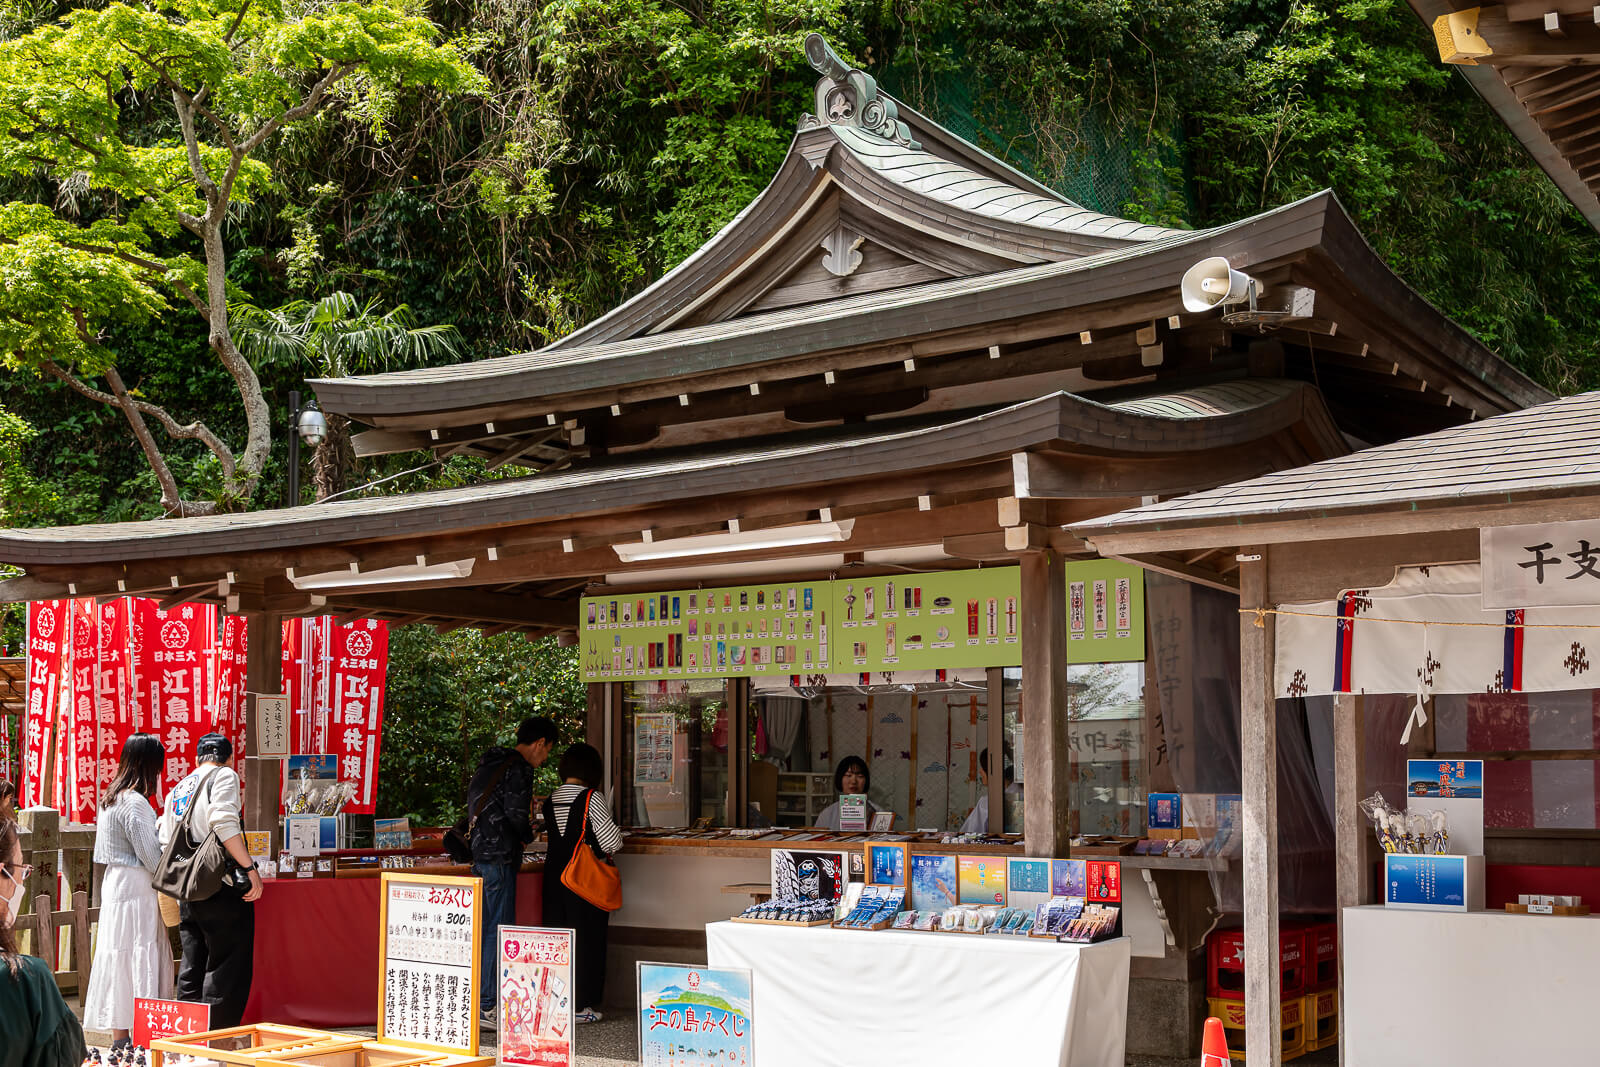
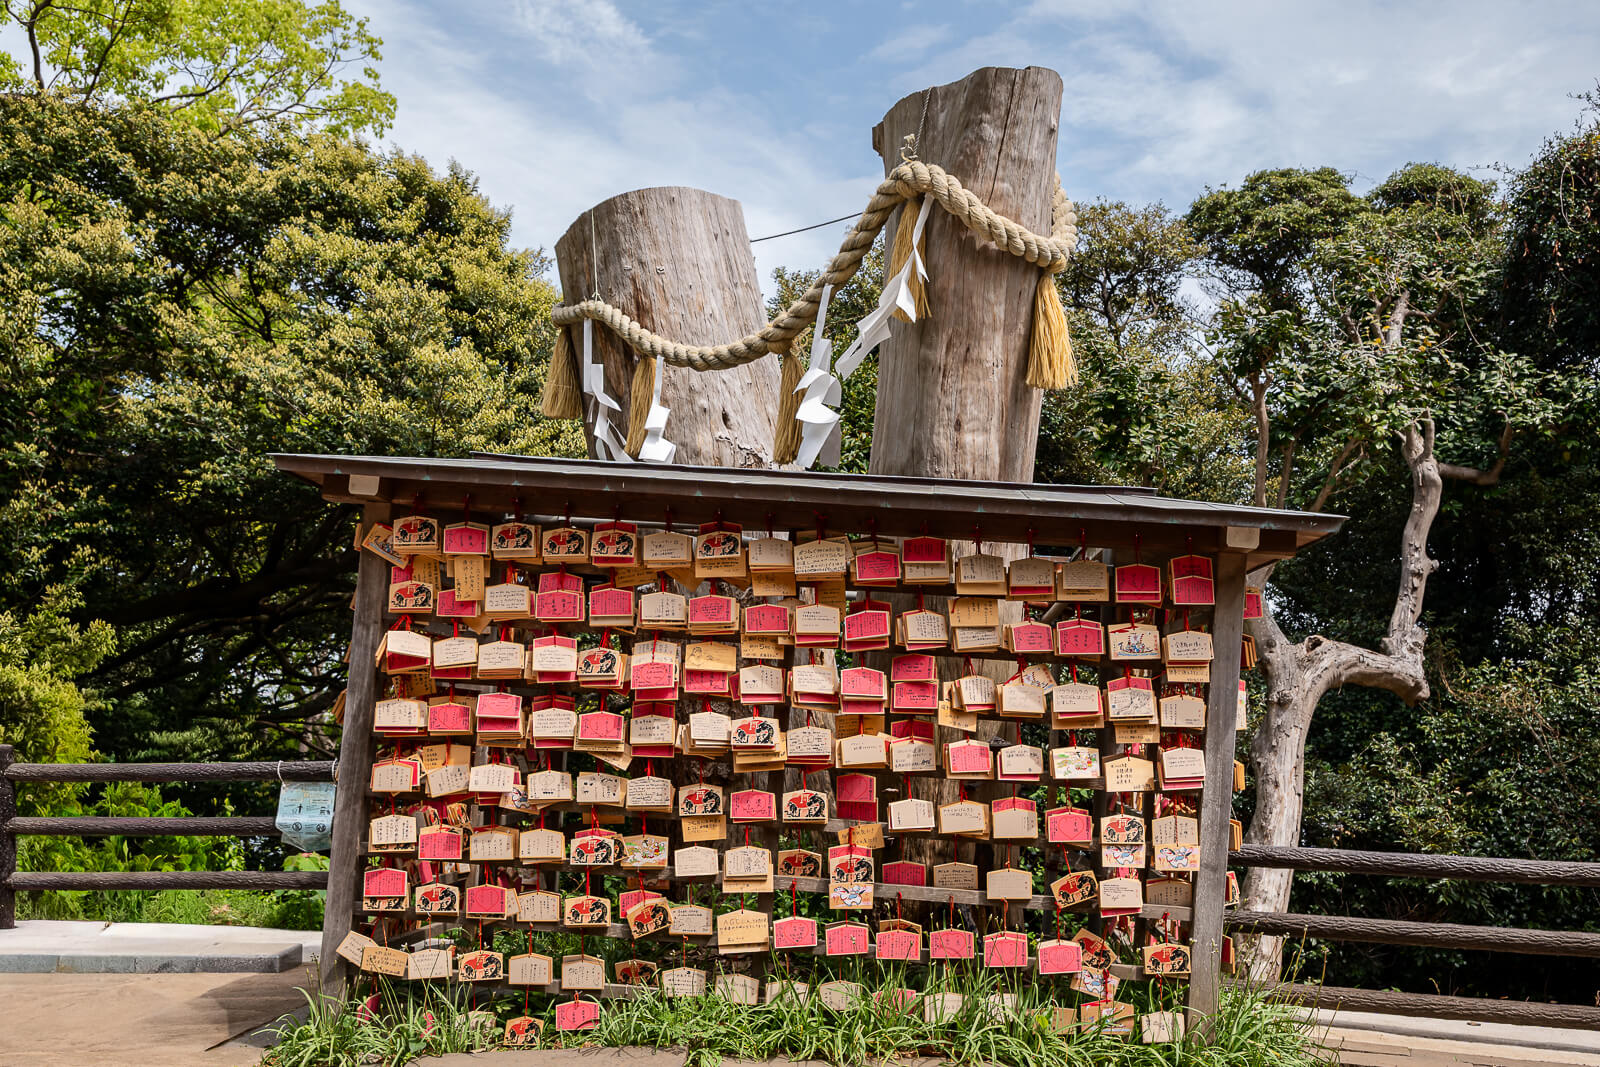
Another object to look for is Uchide no Kozuchi, the wish-granting mallet. The custom associated with it involves making a wish while stroking the mallet, so it should not be confused with the money-washing practice. Together, the two features give reasons to explore around the hall instead of treating Hetsumiya as a single building with a queue in front of it.
Inside Hoanden: Myoon Benzaiten and Eight-Armed Happi Benzaiten
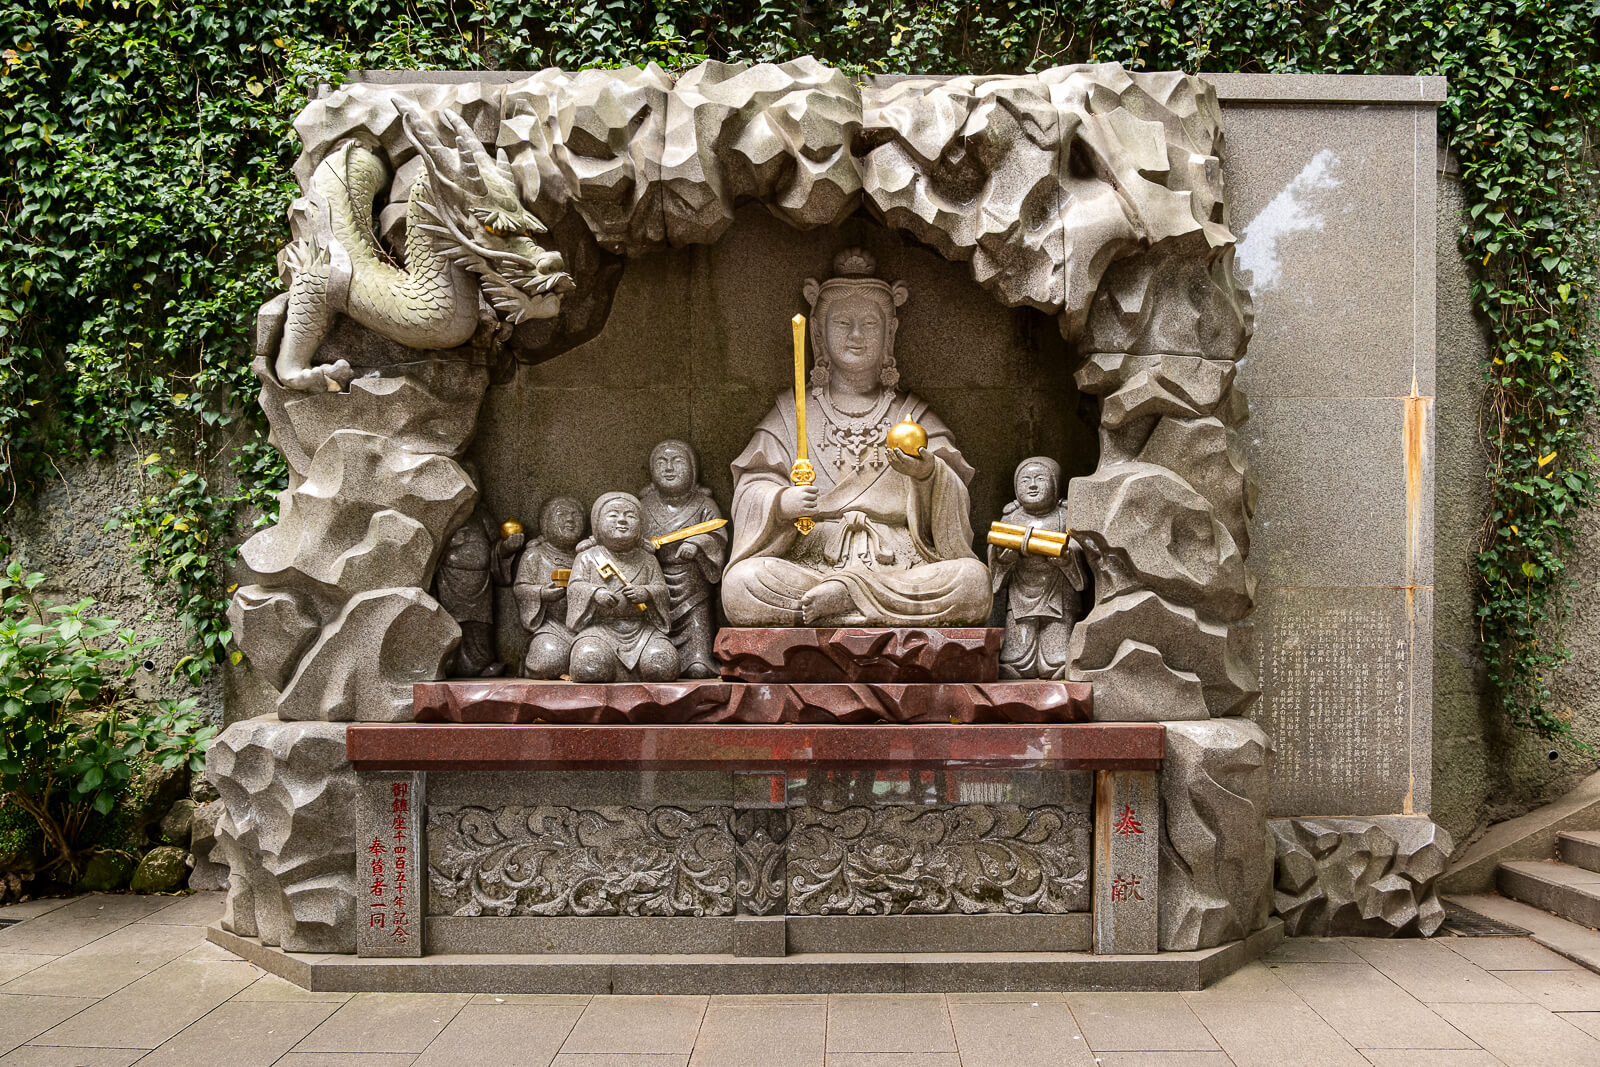
Hoanden is the octagonal hall beside Hetsumiya, and its small interior makes the statues the focus of the visit. It houses Myoon Benzaiten and the eight-armed Happi Benzaiten, presenting two visibly different depictions associated with Enoshima’s devotion. The paid entry is worthwhile for visitors who want to see those figures, not simply add another building to an exterior walk.
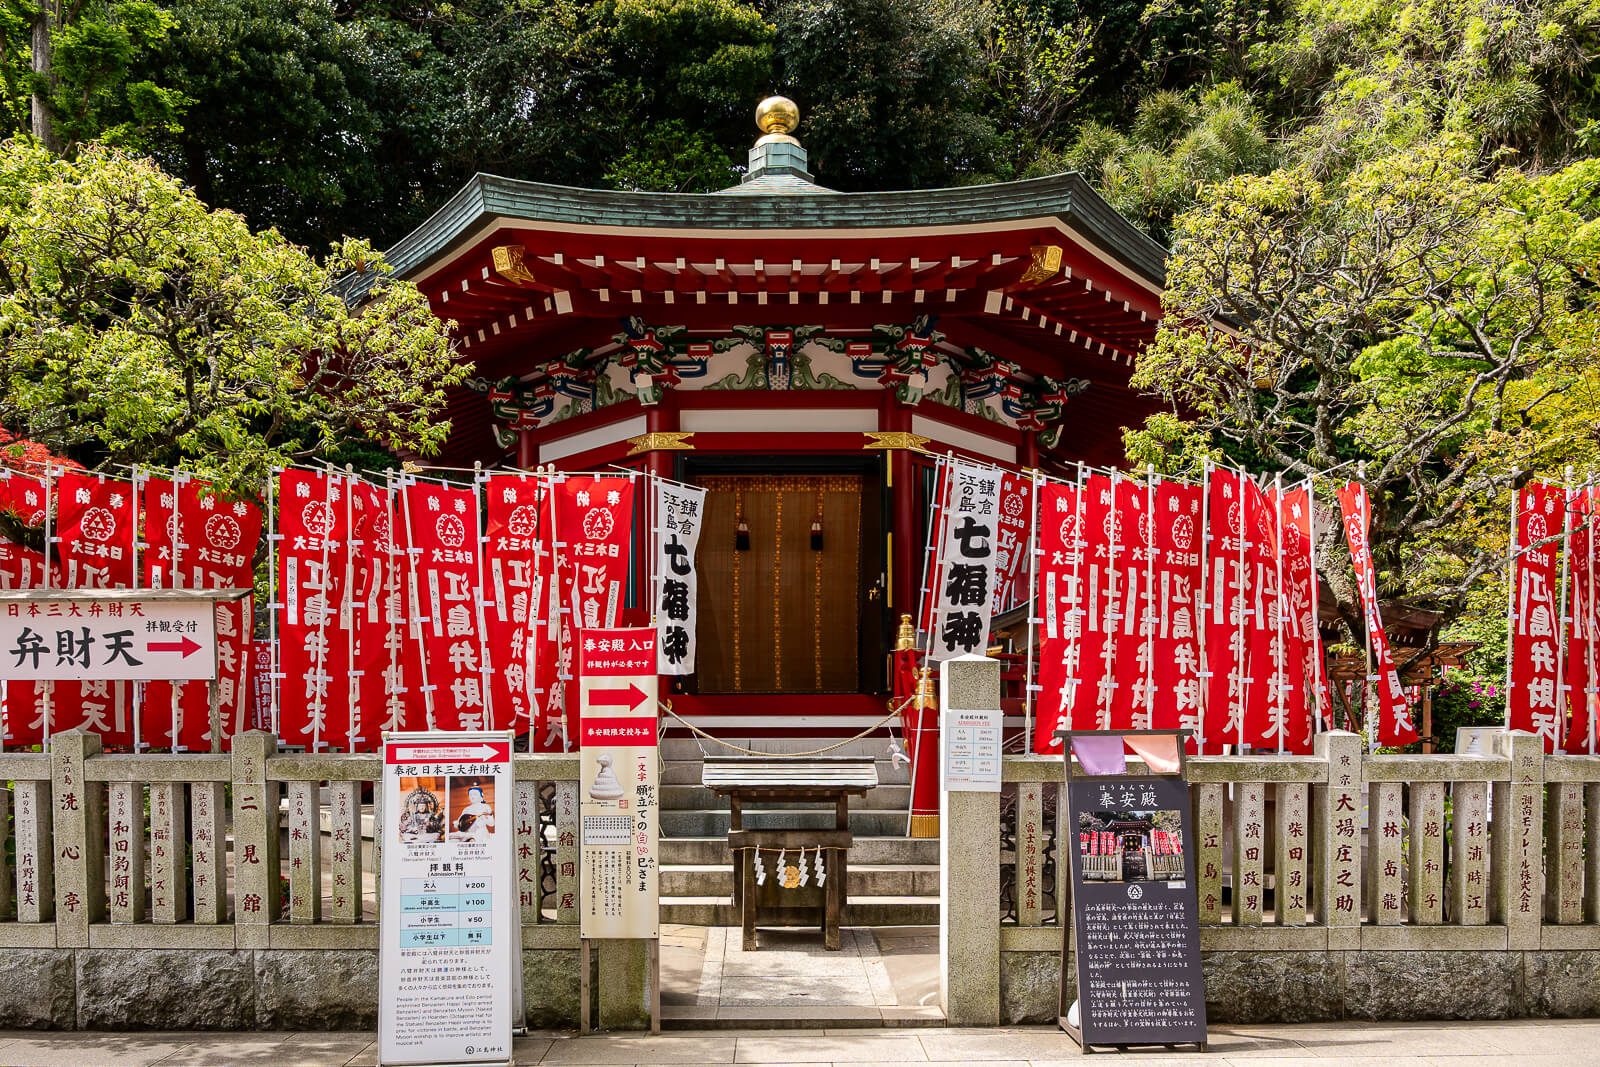
Myoon Benzaiten is shown seated with a biwa, the Japanese lute, and is also known as the nude Benzaiten. Happi Benzaiten has eight arms and is identified as a nationally designated Important Cultural Property. Fujisawa’s historical account connects the latter image with Minamoto no Yoritomo and the monk Mongaku, adding a Kamakura-period dimension to a visit that can otherwise seem like a very brief passage through a small hall.
The short route through the interior is different from wandering an extensive exhibition. Its value comes from the concentrated encounter with the figures and the contrast between them. Take time to look at the attributes described in the interpretation, and follow the hall’s own instructions for worship and photography.
Hoanden has separate admission and closes earlier than some other parts of an Enoshima day. A visitor arriving late for the tower or evening garden should not assume this interior will still be available. Check the Hoanden entry in Hours and Fees before deciding to leave it until the return walk. For the later summit stop, the Samuel Cocking Garden guide explains the grounds around the tower.
Using the Escar to Reach Hetsumiya and Continue Uphill
The first Escar section reaches the Hetsumiya level, after which the path through the precinct leads toward the next section. That makes the escalator a way to reduce the ascent while keeping the shrine visit intact. Walk around the hall and surrounding features before following the route toward Nakatsumiya.
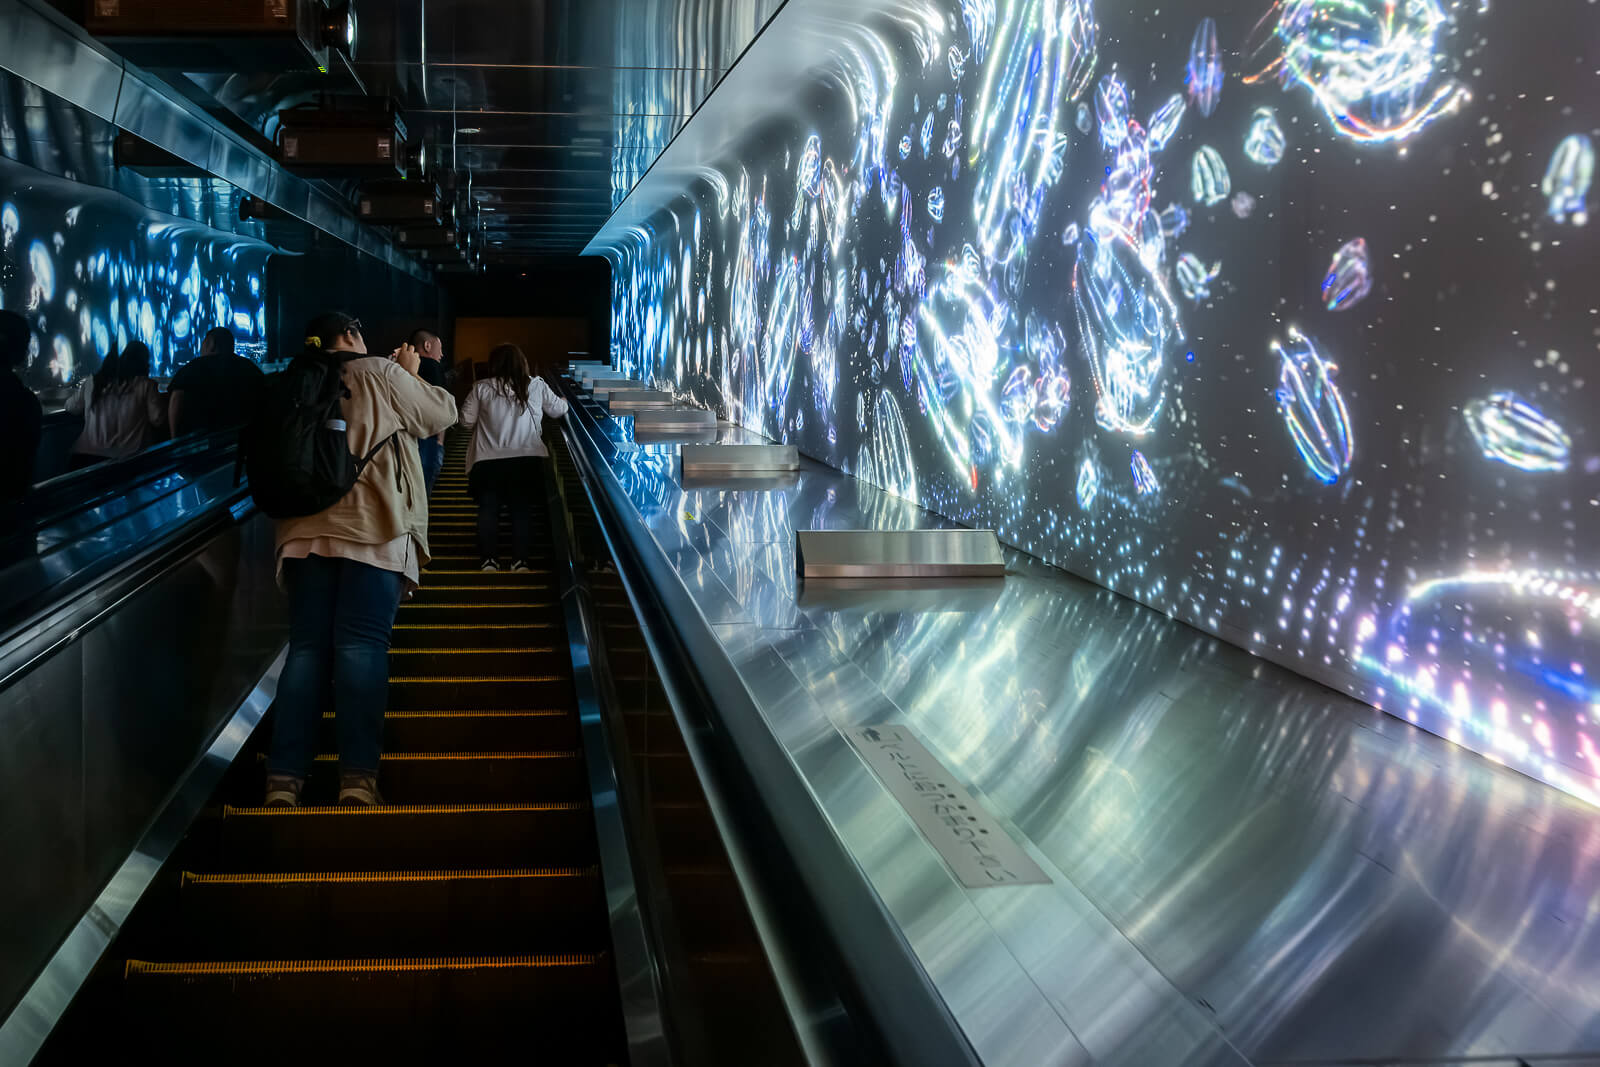
Transport IC cards can be used under the operator’s gate arrangements, which can remove the need to buy a paper ticket for the applicable Escar use. This is useful when the ticket-purchase queue is long, but it is not a guarantee that the boarding area has no wait. Compare individual use with any package being considered, and check what the chosen purchase actually covers.
There are three Escar sections on the ascent toward the summit, with walks and shrine stops between them. They travel uphill; there is no equivalent downhill escalator for the return. Using the first section therefore conserves energy, but it does not remove the later slopes and stairs if the day continues beyond the garden to the coast.
How Hetsumiya Fits an Enoshima Shrine Visit
A shorter visit can concentrate on Hetsumiya’s hall, the surrounding devotional features and the view back down the approach. Adding Hoanden makes the stop more specific, bringing the island’s Benzaiten tradition into an interior visit. The amount of time to allow depends chiefly on that choice, together with photography and any waiting at the hall or Escar.
Continuing uphill leads to Nakatsumiya, where vermilion architecture and decorative detail give the next precinct a different character. Okutsumiya is farther across the island, beyond the summit, and requires a larger walking commitment. Hetsumiya is therefore a useful introduction to Enoshima Shrine without being a substitute for everything the three precincts offer.
Before leaving this level, make the decision about Hoanden deliberately. It is easy to continue uphill and discover later that the interior closes before the rest of the day is finished. A close look here gives the onward walk something to build on: a main shrine hall, distinct devotional customs and two different images of Benzaiten.
Getting There
For the rail journey and mainland walk before the climb to Hetsumiya, use the guide to getting to Enoshima.
Access and Arrival
Follow the shopping-street approach uphill from the island entrance. The first Escar section also serves this precinct.
- Across Enoshima Island
Island entrance → shopping street → Hetsumiya / first Escar section
Follow the signed island route and local access instructions. · Allow for slopes, stairs and the walking return.
Uphill access: The first Escar section serves this precinct. Walking between levels and the stairs on descent remain part of the island visit.
Hours and Fees
Visitor information
Hetsumiya is the lower shrine precinct; Hoanden has separate hours and admission.
- Hours
- Hetsumiya visitor information: 08:30–17:00. Hoanden: 08:30–16:30. Reception, worship and special arrangements can differ.
- Admission
-
Shrine precinct: free to visit. Hoanden: adults ¥200; junior/senior high school students ¥100; elementary-school children ¥50; below elementary-school age free. Escar and personal purchases are separate.
Optional combined admission
Enoshima Island All-Access Pass
Optional for a wider island-and-aquarium day. Includes Escar, Sea Candle, Iwaya and the aquarium. Choose + Night for event-evening garden entry. Rail, Bentenmaru and Hoanden are separate; check date and package conditions.
Compare Enoshima All-Access Passes
Plan Your Visit
Choose the stay, transport and experiences that fit the wider coastal trip.
Compare Fujisawa and Enoshima Stays
Compare the actual location, station connection and cancellation terms before choosing a mainland or island base for a longer coastal visit.
Compare Fujisawa Stays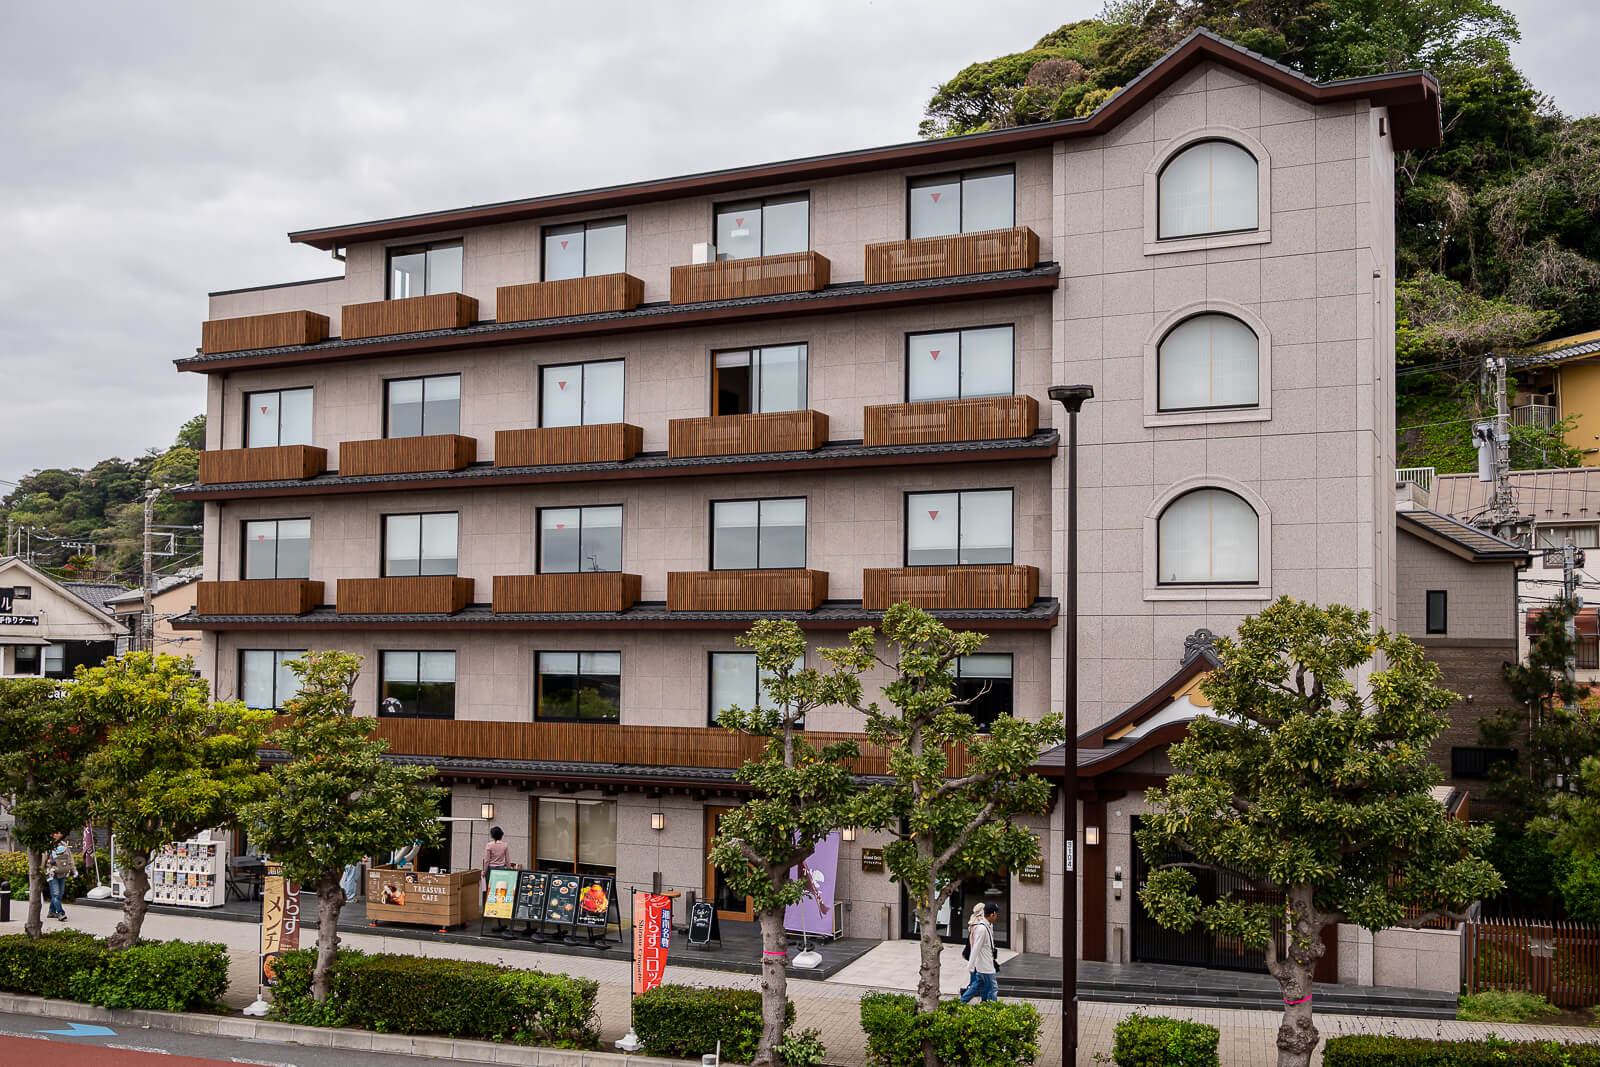
Compare Tokyo Car Rental Options
Rail and walking suit Enoshima itself. Consider a rental car when the wider trip includes places beyond the local railway corridor.
Compare Tokyo Car Rentals
Browse Guided Kamakura Day Trips
Compare itineraries, included stops and free time. Check explicitly whether the selected tour includes Enoshima before booking.
Browse Kamakura Tours
Explore Enoshima Aquarium Tickets
Add jellyfish galleries and Sagami Bay marine life to your coastal day. View aquarium admission options for your travel date.
View Aquarium Tickets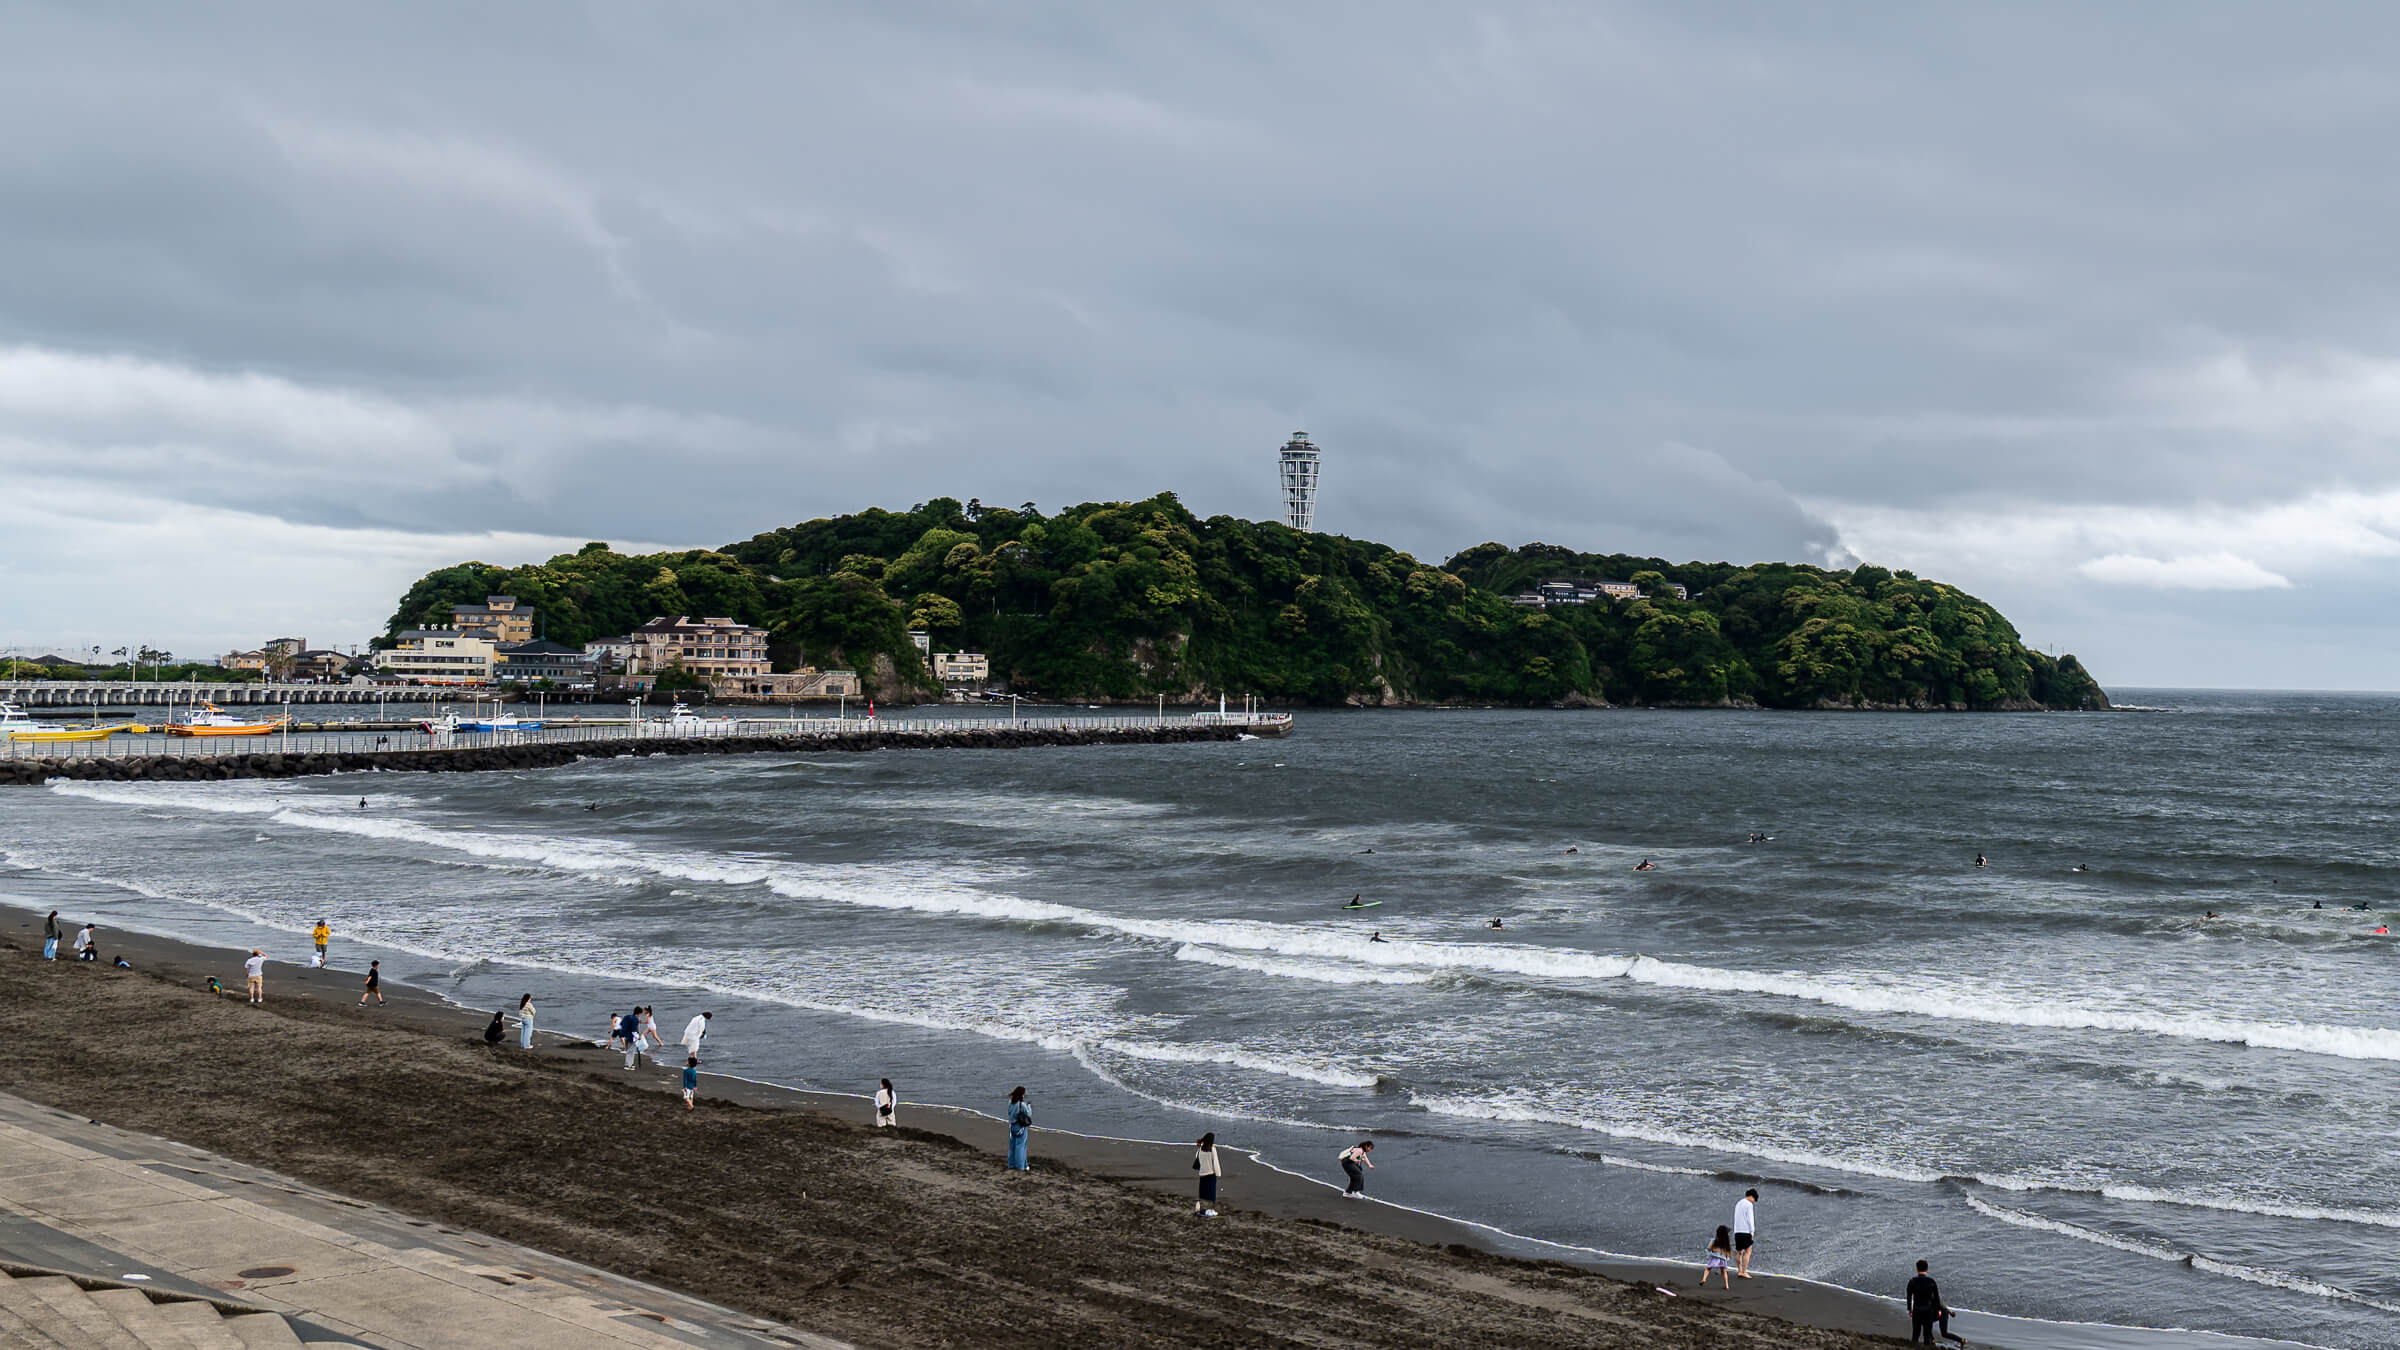
Compare Japan Data Plans
Check phone compatibility, coverage and data allowance for navigation, translation and railway updates while travelling along the coast.
Compare Japan eSIMs
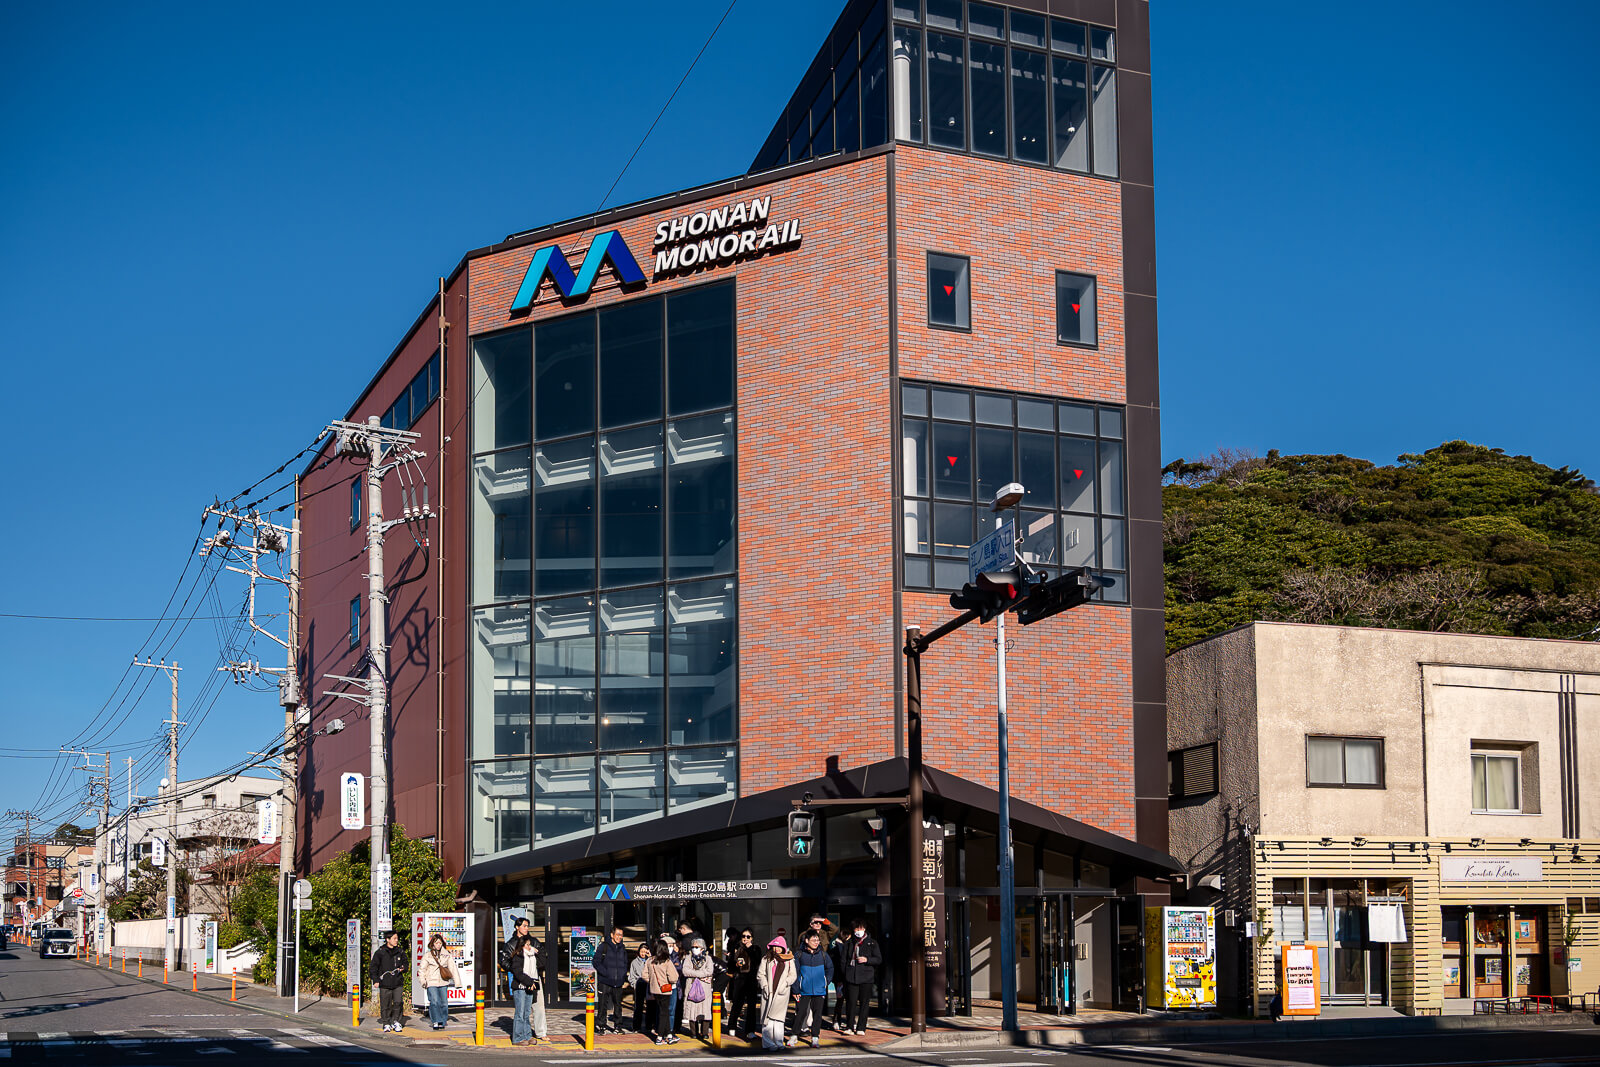
Consider the Shonan Monorail
Check ticket validity and the Ofuna connection before choosing the monorail approach. It does not cover every railway serving Enoshima.
View Monorail Tickets